Although - or possibly exactly due to the fact that - the previous parade of Euloran hopefuls was rejected wholesale as too cancerous-looking, word seems to have spread out in the vast lands of Chaos and Havoc about this unique opportunity for all the twisted creatures out there to come to light and have a career annoying human players and other annoyable ones. As a result, here I find myself swamped with pics of hopeful-talent begging for a place in this article. So scroll down for the images or keep reading for all the details how they came to be as they are.
The delay of 11 days since last parade is due mainly to the work required to sort out first all the more serious troubles of this invading talent: disjointed bones, stacked up piles of required transformations and otherwise additional calculations and headaches to figure out and finally fit - or so it's hoped 1 - that annoying straitjacket that goes by the name of cal3d's skeleton format 2. Once all bones were thus helped to fall more or less graciously somehow in place, the rest consisted mainly in bashing and awk-ing a few over the head of the otherwise uncooperative client code 3. The result of it all was a very busy computer churning out meshes and skeletons, setting the first on the latter, firing up the client and letting the resulting hopeful pose before a nearly invisible Cally, taking a screenshot, killing the client 4 and then proceeding to repeat as requested. Having thus set the computer to work, I went and soaked up the sun outdoors while the scripts worked tirelessly, the hopefuls hoped hopefully and otherwise the material for this article of mine was getting nicely done, sorted and stored in the right place too, "all by itself" 5.
Before moving on to all the images though, here's the summary of the main parts done since my last article on this, mainly so that I unload it all and have it here as reference for next article:
-
Updated the skeleton generation so that:
- - bones in the skeleton don't criss-cross/overlap one another: the algorithm starts now with the point closest to the centre of the unit sphere and then expands from there greedily, picking up at each step the next unconnected point that is closest to the sphere's centre and connecting it to the closest point to it that is already connected.
- - the number of points in the volume and on the surface of the sphere as well as the seed to use for the prng are exposed now as parameters to the script - this was needed and is useful at automation time, to generate as many skeletons as I wish. Worth noting here that each skeleton generation uses only the beginning of the prng sequence with the given seed - I don't think this is any issue as such but still better written out in clear.
- - the resulting skeleton is also written with *all* the required calculations of *everything* in the .xsf format that cal3d understands. This was the biggest pain and time-eater this past week, by far. Eurgh.
-
Updated the script setting a mesh to a given bone:
- - the script calculates now the actual length of the mesh from its vertices and uses that to figure out the required scale factor so the mesh fits the length of the bone. Previous version of this script used an approximation based on the parameters used at mesh generation time - it was good enough for starters but it kind of reached its limits when I really turned on the knobs to generate hundreds of meshes and all that as in some cases the error was annoying.
- - the script also figures out the lowest point of the mesh and then does the required translations so that the resulting mesh is always "on the ground" basically. This was needed because otherwise there is variation and it's impossible to set anything so it's in a fixed place - some would be too high up and others end up underground.
- - a fix so that the mesh after all the required transformations is indeed set exactly where the bone starts; it turns out the previous version had an error due to how the transformations combined and that error resulted in some poor disjointed creatures with gaps between meshes. As this sort of errors tend to go, it took some hunting 6 to find out just which tiny bit and where was I getting wrong in all that but that made it all the more satisfying when I finally found the trouble and fixed it - the result is happily jointed creatures, too, so hooray!
- Read some more and this time I finally managed to find the out-of-print original Peitgen book which turned out to be a pleasure to read even though a rather hefty one if one looks at the number of pages. Unlike the easy-to-find and way more popular book with shiny pictures 7 that focuses primarily on the various discovered "ways to do this or that" 8, Peitgen's book focuses on walking the reader through a way to building up their understanding of fractals and how they are linked with chaos theory.
- Experimented some more with different mesh deformations and what various parameters may or may not do - the main benefit here is that I quite know by now in the current setup how the various parameters tend to affect the result. Given the previous "cancers", I pushed the buttons to have less of that and more of "creatures" but I'm not sure it's quite there yet. I even generated a few meshes without fractals altogether, leaving the deformation to prng alone - the results are not terrible perhaps and they are certainly less intricate but I don't think they are any good or even really in the best direction either. Instead, I think it's possibly a different base function that might be more promising but as it tends to happen, the idea came fully formed only today after all the week's reading and experimenting had time to settle down a bit and started to come together otherwise.
- Experimented a bit more with textures too - just like for meshes above, it's still not fully there yet and I have some promising ideas and directions to try out moving on, so whenever I'll get some time for it. Anyways, I did get a few variations and got some not-bad new textures too. One interesting thing to note though is that there are textures that look lovely as images but don't turn out all that well on the creatures themselves so there's apparently some more to experiment on what matches the meshes and what doesn't!
To start with, here are first a few texture pics:
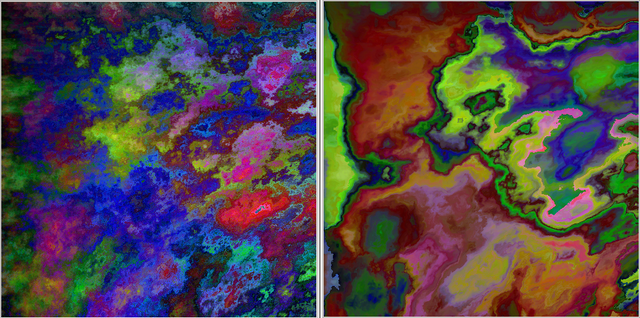
Two of what I call "overdone" textures - they look like that to me as images but otherwise they can turn out not-bad on a mesh (especially the one on the right that is a multifractal as opposed to the one on the left that is just a higher level of noise single fractal):
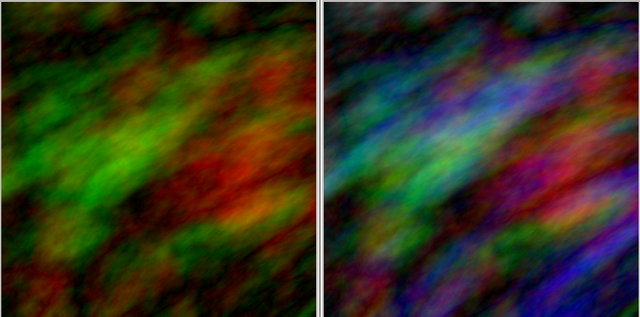
Two sets of textures obtained by varying the colour and domain coding while still using a multifractal - especially the 2 in the second pic tend to give meshes this sort of "transparent creature" effect, I'd say:
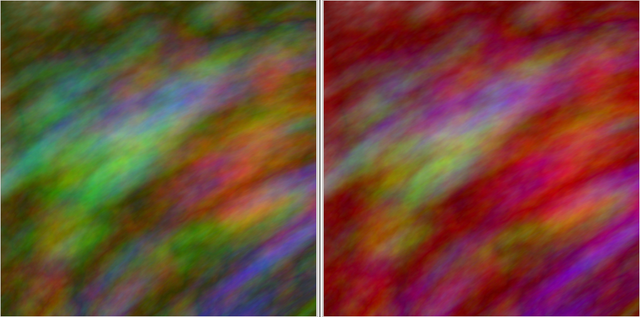
A set from the play with stereographic mapping of the texture's domain itself - I was curious how this turns out especially because I am currently using stereographic mapping from the texture to the mesh itself so it made sense to see if generating a "spherical" texture to start with works better. In practice I wouldn't say it does, no. The difference between the two textures here is given by the amount of "noise" allowed in and the number of fractal iterations (they are both single fractals though):
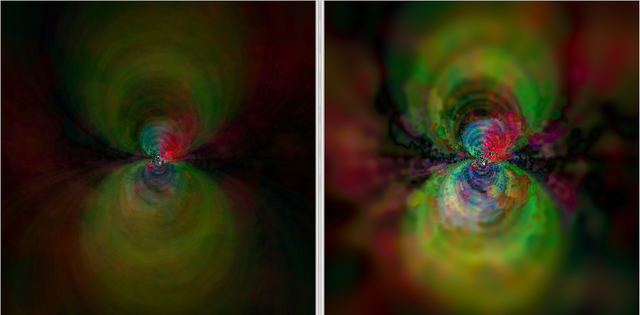
One texture where I just tried out trig functions, without any clear idea really:
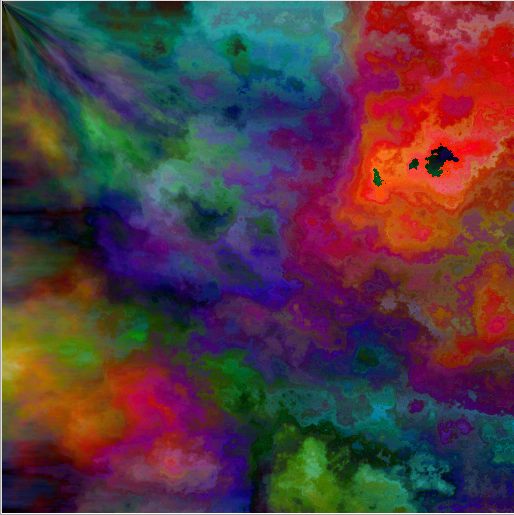
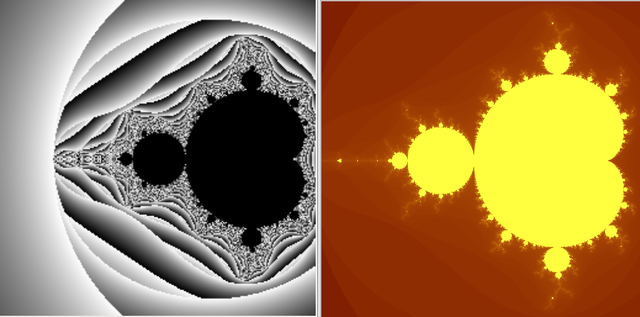
Finally, some differently coloured Mandelbrot's as I ended up using the black and white one for the parade of hopefuls (though the yellow /single coloured ones also create at times interesting effects):
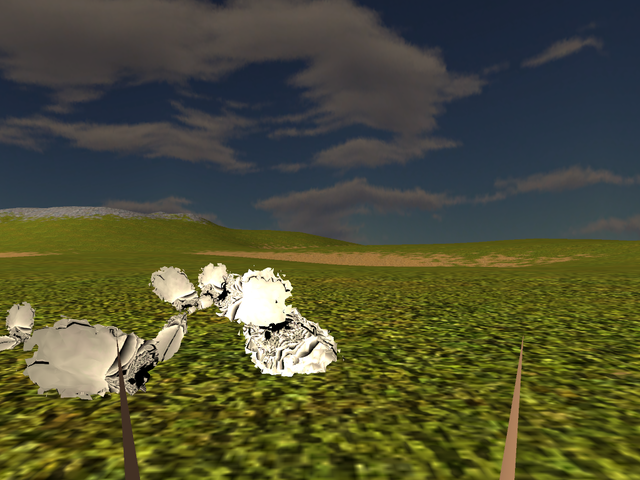
And finally, the pics you wanted all along - the hopefuls themselves! They are *all* generated using the very same mesh, just set on all the various bones so that the whole difference between what you see is at all times just one of skeleton. Here's the first set of 50, generated ALL with skeleton seeds from 1 to 50 (MT prng), with points in the sphere volume between 4 and 8, points on the sphere surface between 4 and 8:
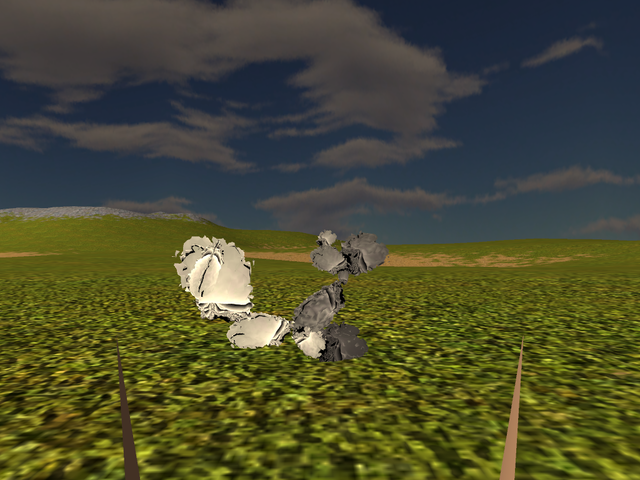
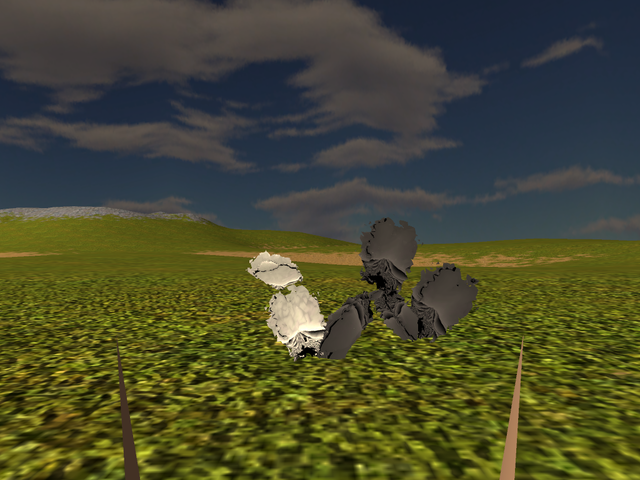
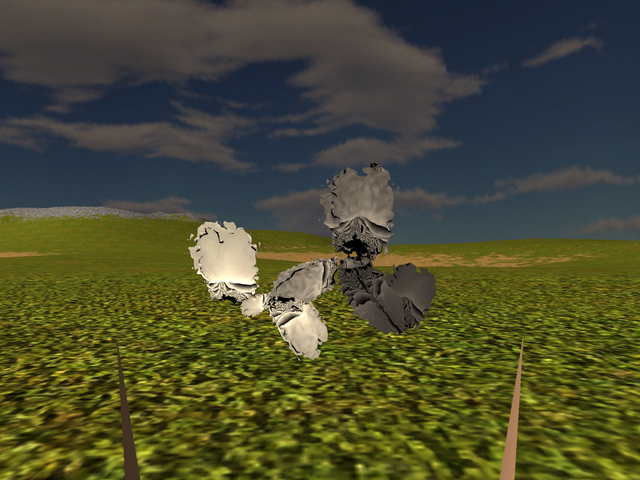
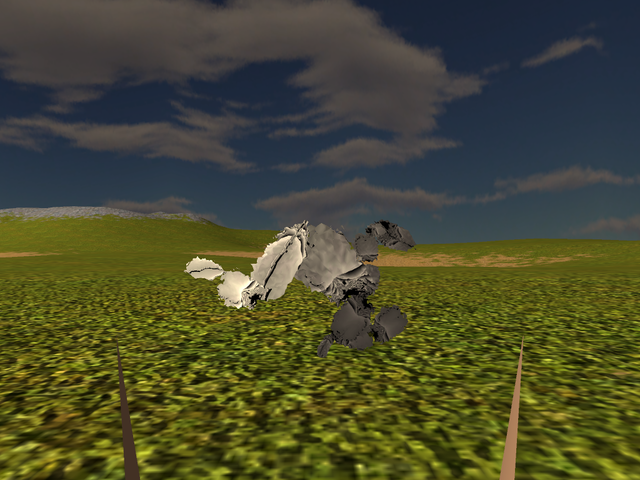
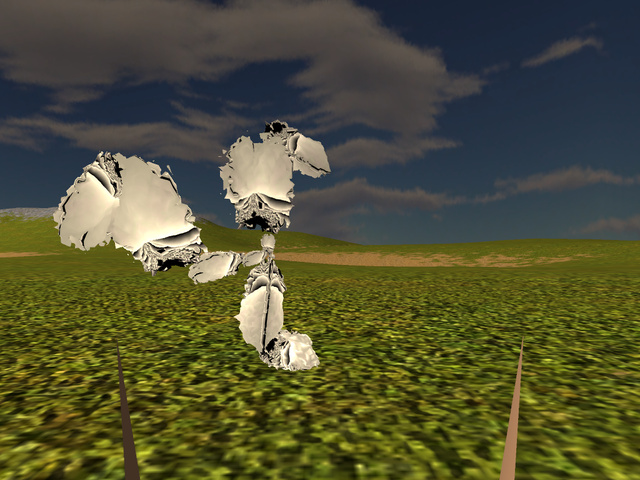
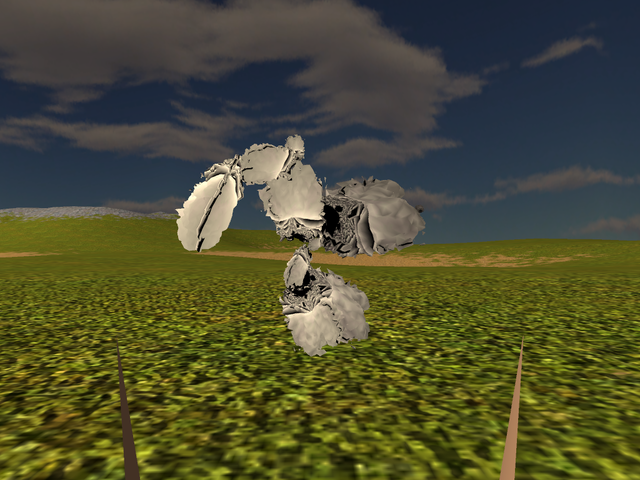
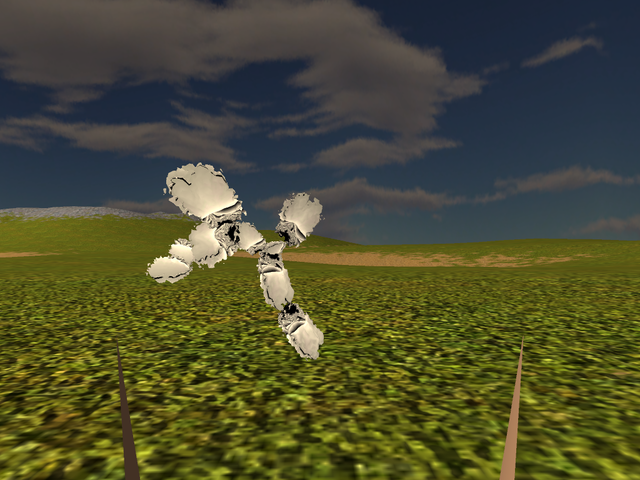
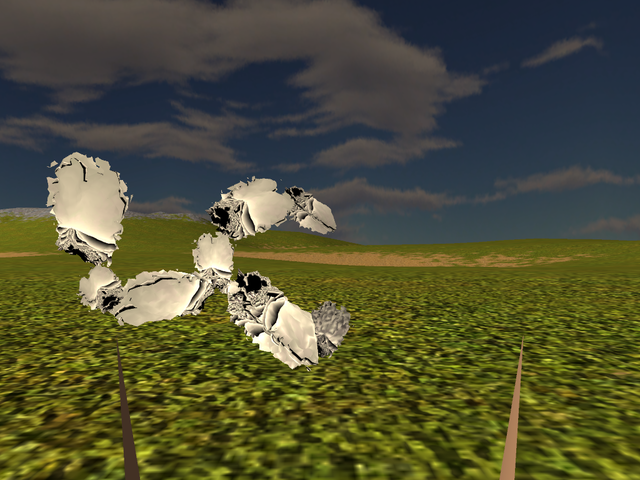
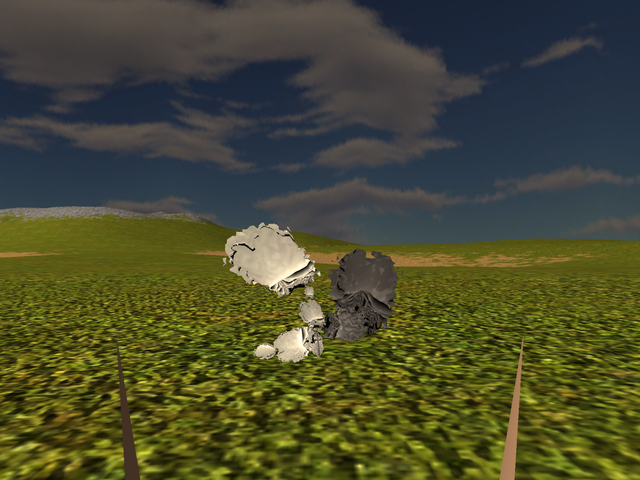
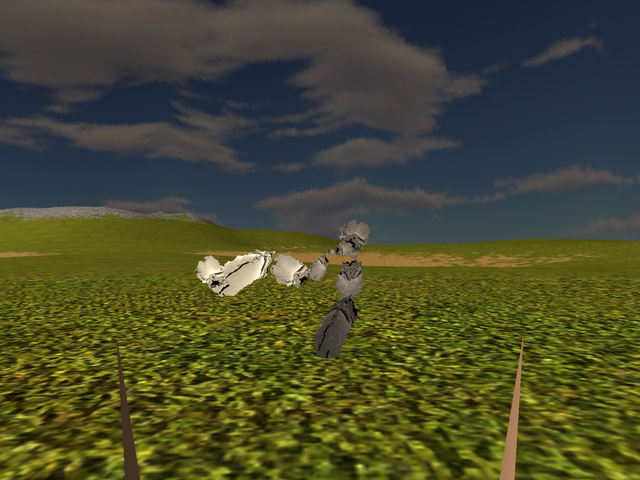
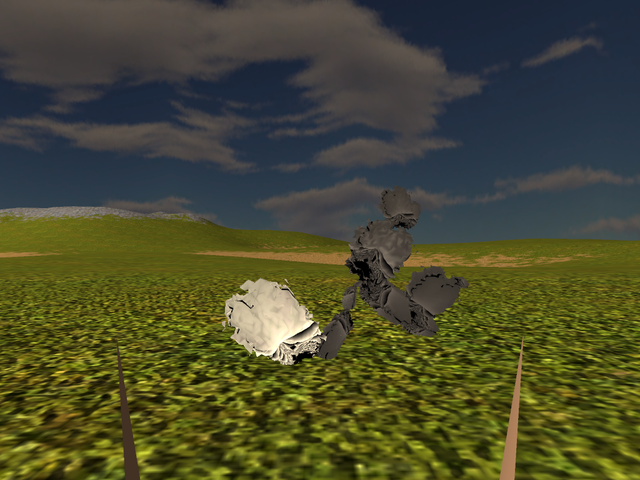
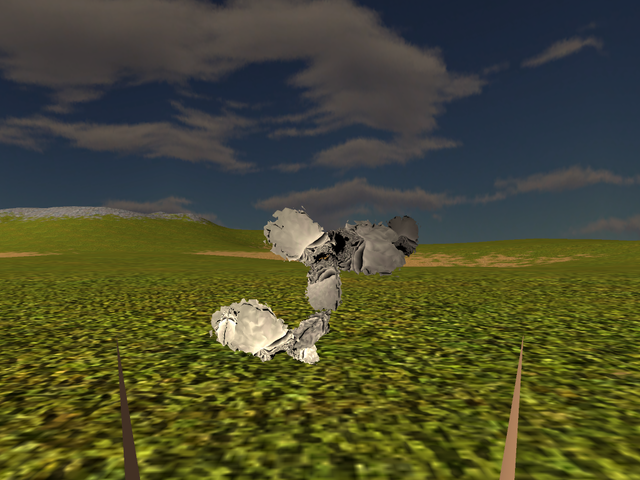
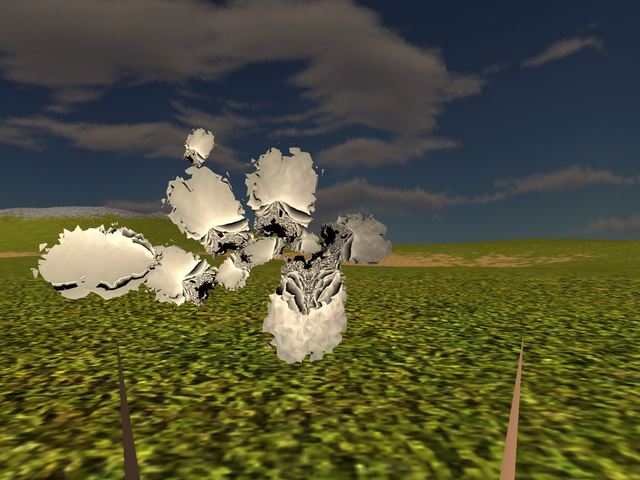
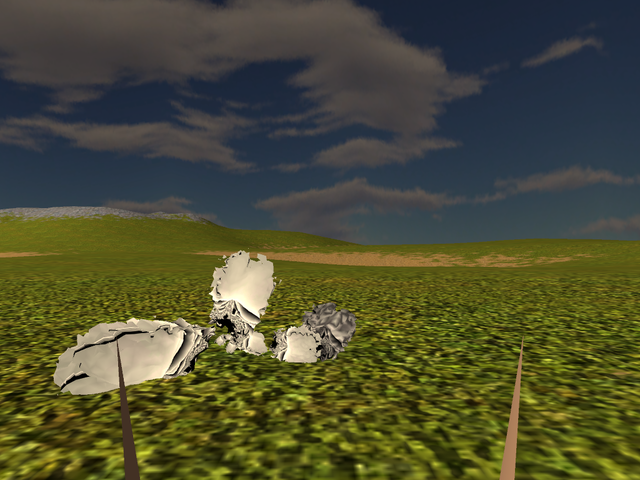
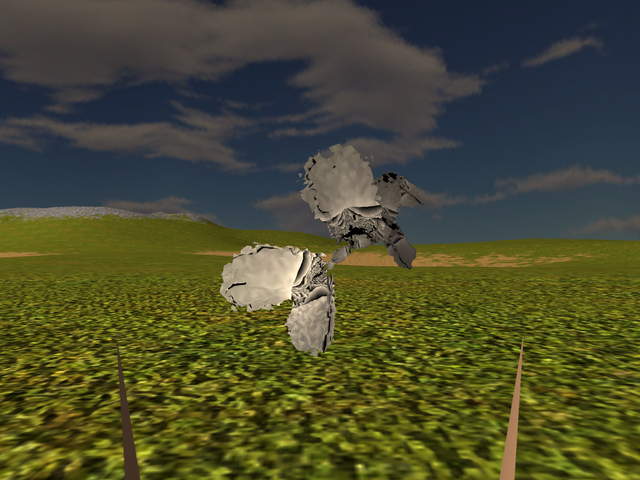
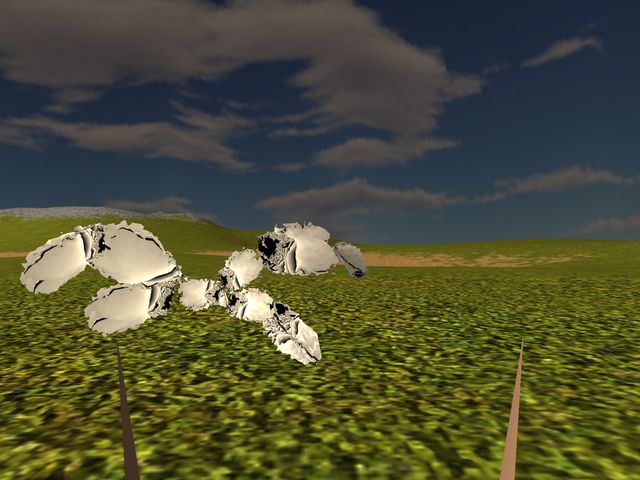
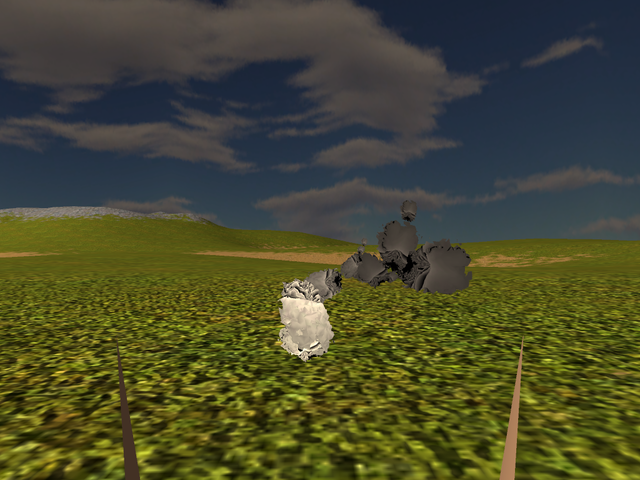
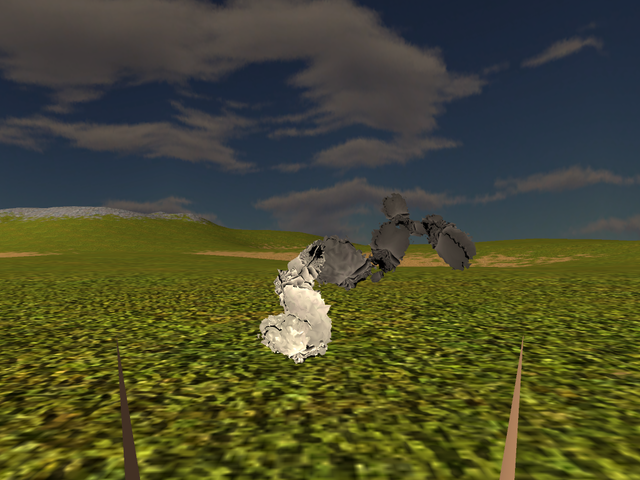
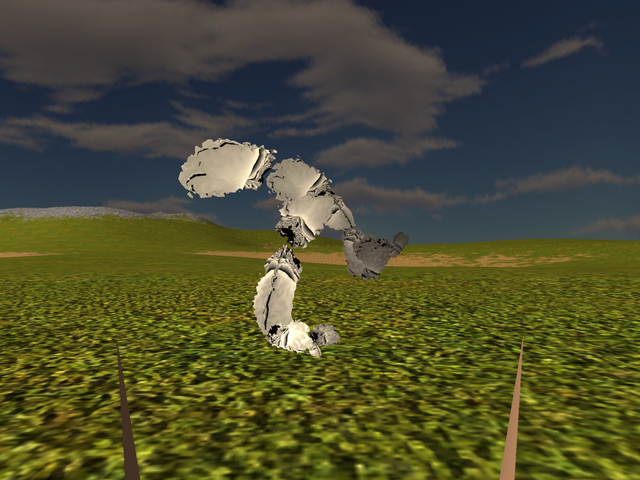
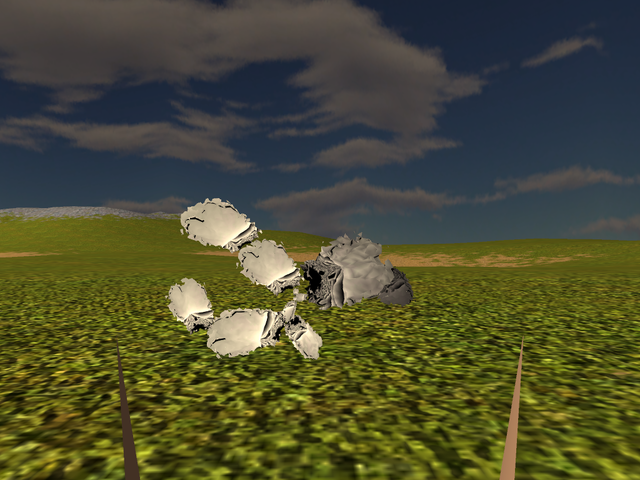
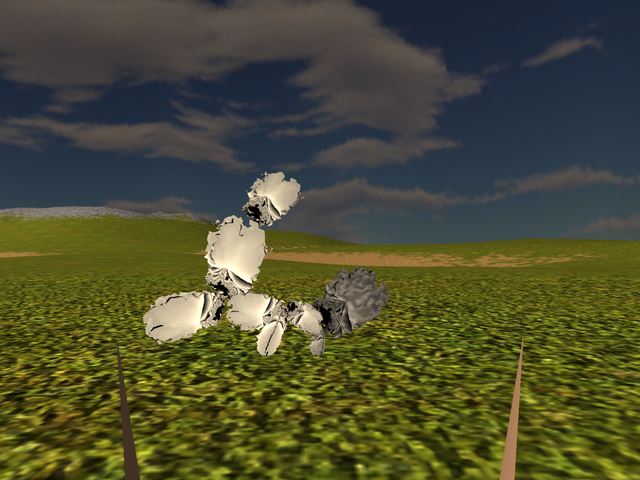
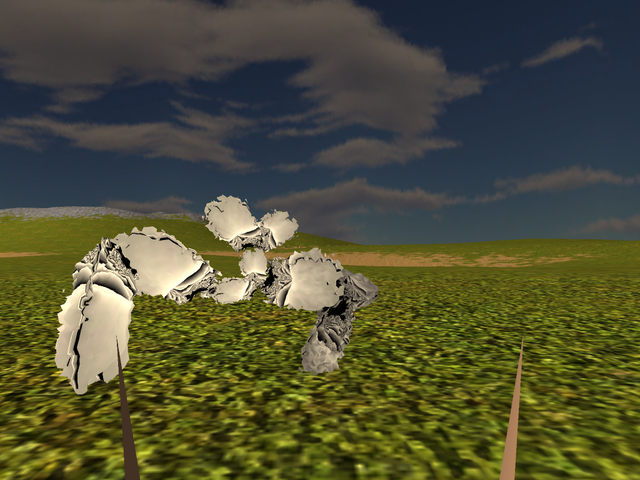
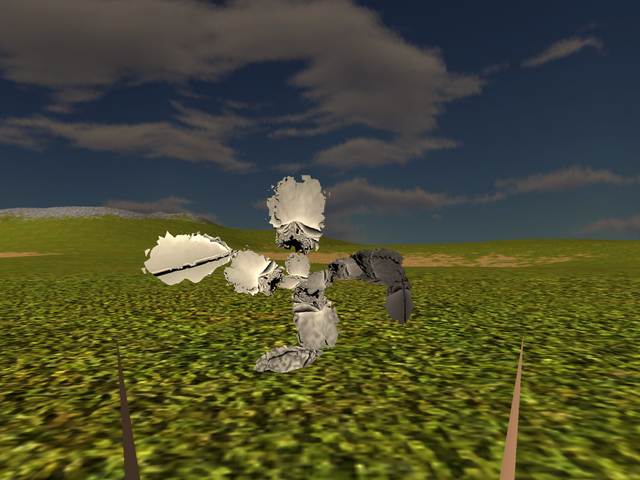
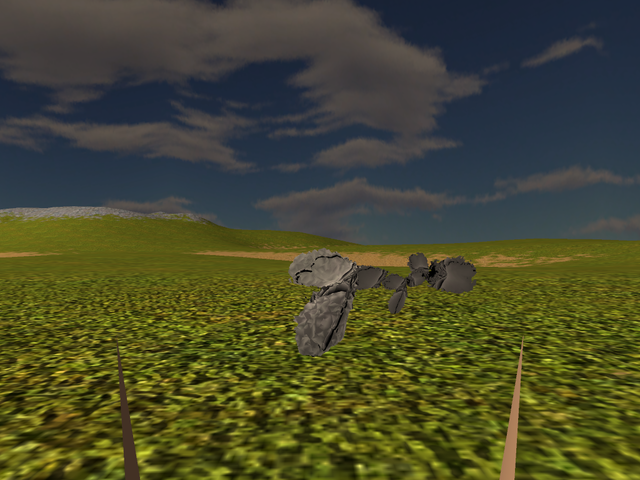
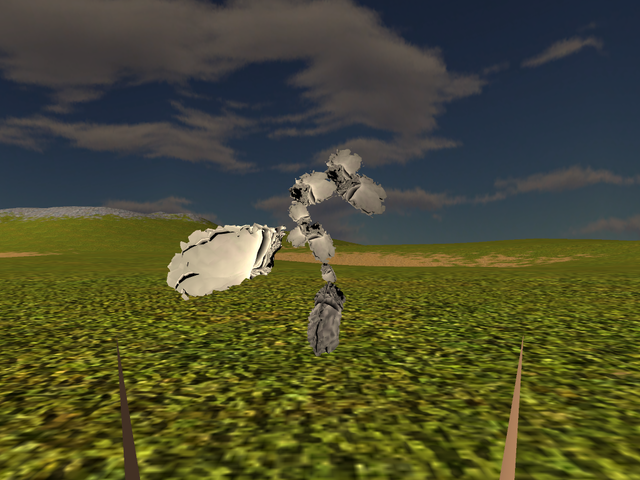
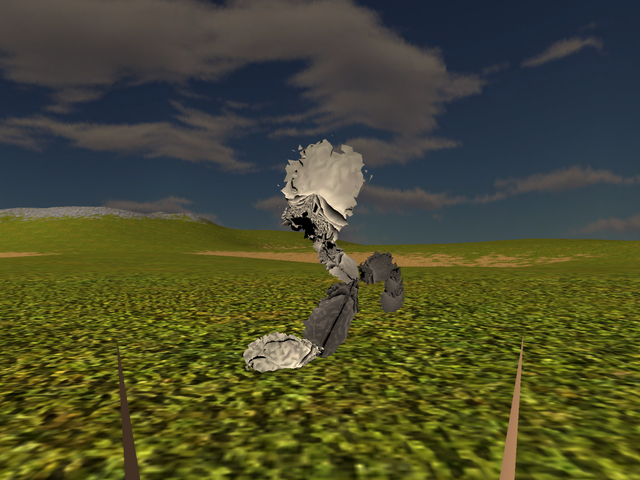
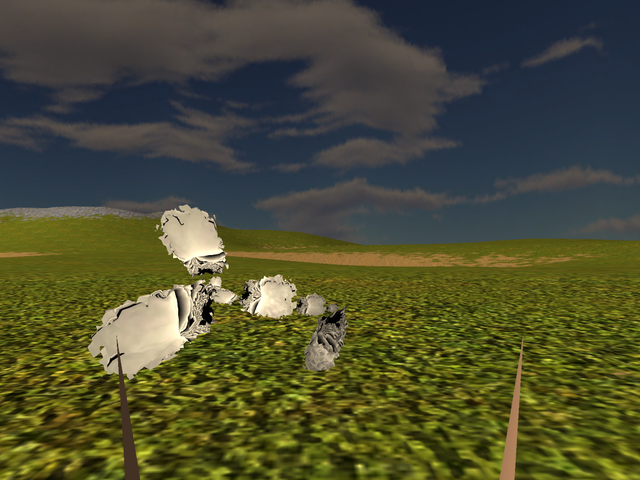
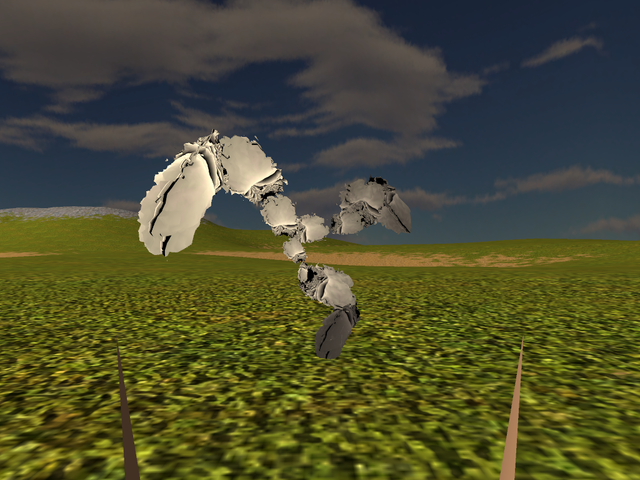
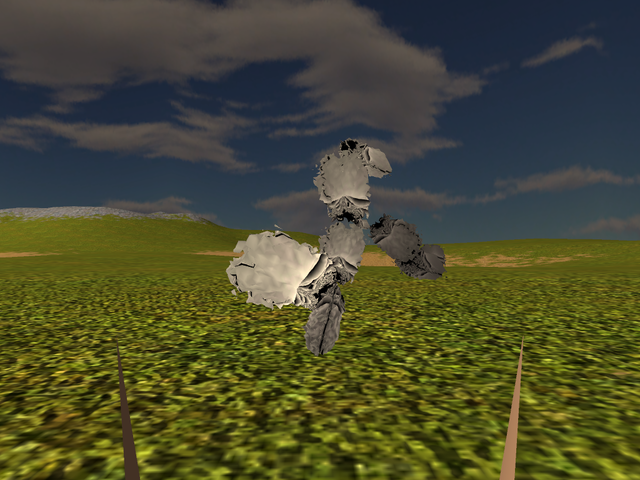
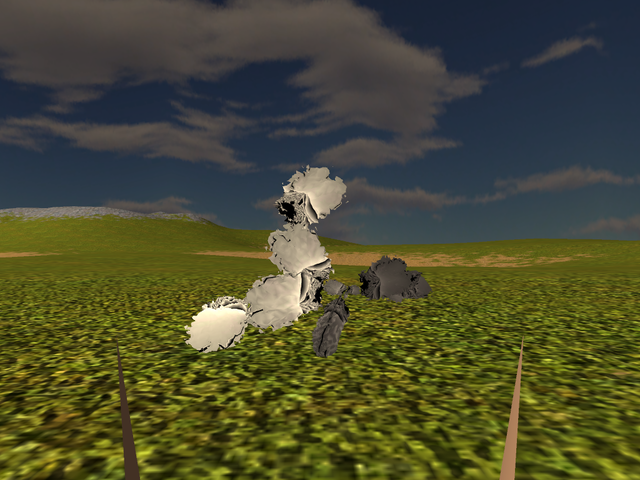
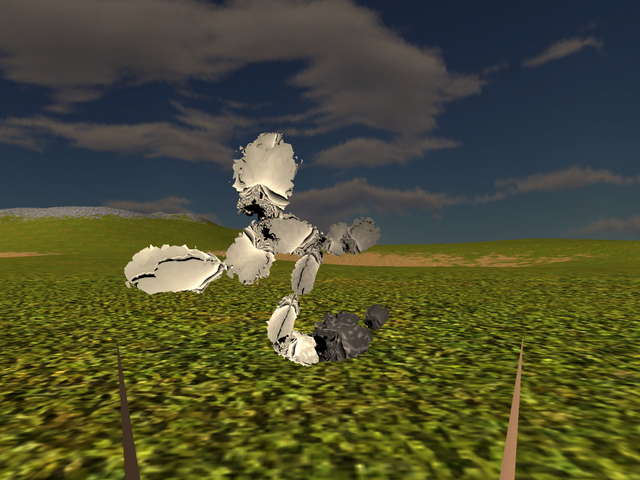
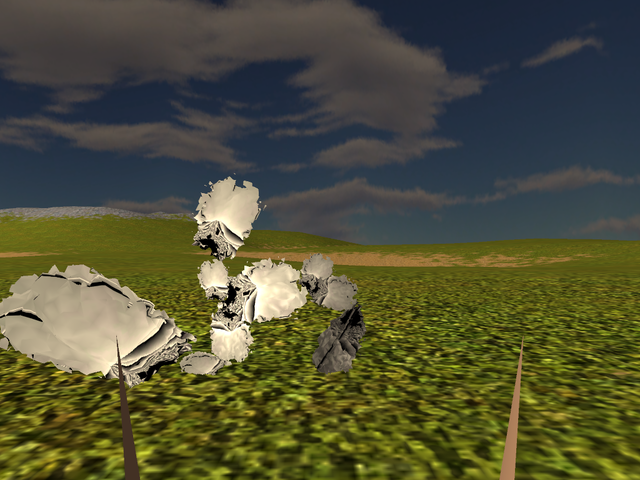
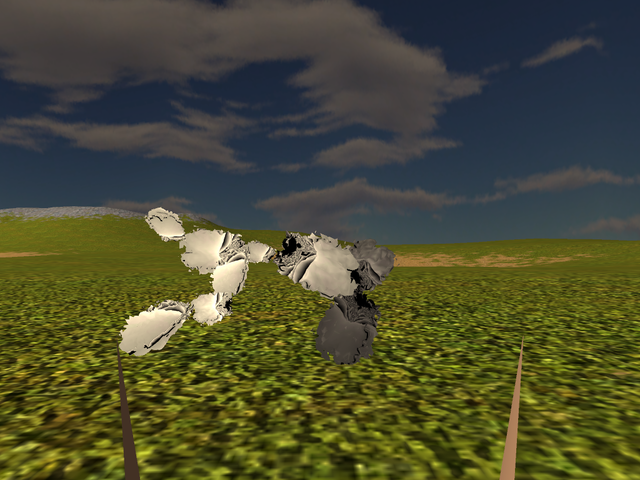
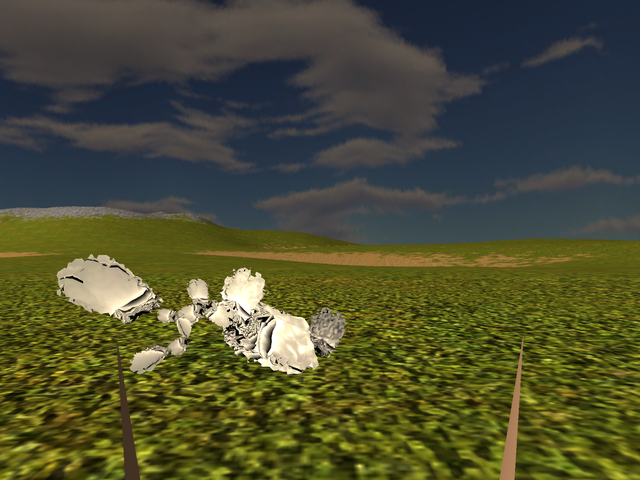
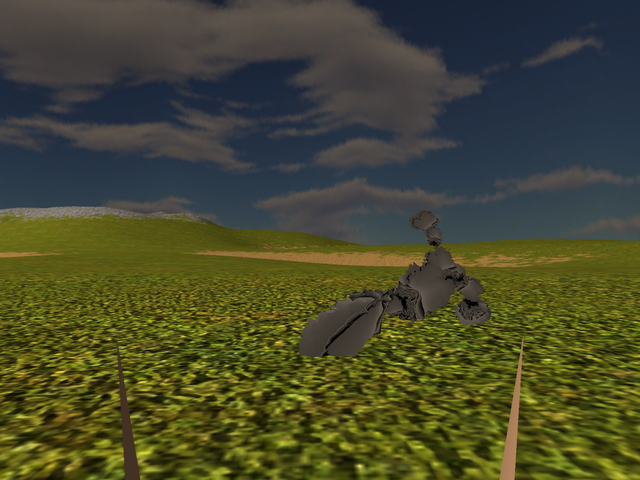
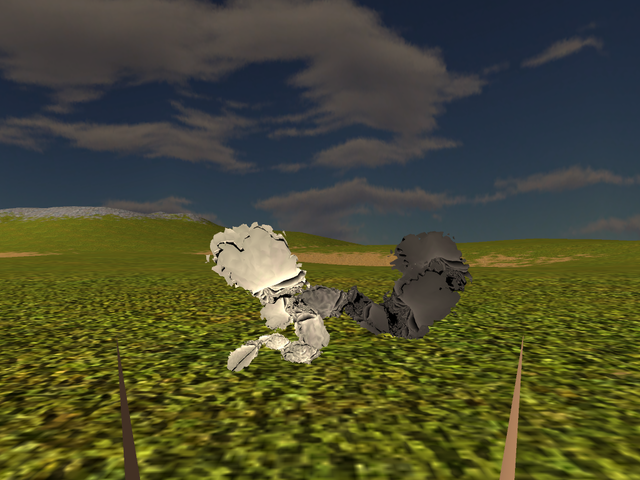
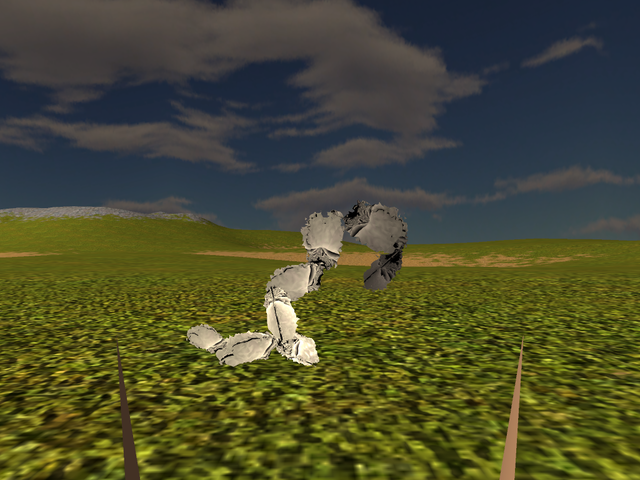
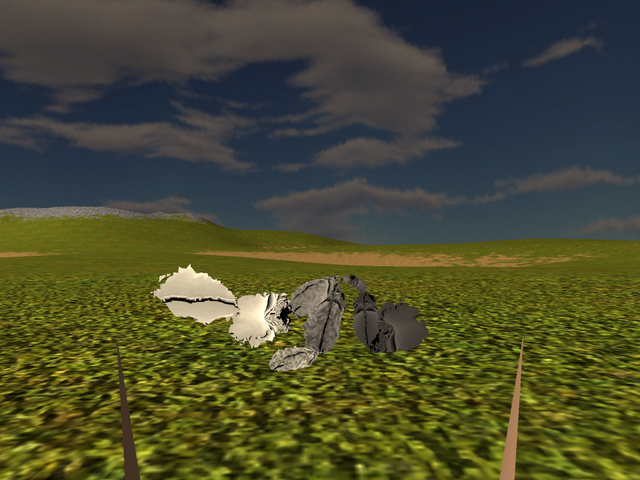
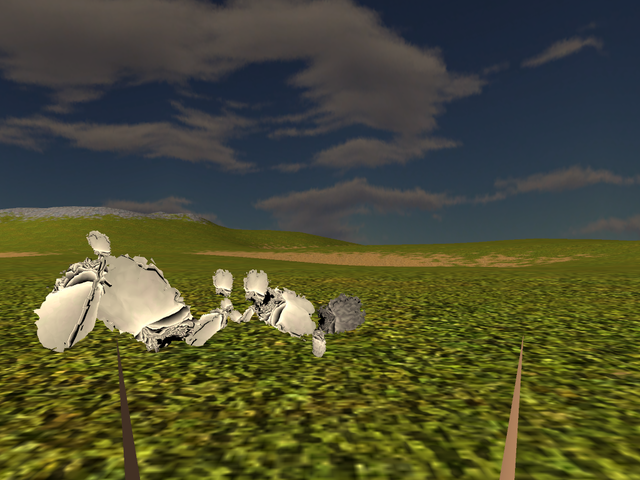
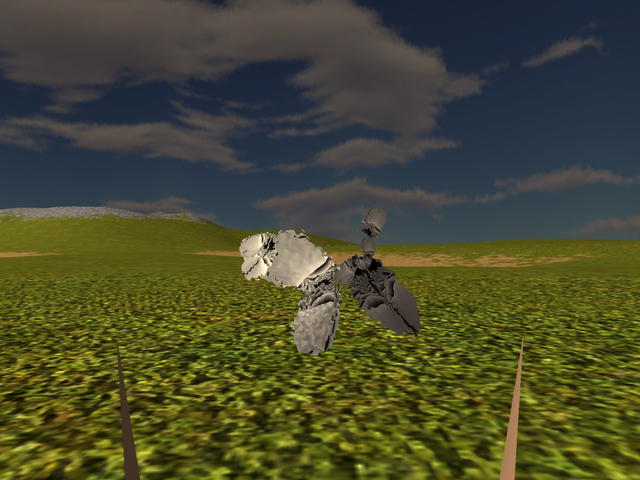
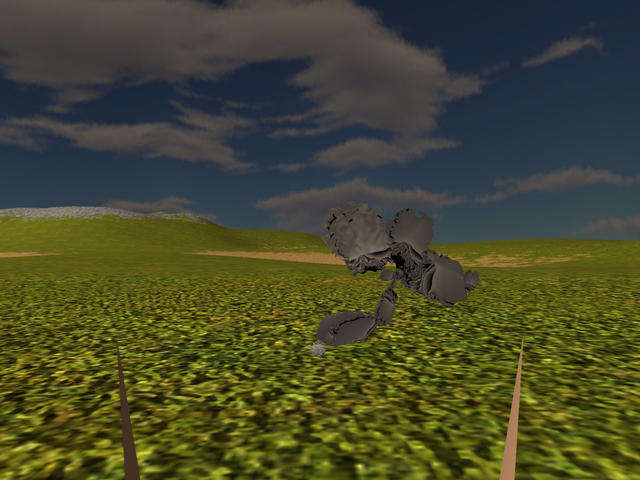
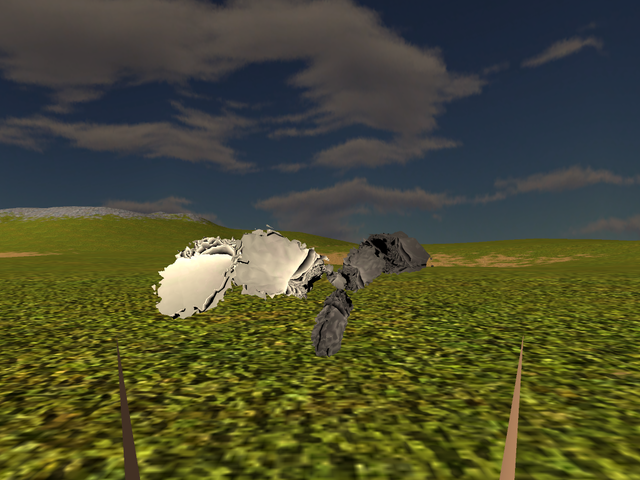
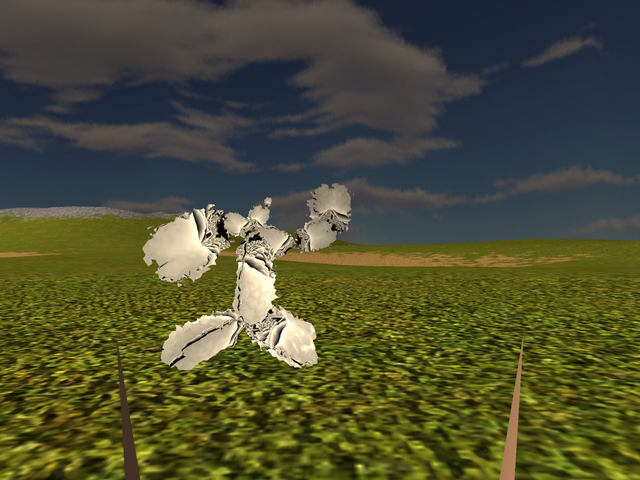
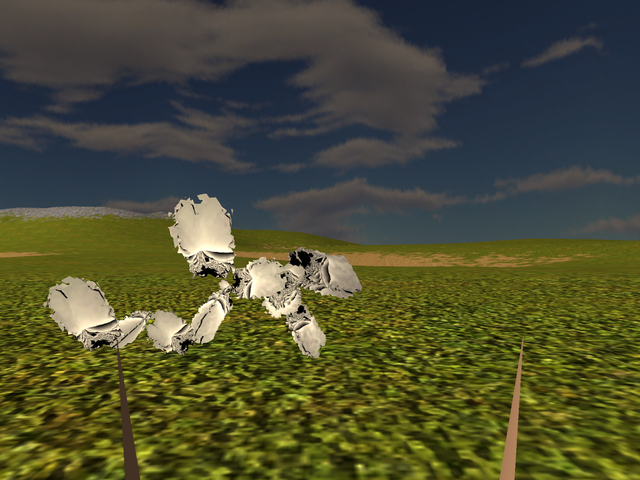
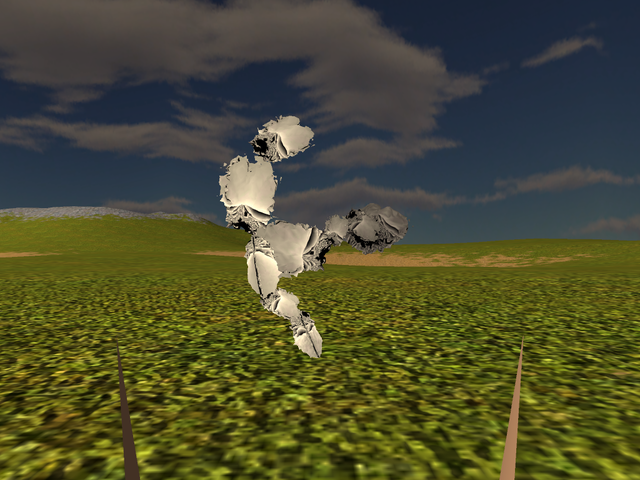
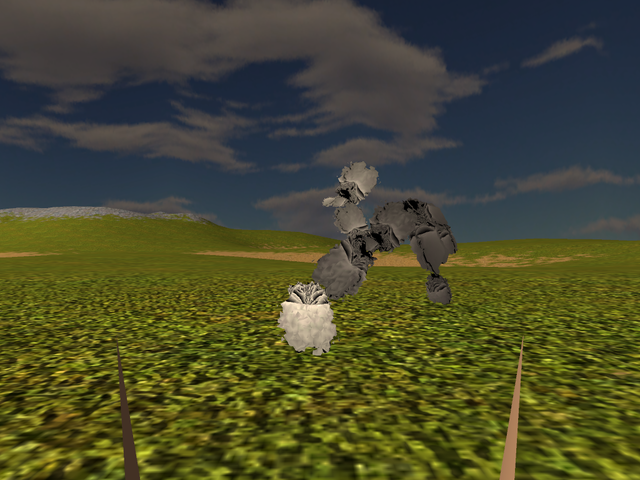
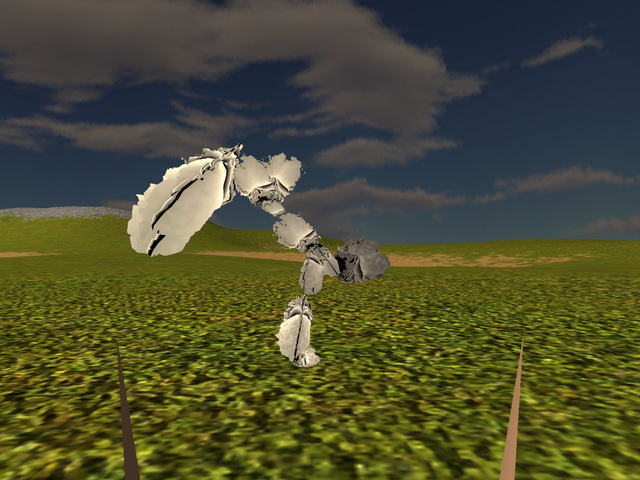
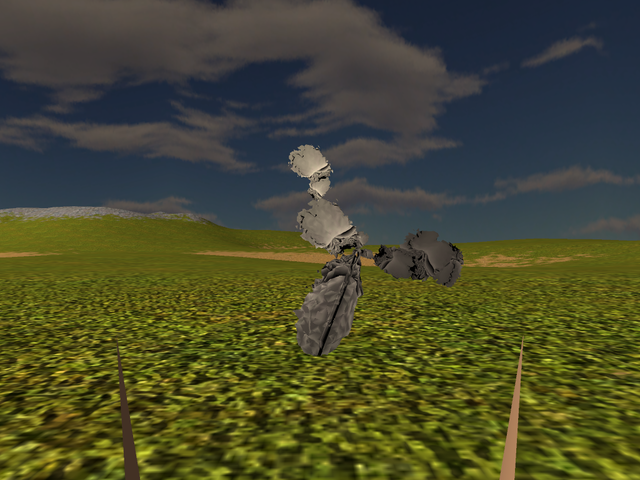
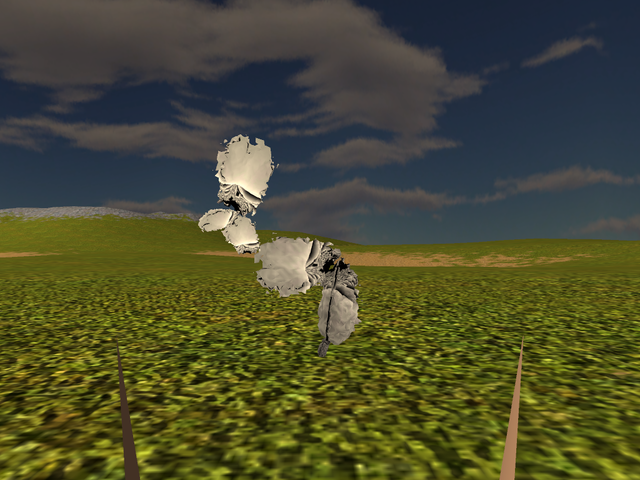
While the above set turned out some funny creatures, I thought they really could do with more bones to help shape out some proper poses. So here's another set of 50, using the same skeleton seeds but with points in the volume between 7 and 13 and on the surface again between 7 and 13:
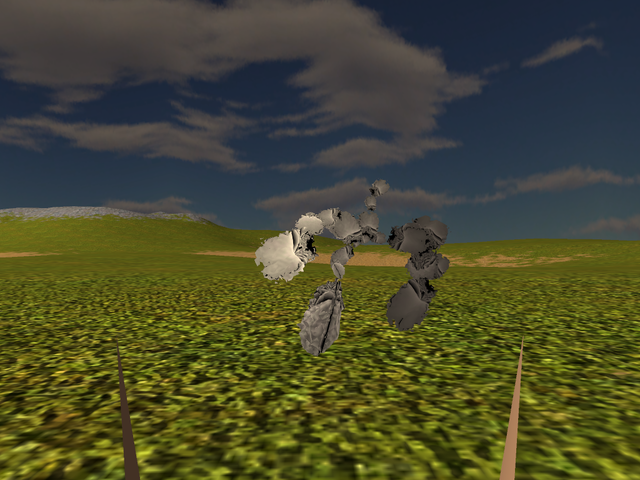
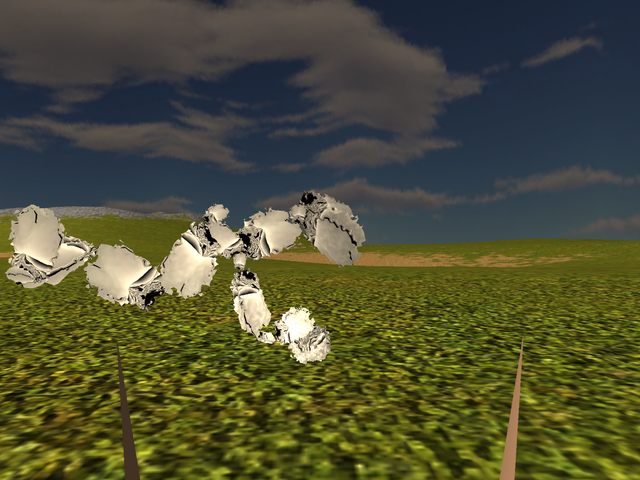
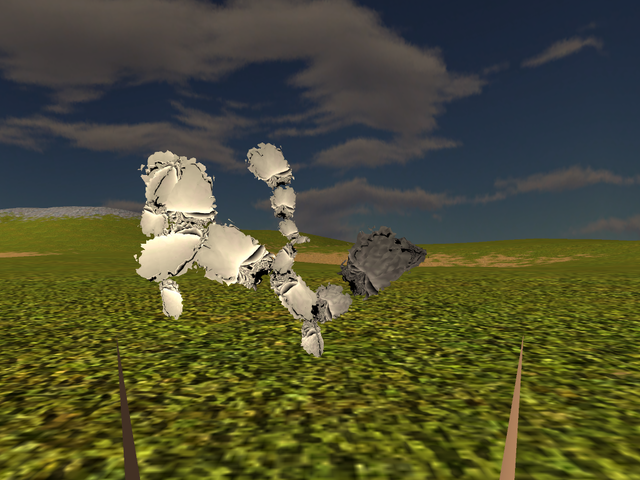


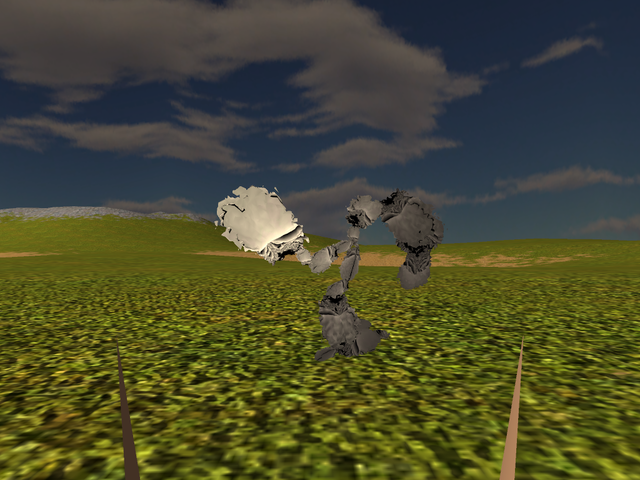
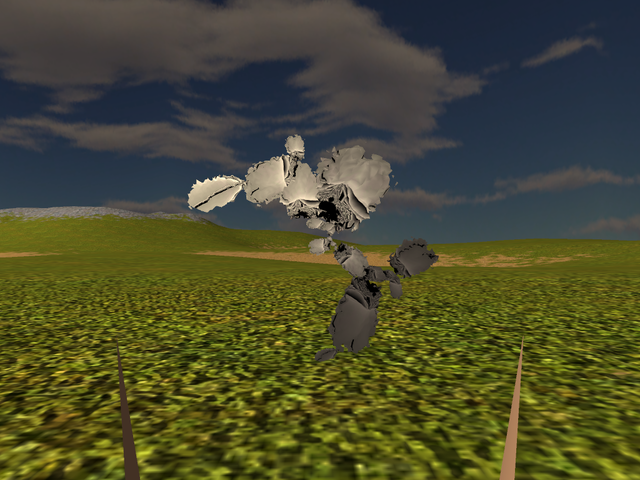
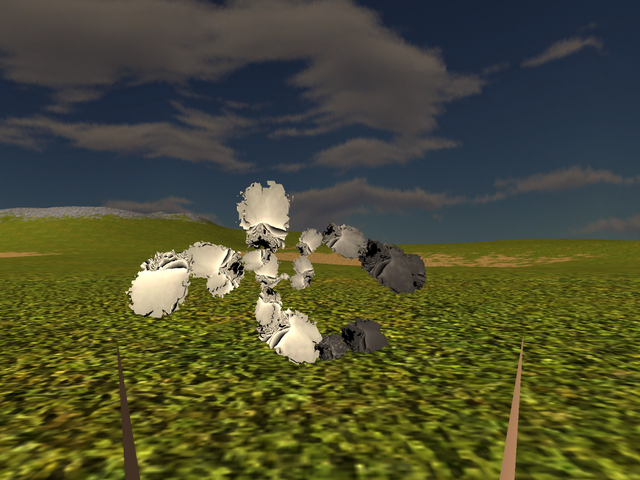
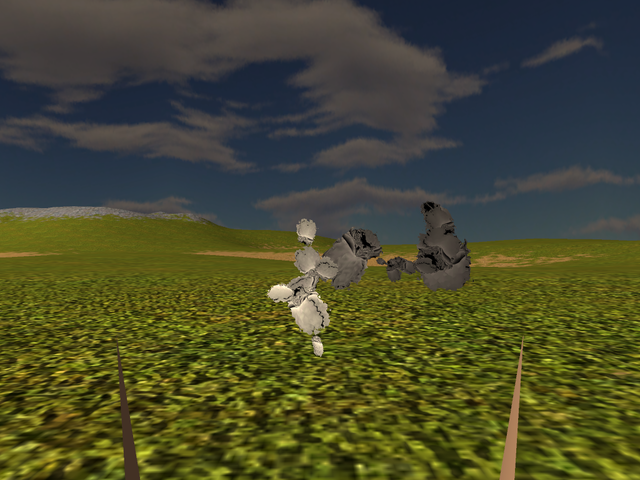
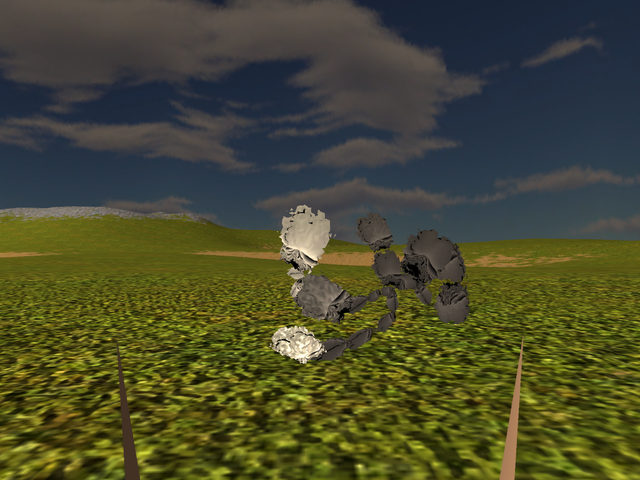
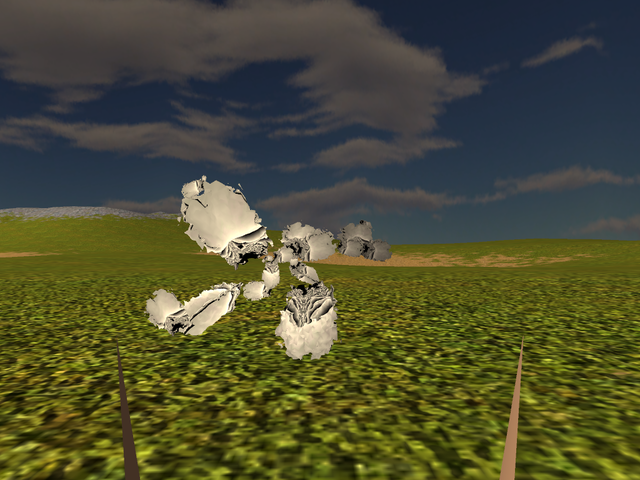
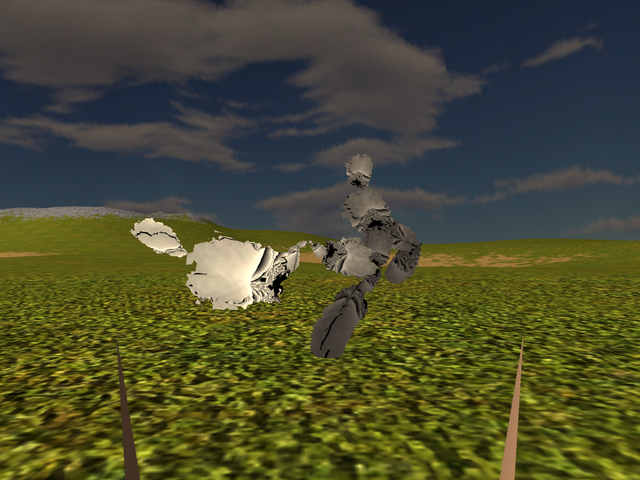
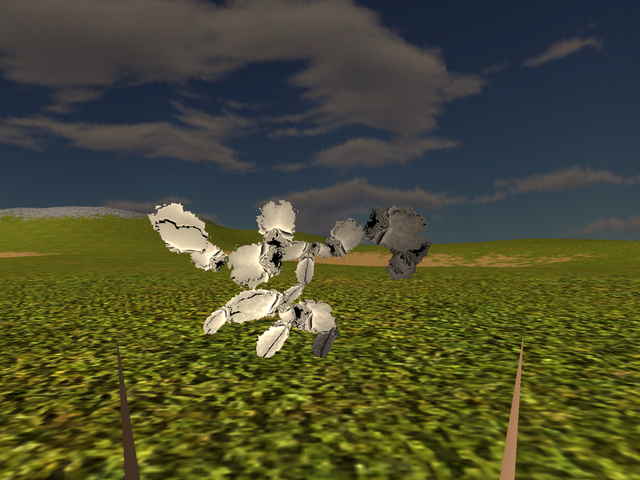
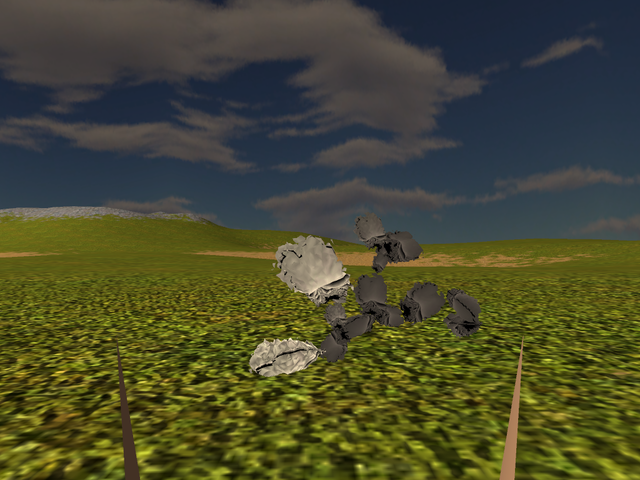
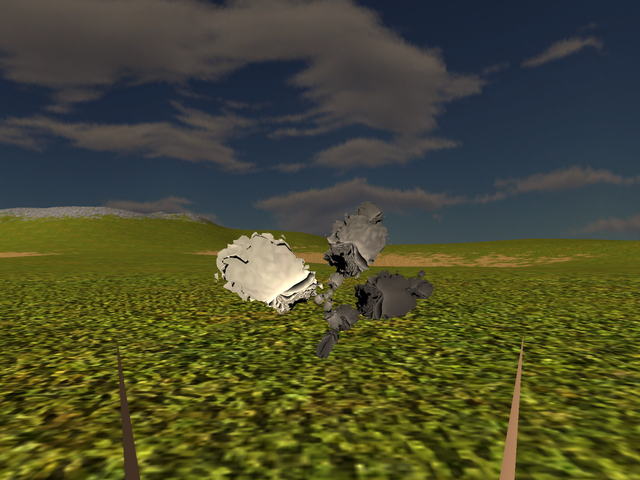
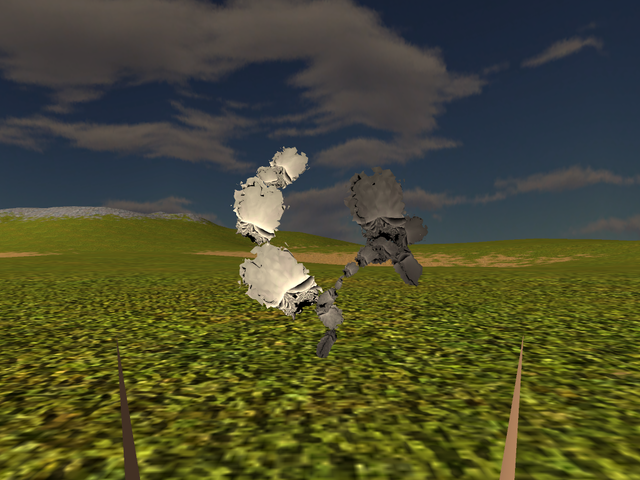
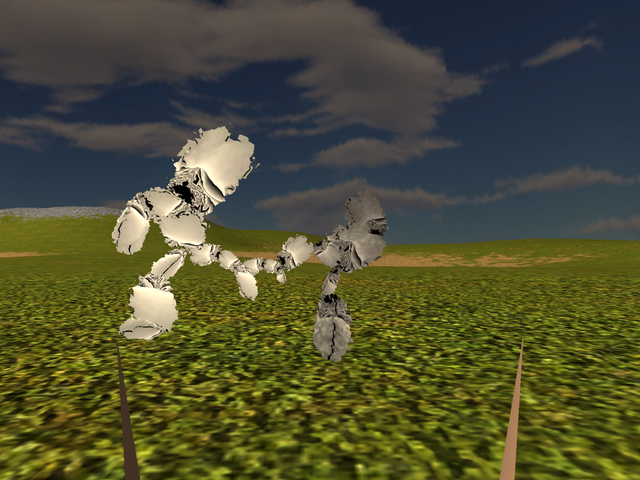
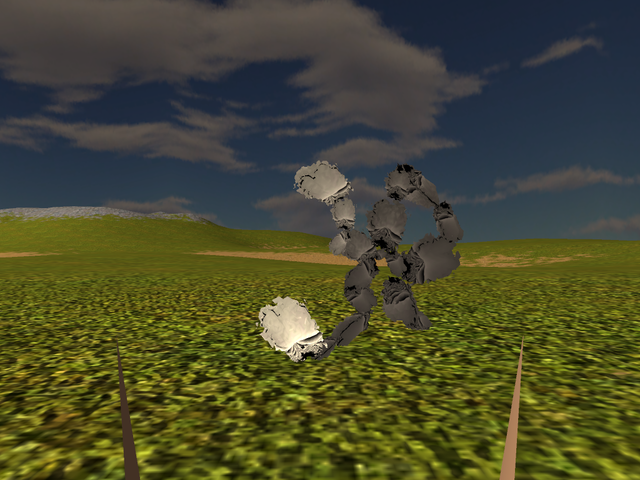
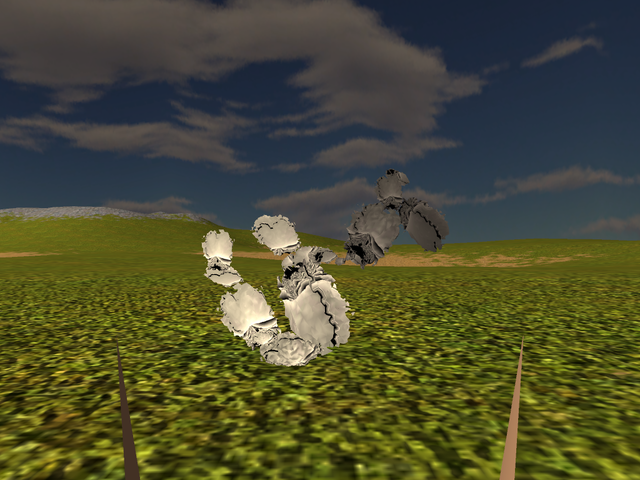
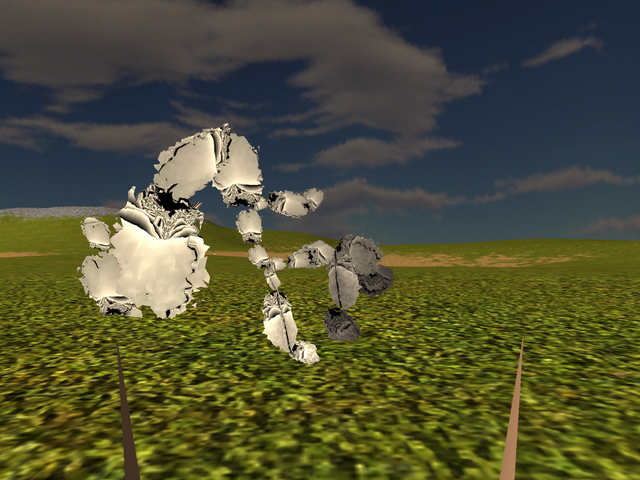
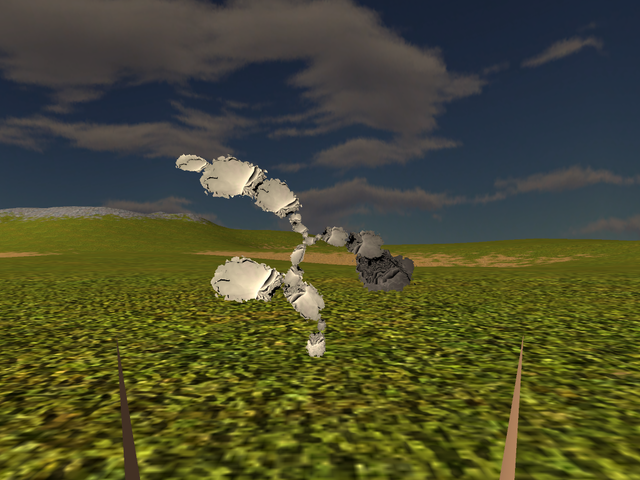
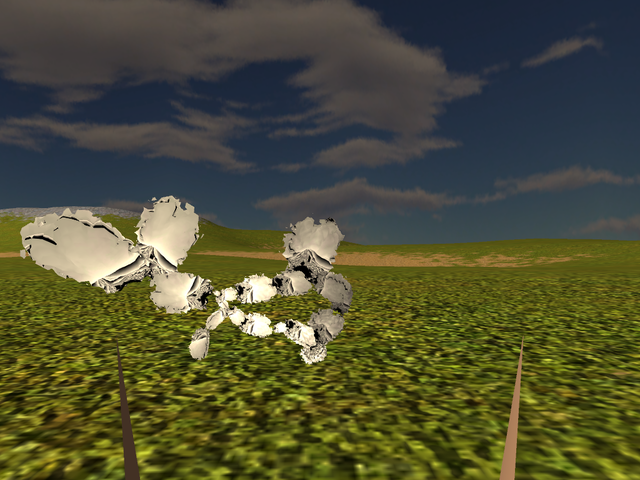
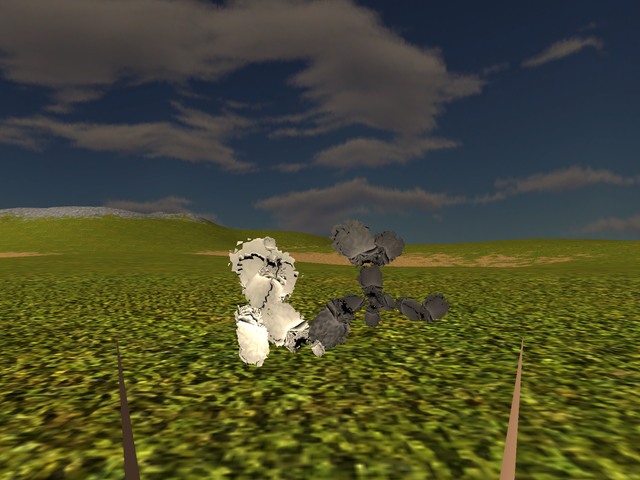
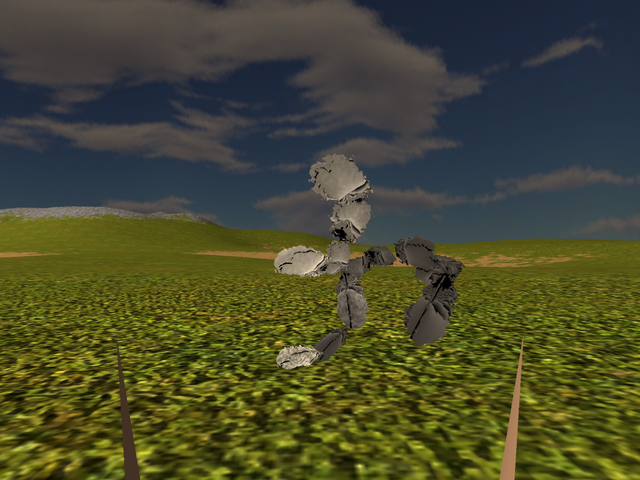
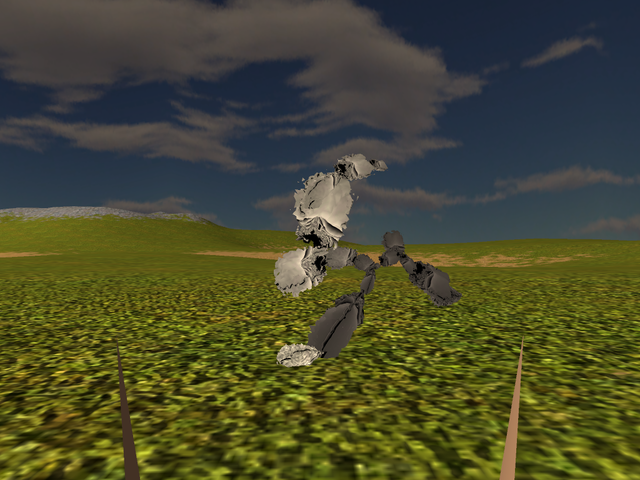
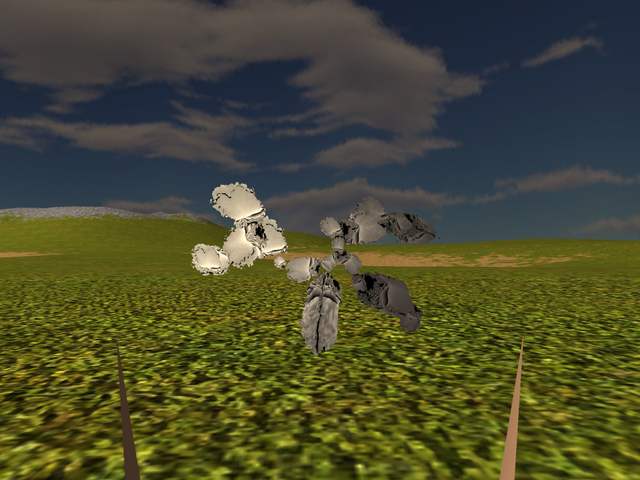
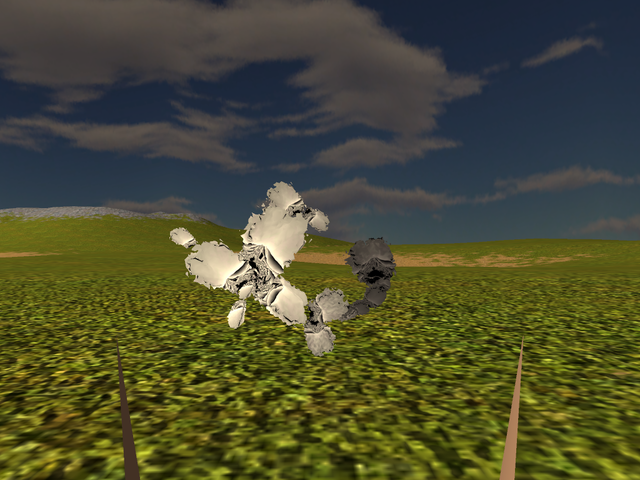
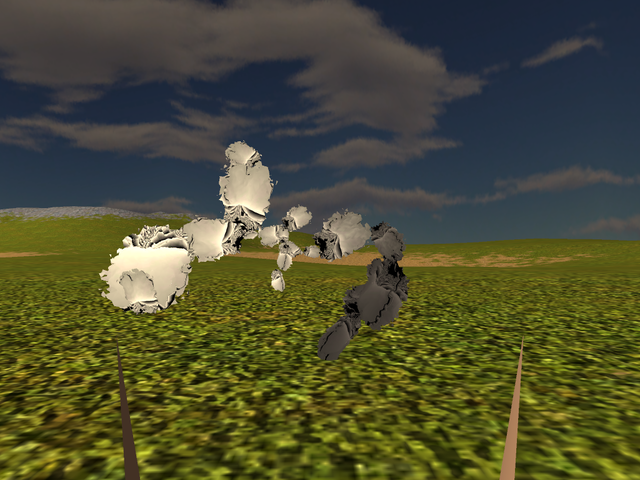
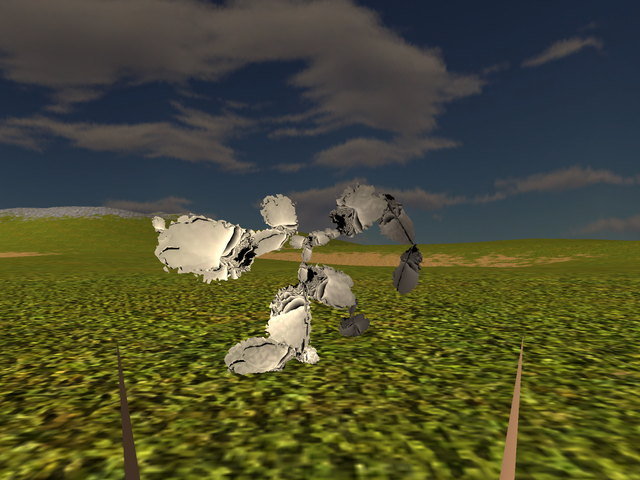
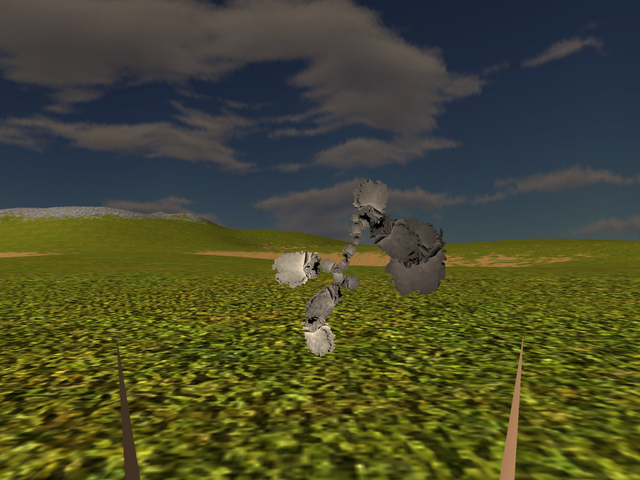
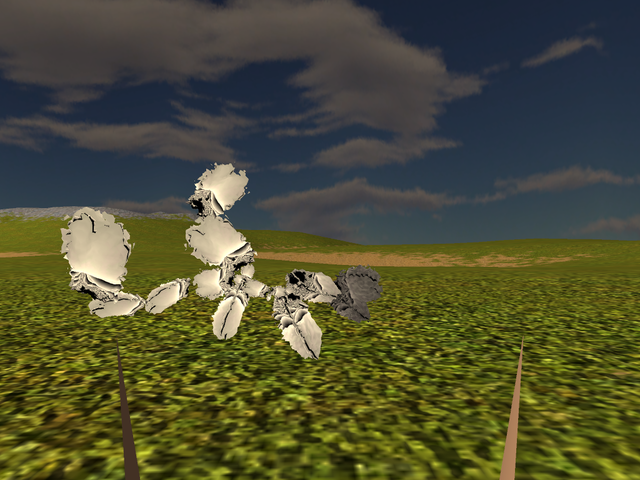
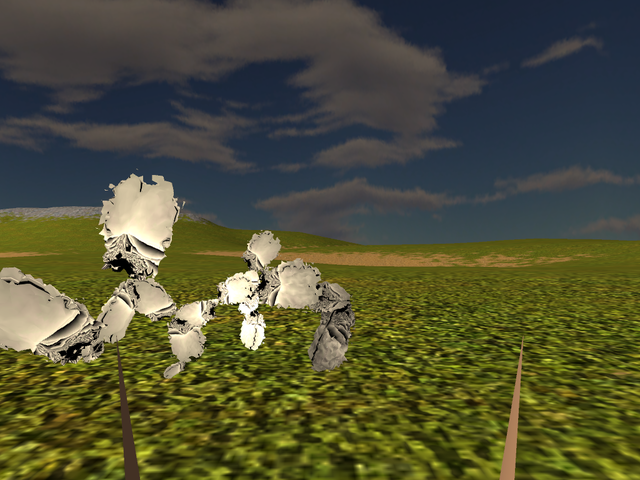
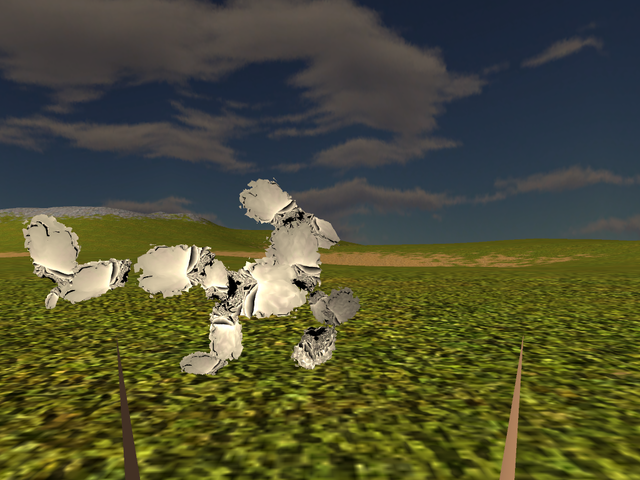
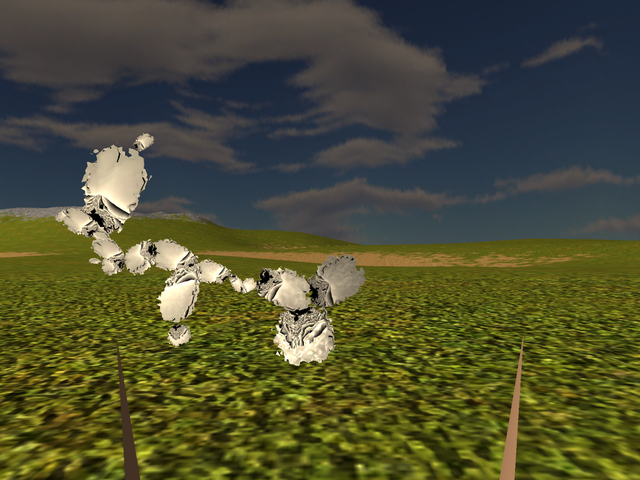
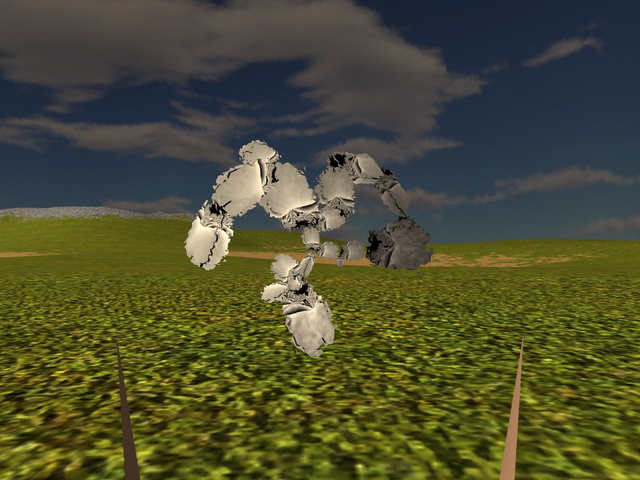
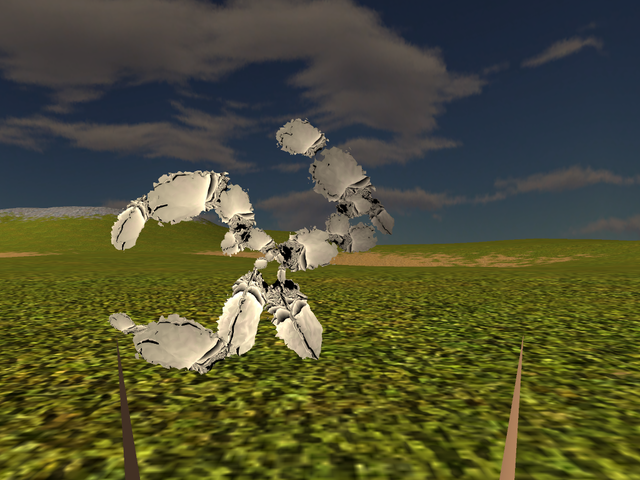
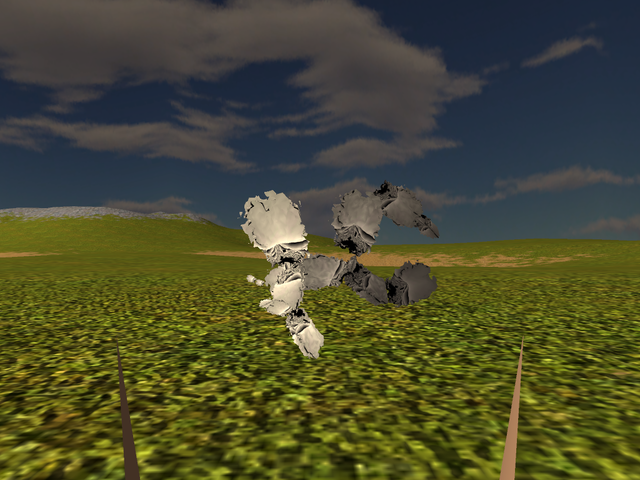
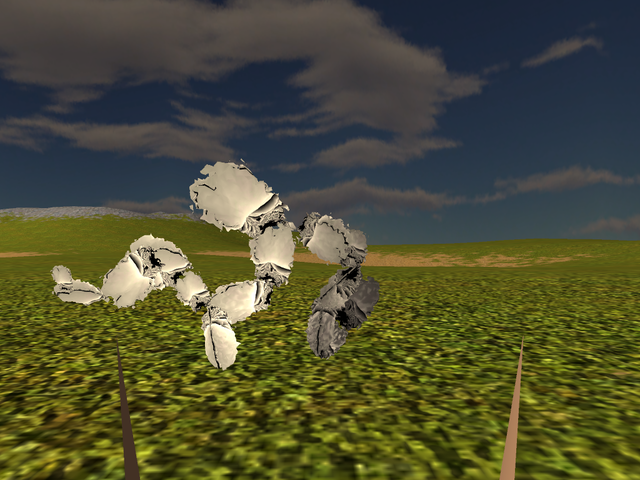
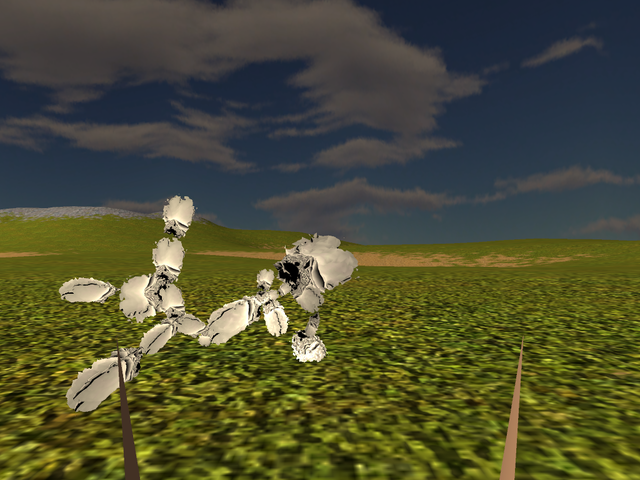
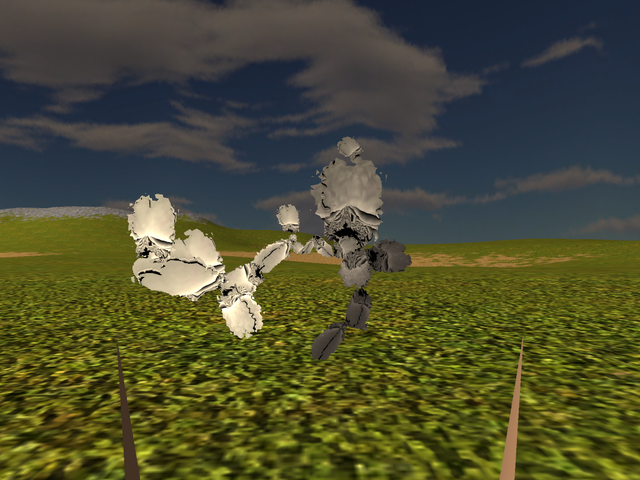
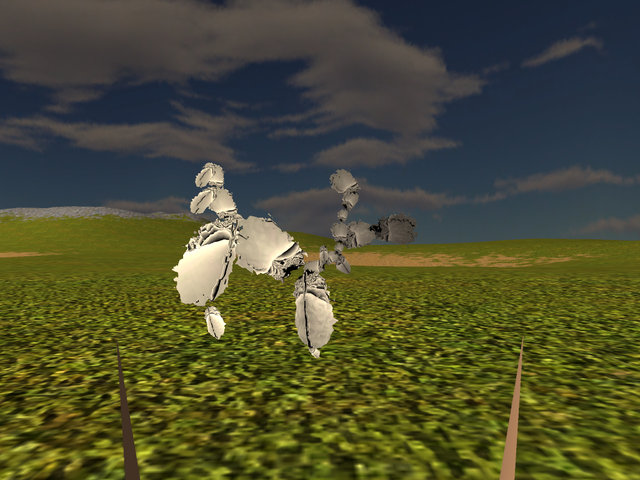
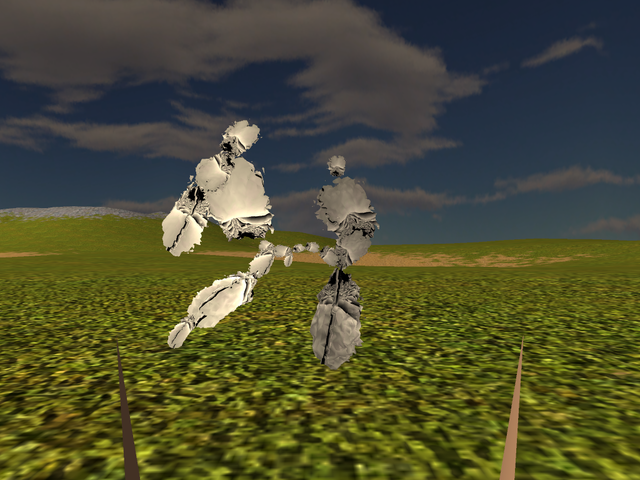
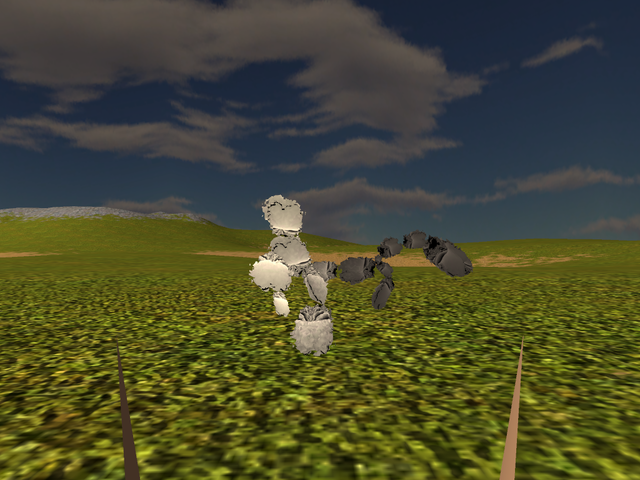
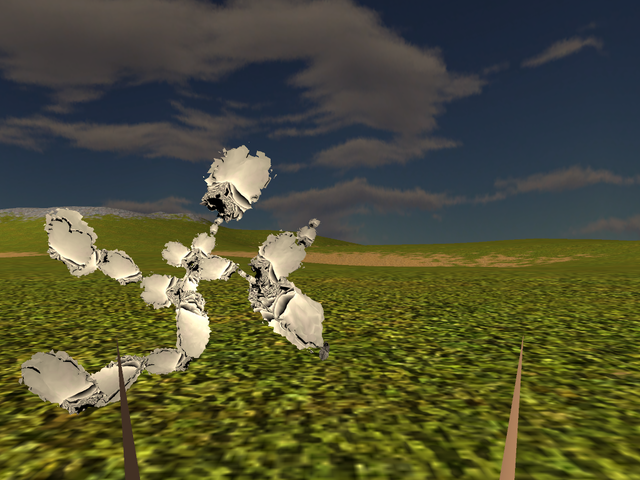
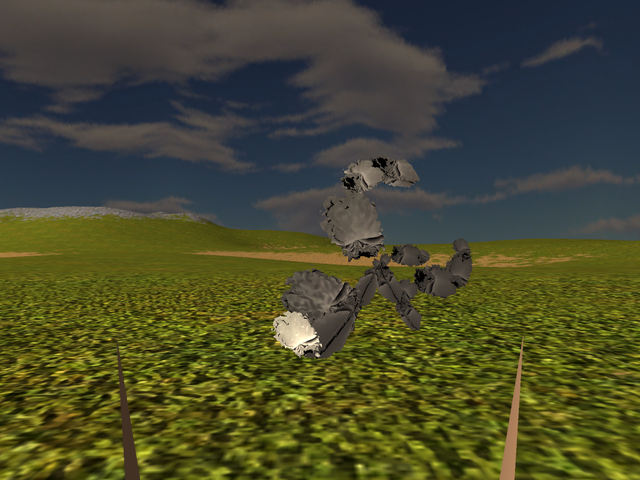
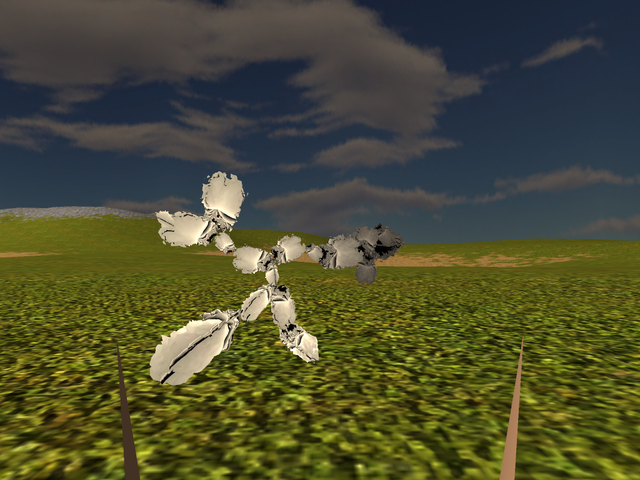
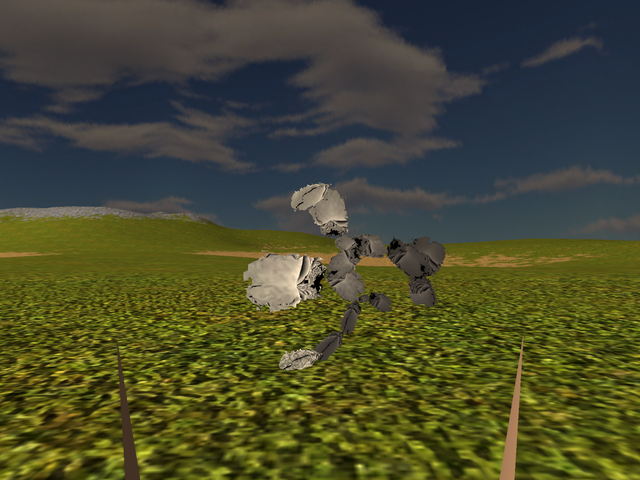
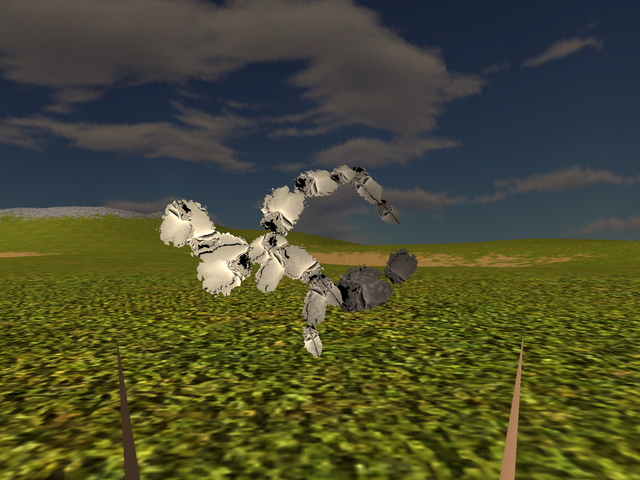
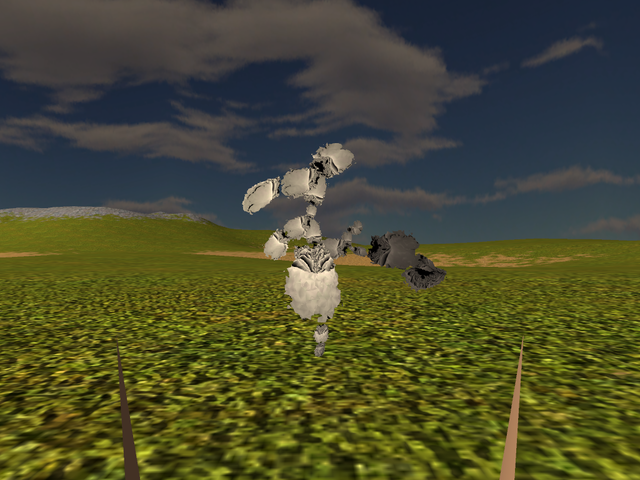
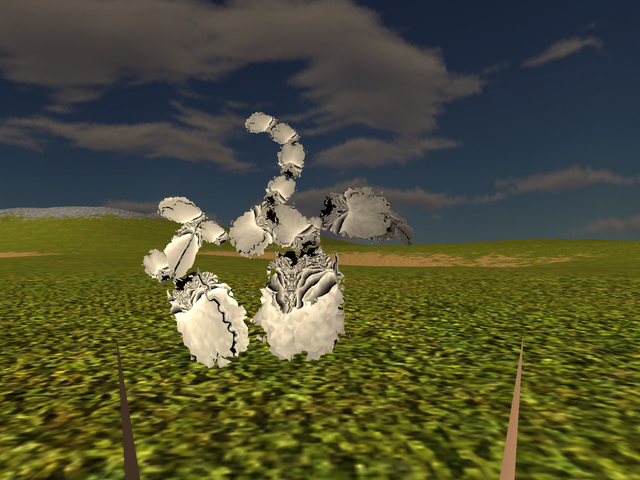
I should say the above makes for some clearer tails and even various potential limbs of sorts, even though the poses are full of...enthusiasm at times! The first two above got to try on some other skins too (see at the very end for the shots), as I think they are actually not that bad at all but in any case, otherwise, why stop at 7 to 13 bones when I finally have all the scripts at the ready? Let there be bones for everyone, so here are the shots from a run with 21 to 31 points in the volume and another 21 to 31 on the surface - those are only for seeds 1 to 31 as it turned out that even 4 seconds was not enough for CS to fully render the resulting mess-of-a-mesh and I didn't bother to redo the run just for that (each additional bone adds up another full set of the original mesh's vertices and apparently it's not that hard to make CS slow down this way, at least when measured against the controlling bash script's rush to shoot, heh):
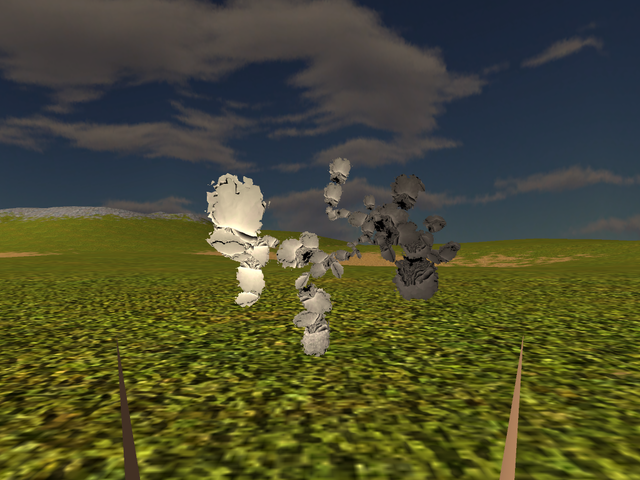
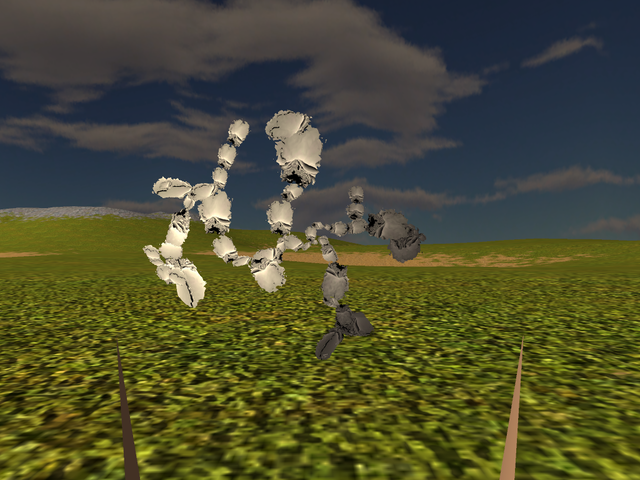
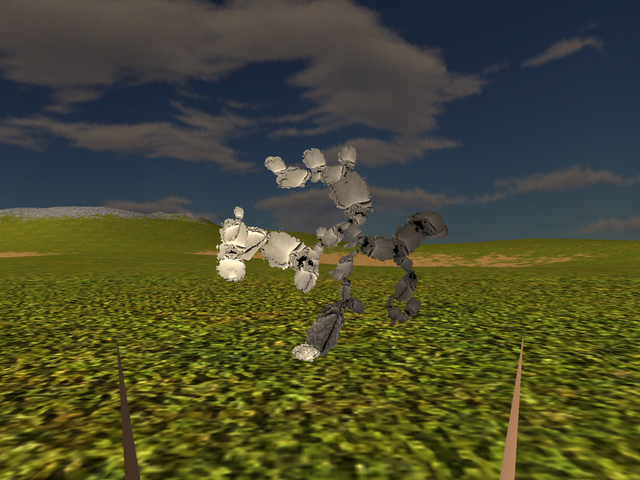
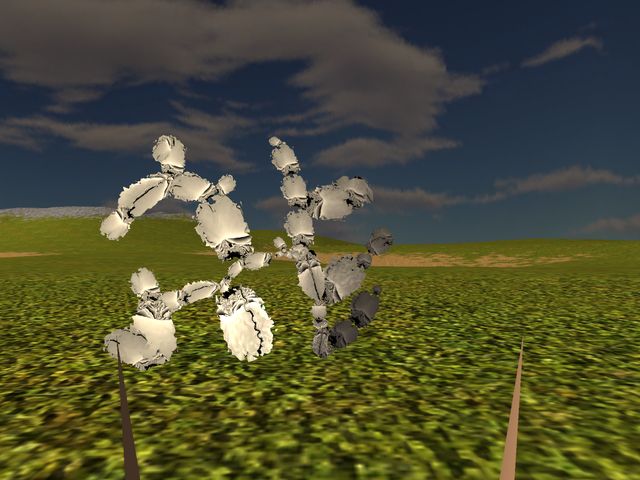
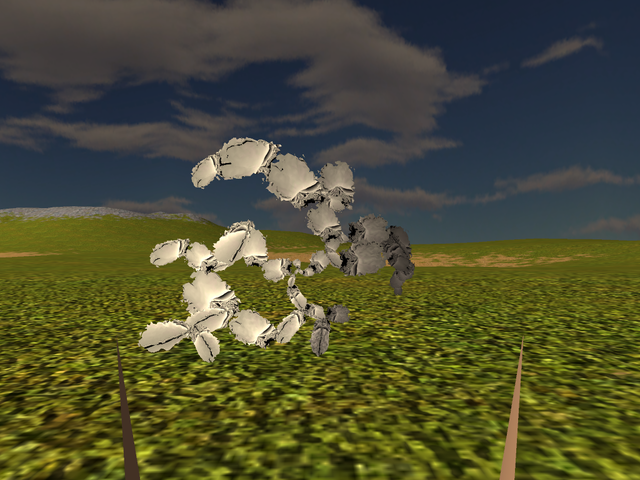
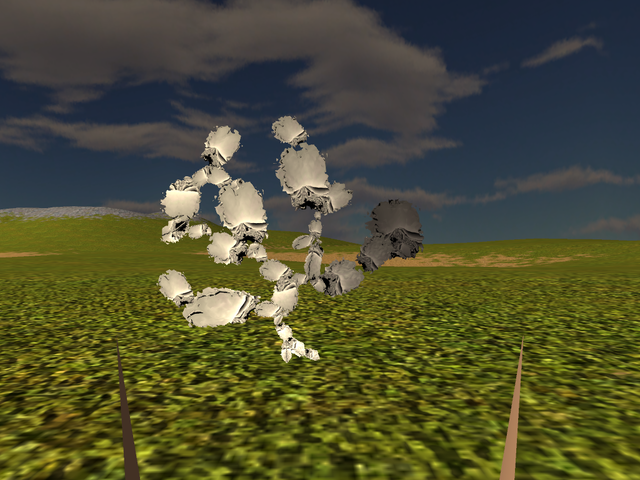
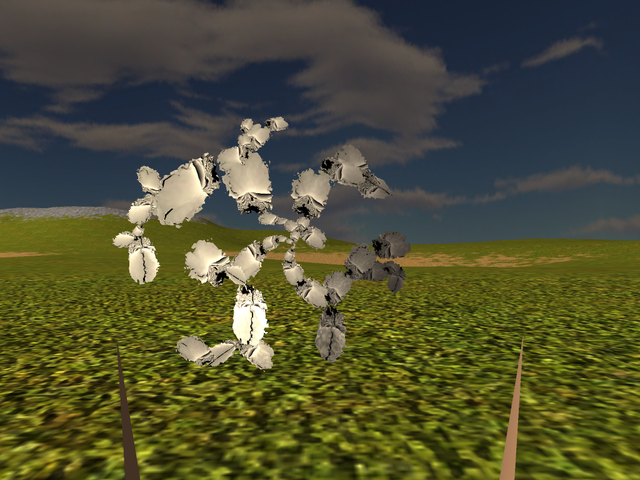
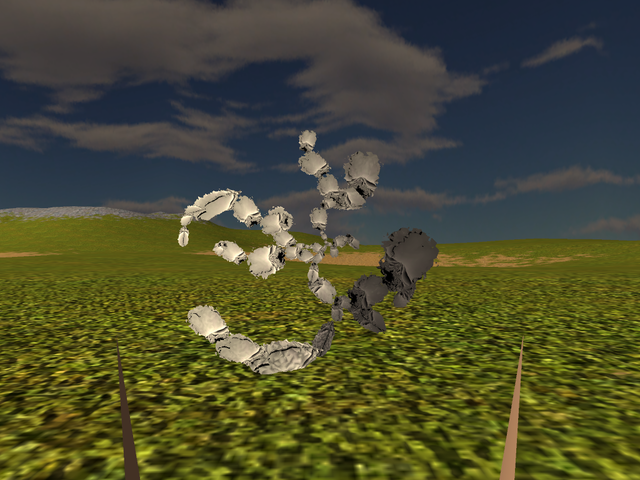
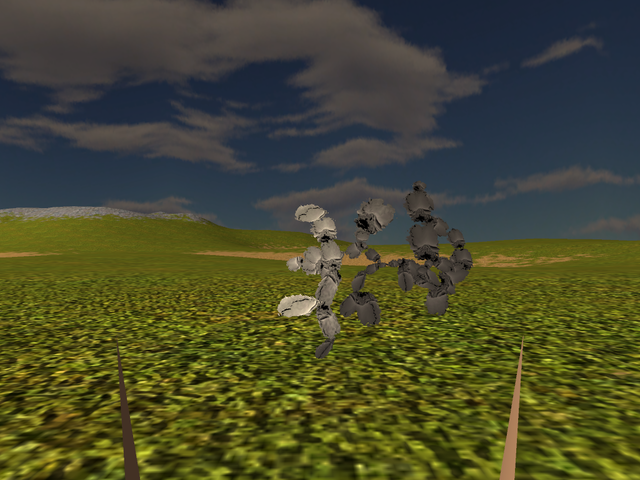
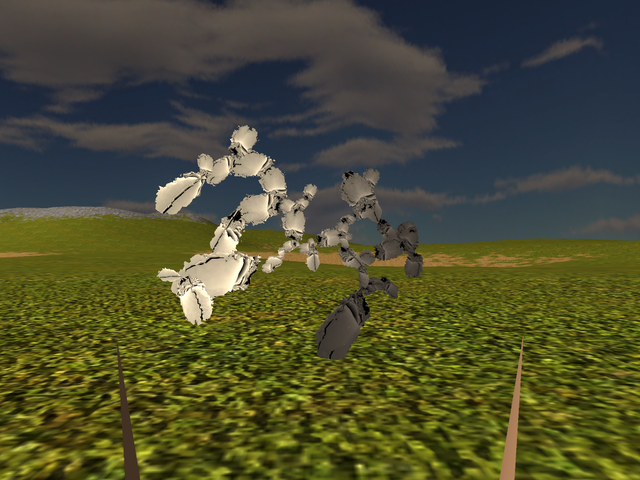
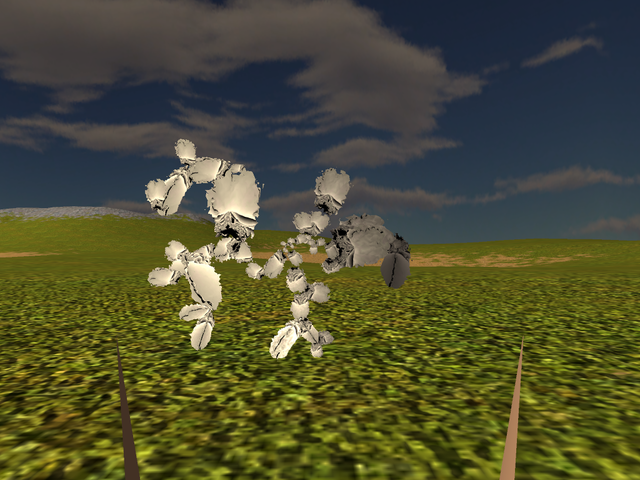
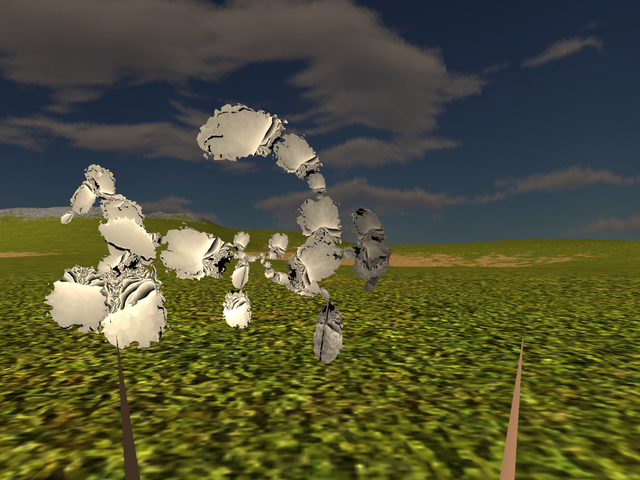
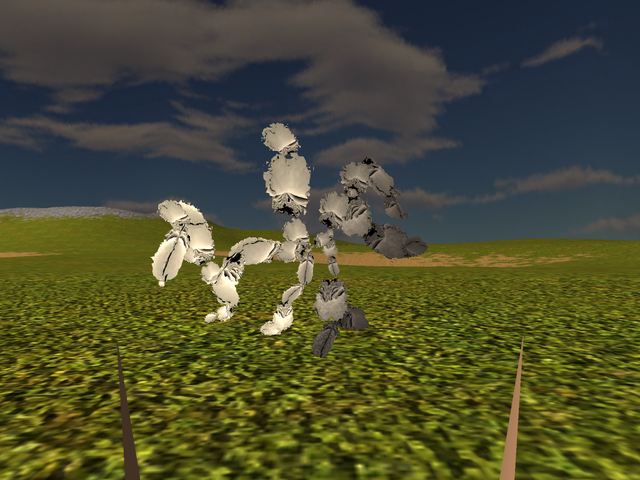
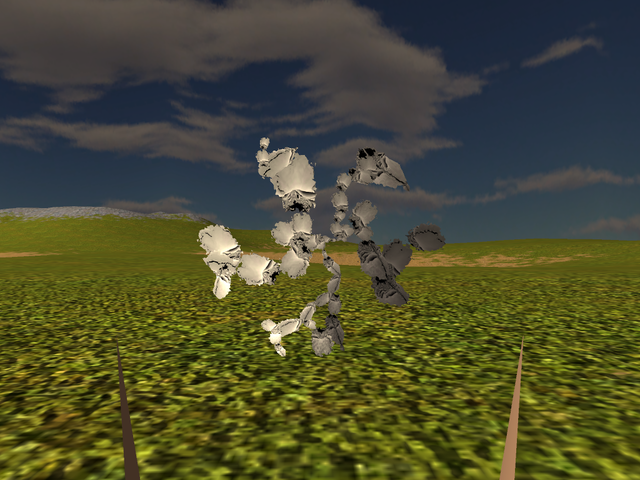
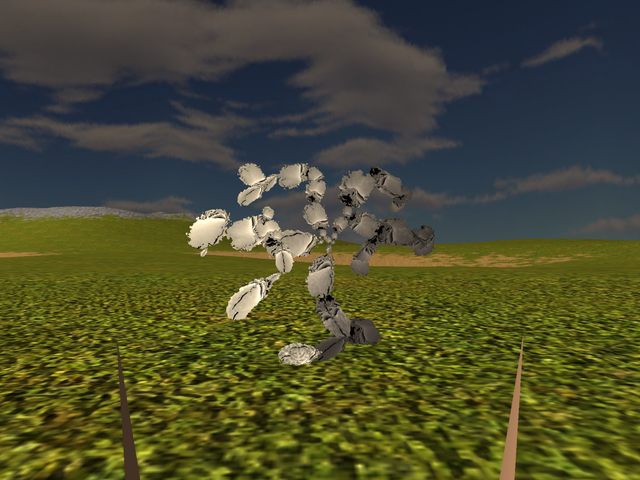
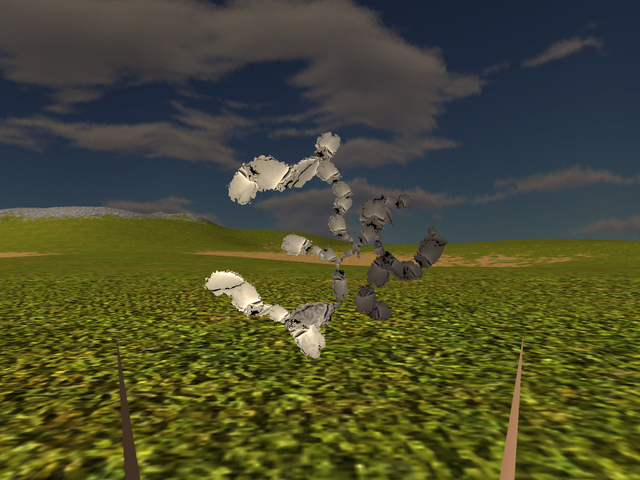
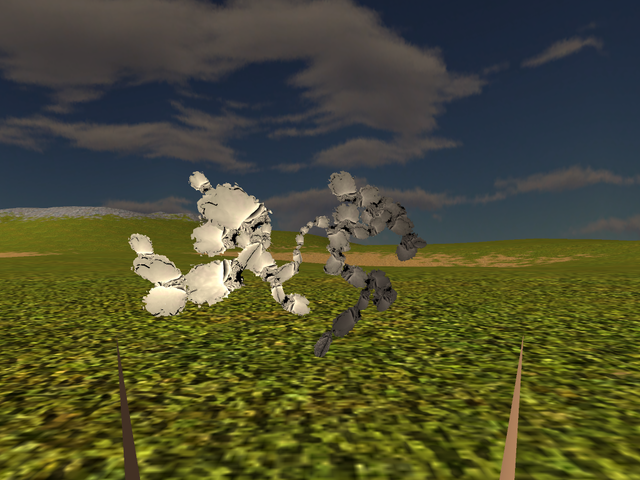
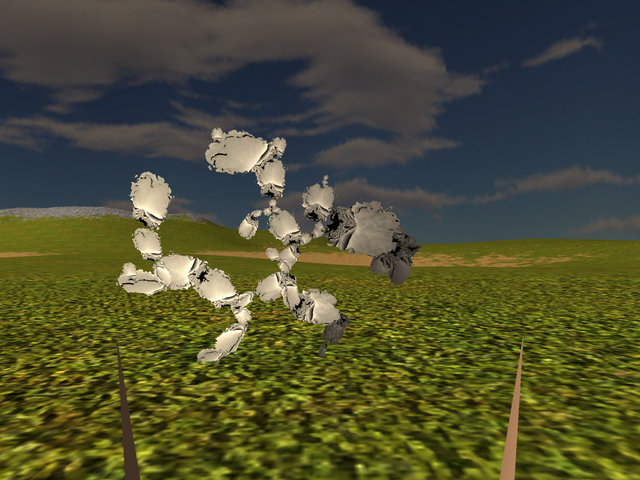
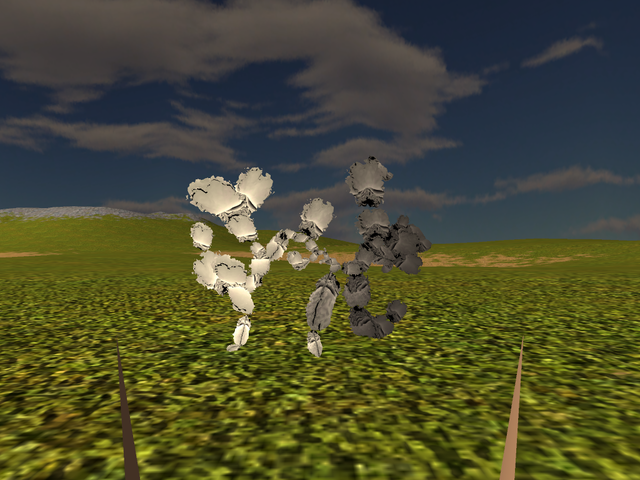
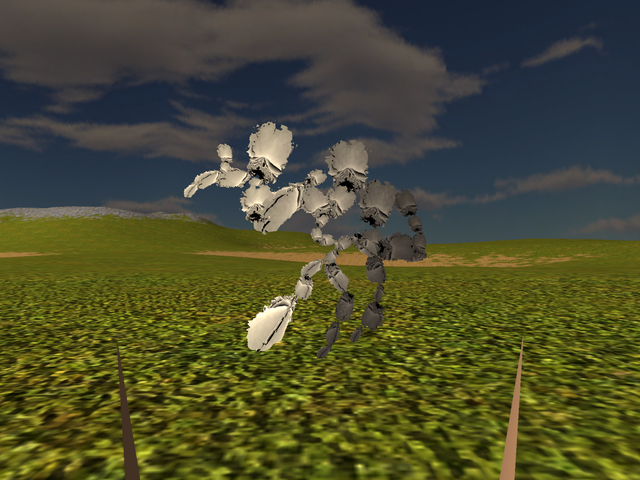
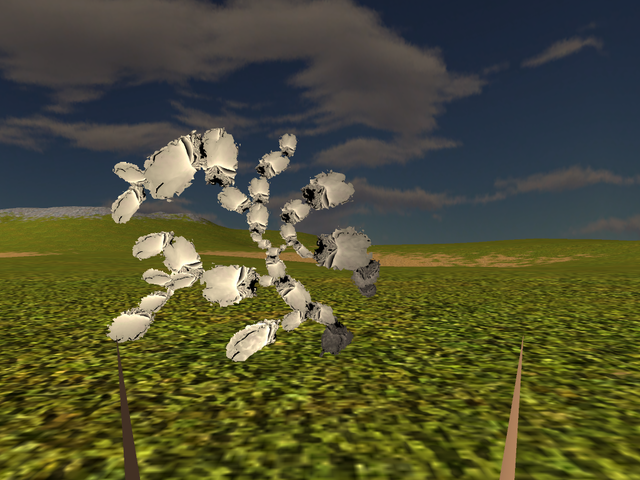
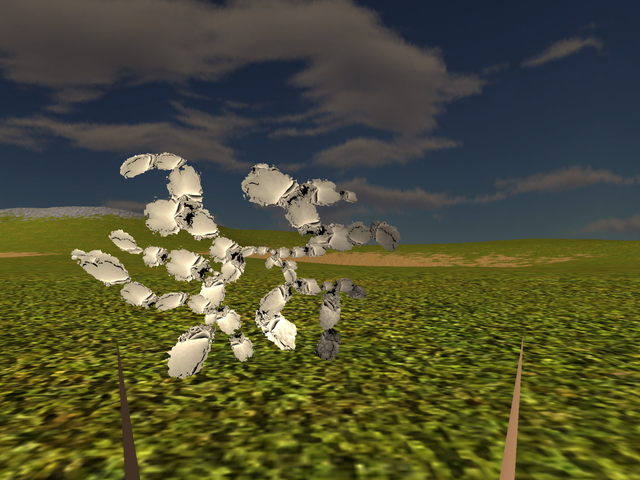
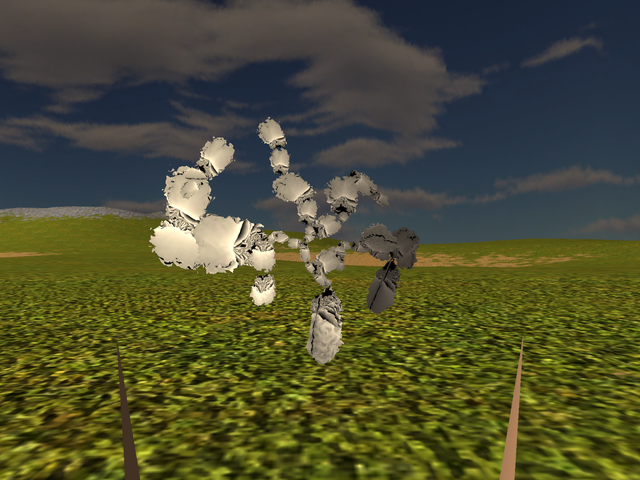
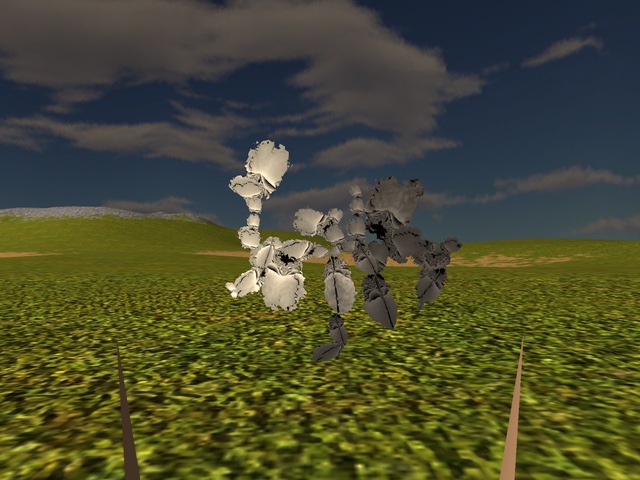
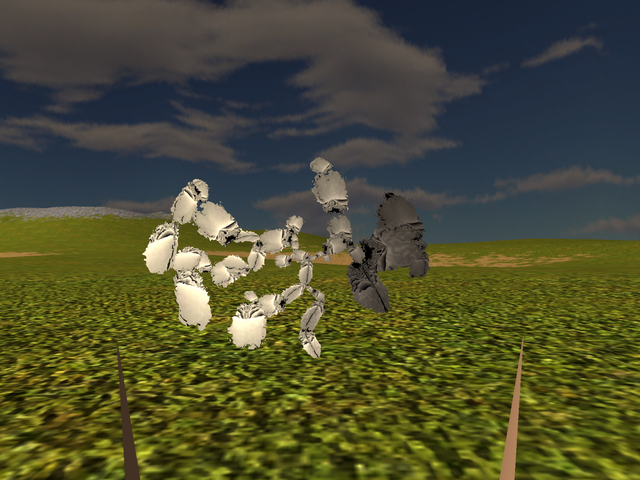
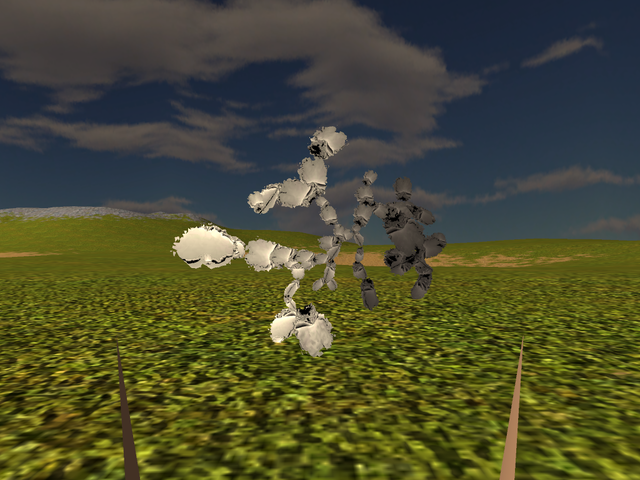
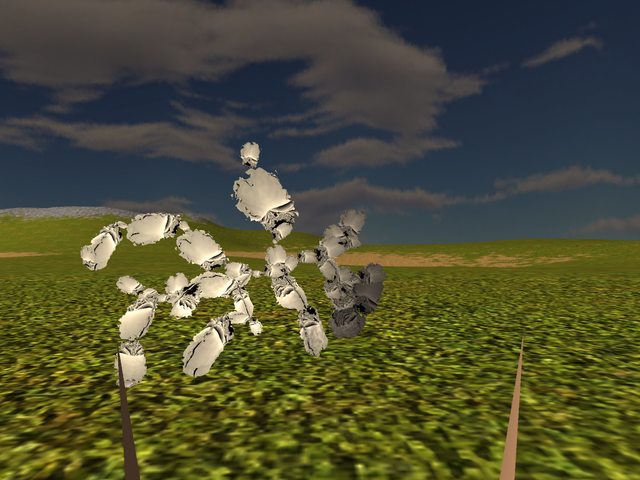
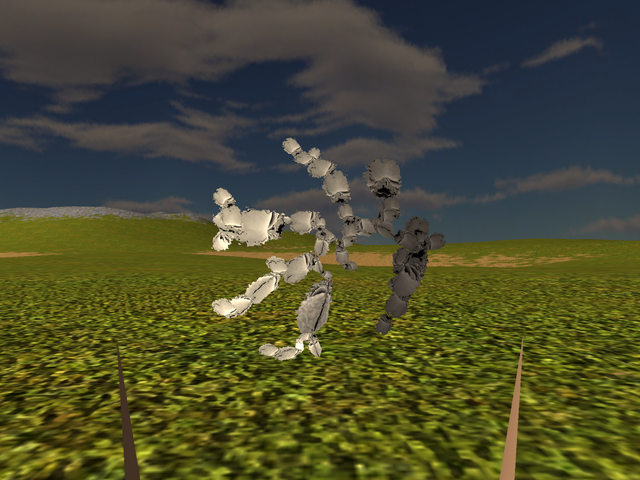
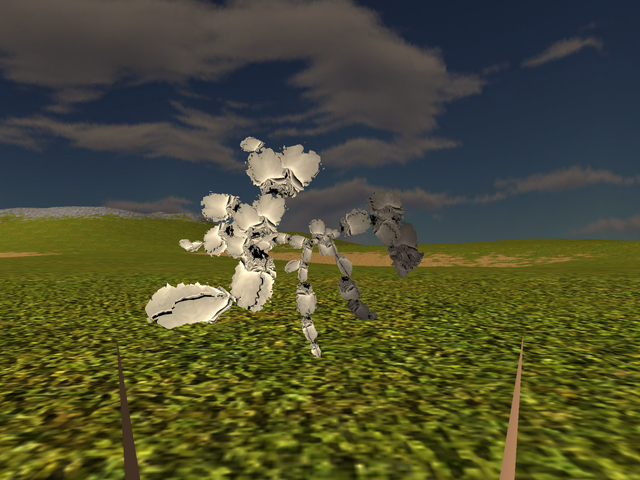
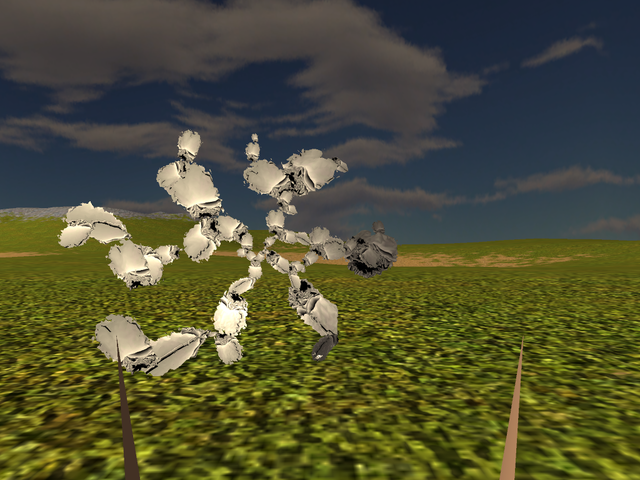
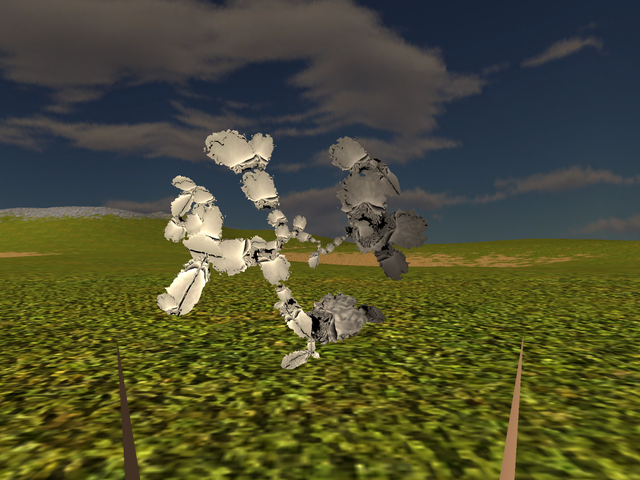
I find quite a few in the above set absolutely hilarious - for instance the one at skelseed 24 still makes me laugh, no matter how many times I saw it. So maybe it's not all that bad, with this idea of increasing bone count, after all! But still, since they already look segmented enough and otherwise CS/Cal3d seem to huff and puff for longer than before, how about turning instead the knobs to have more points on the surface, in the idea that this way there's a push towards getting more limbs of sorts, right? Right, so here's the result of the run -another 50 shots!- with points in the volume between 3 and 5, while points on the surface are between 5 and 13:
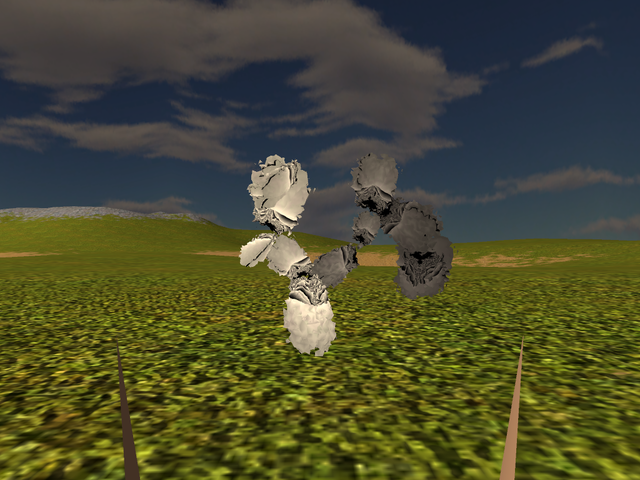
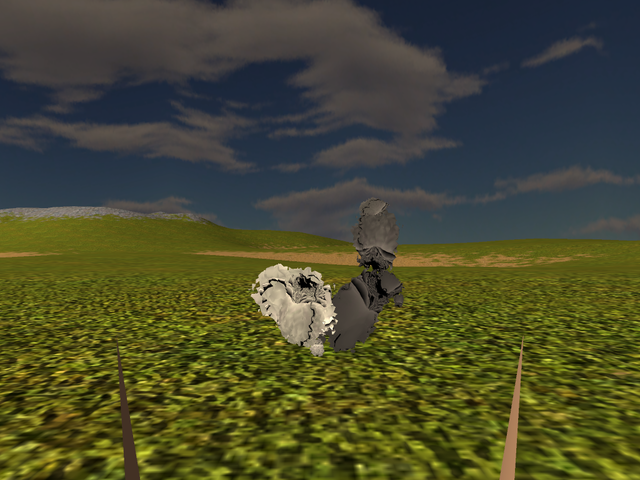
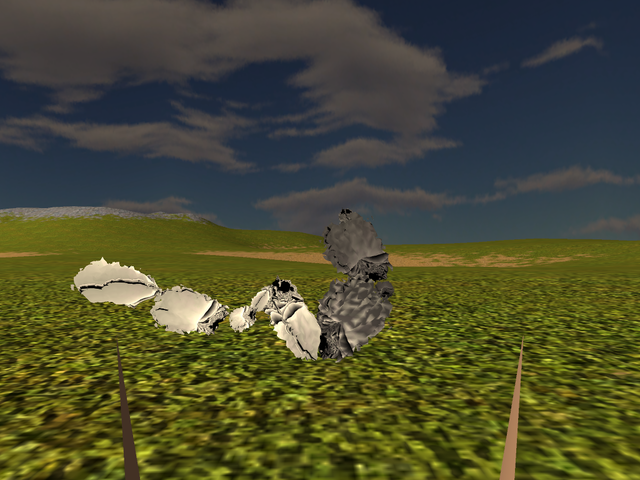
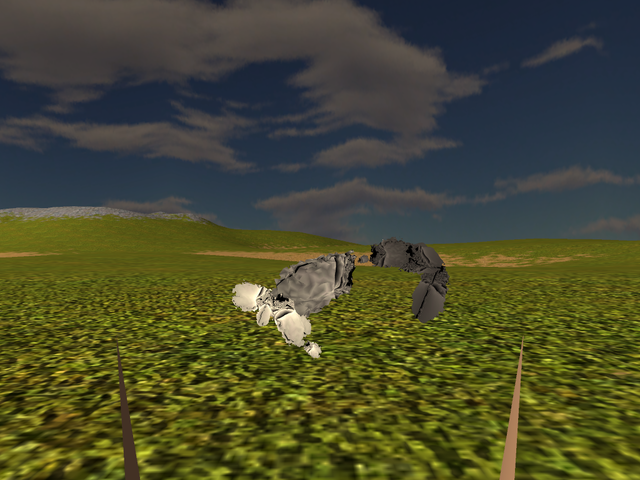
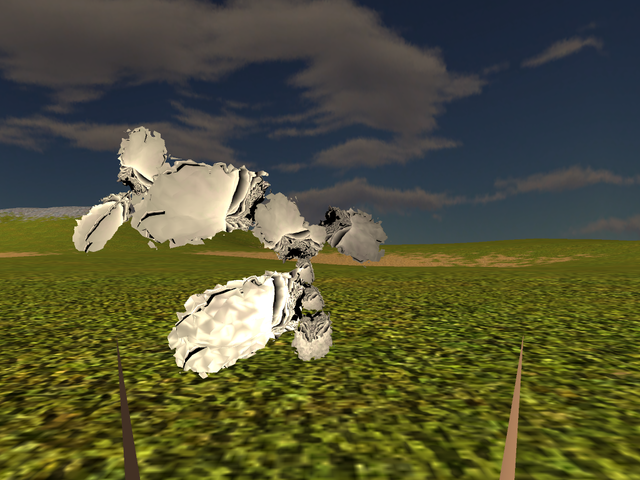
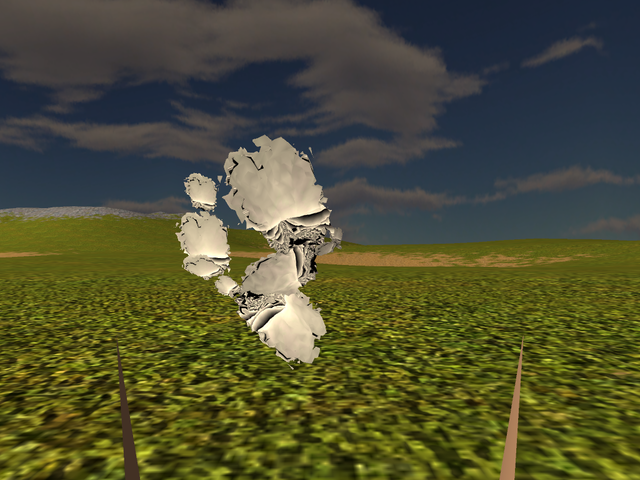
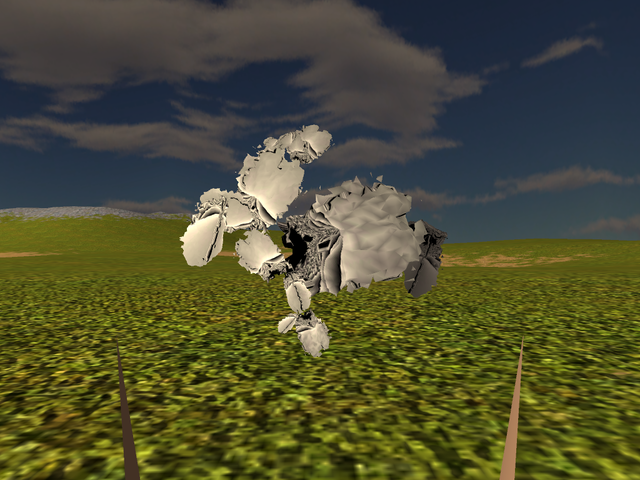
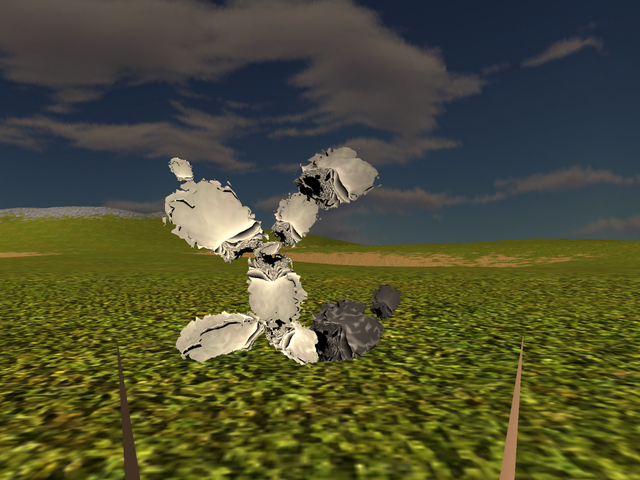
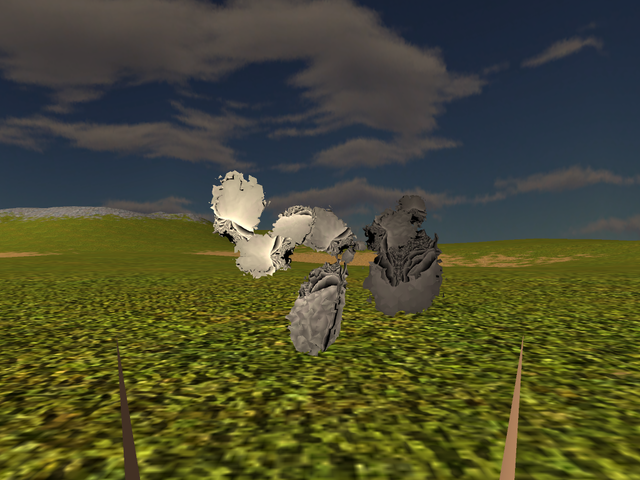
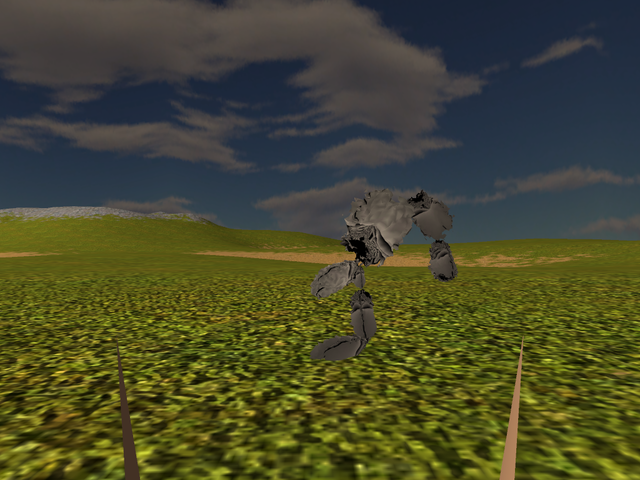
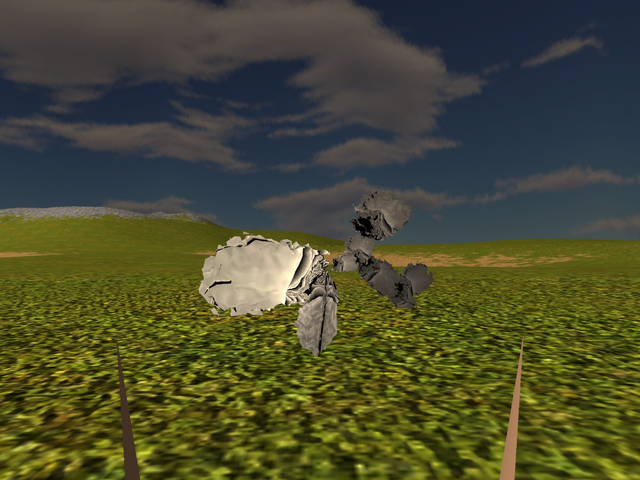
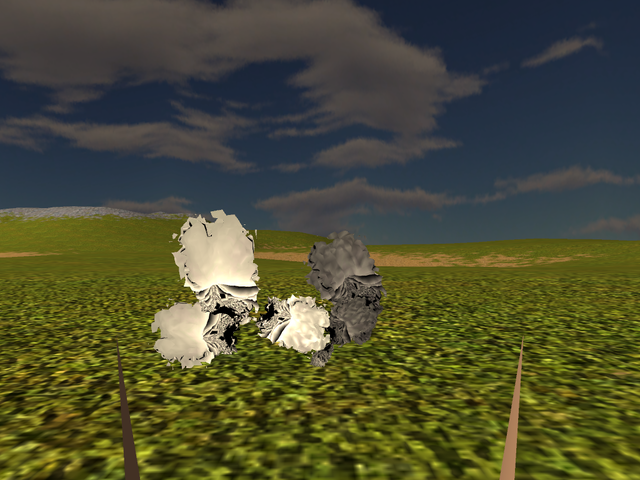
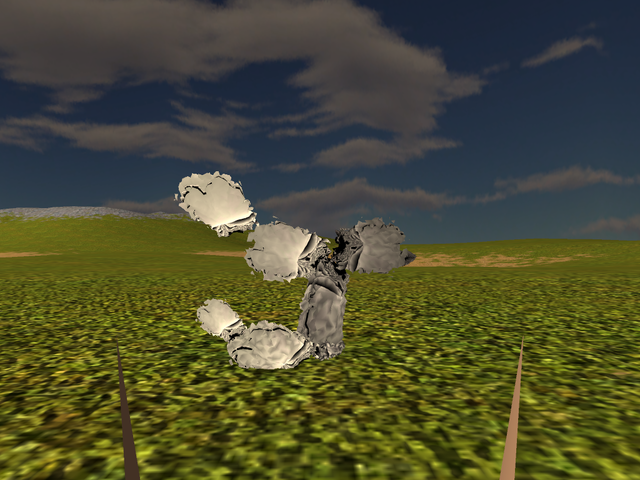
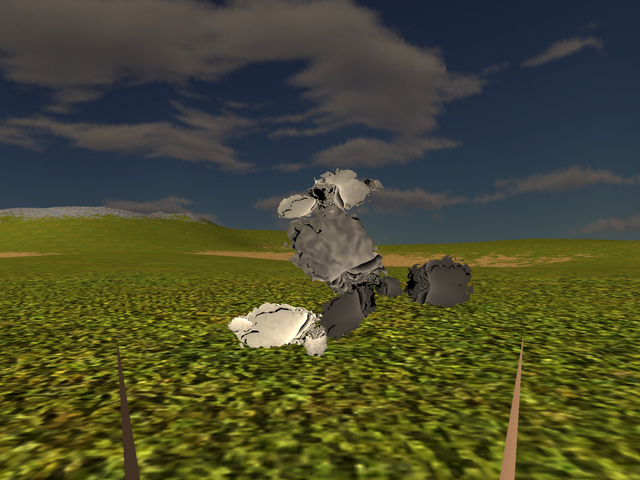
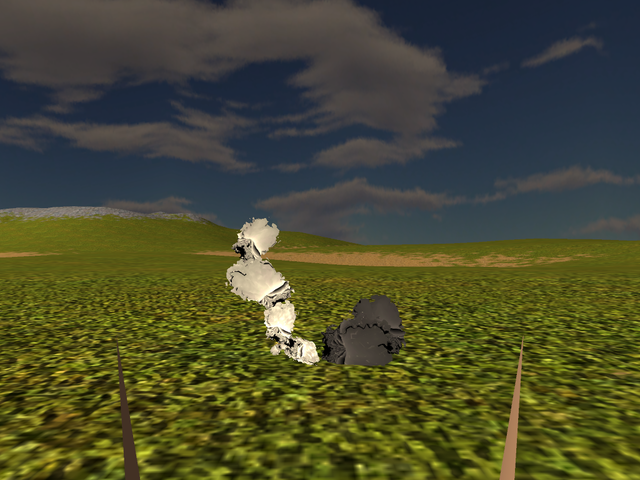
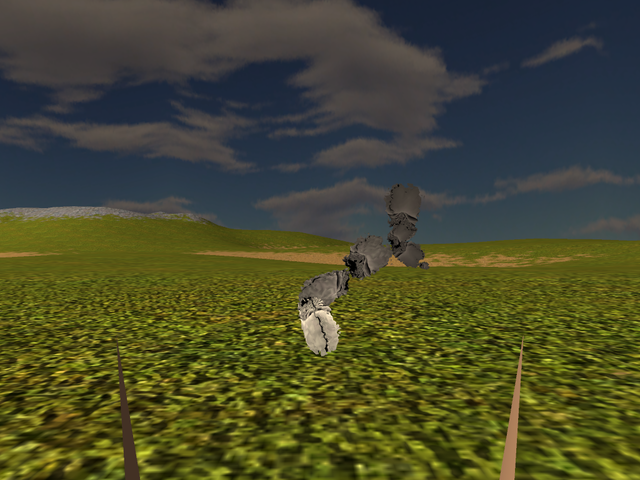
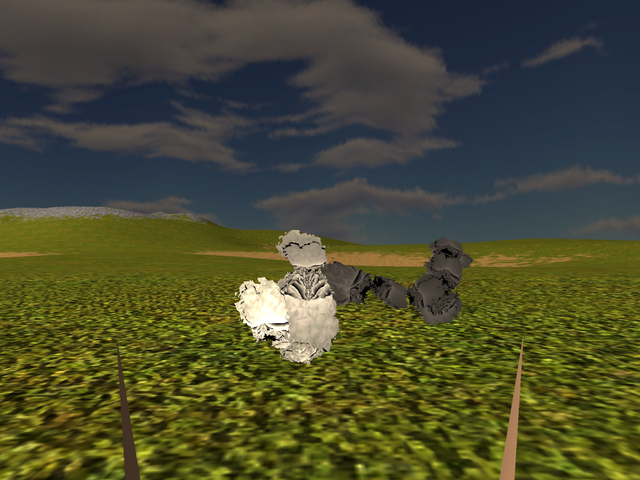
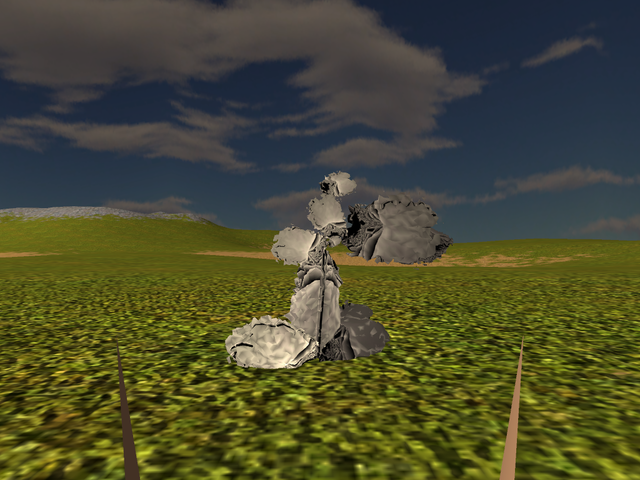
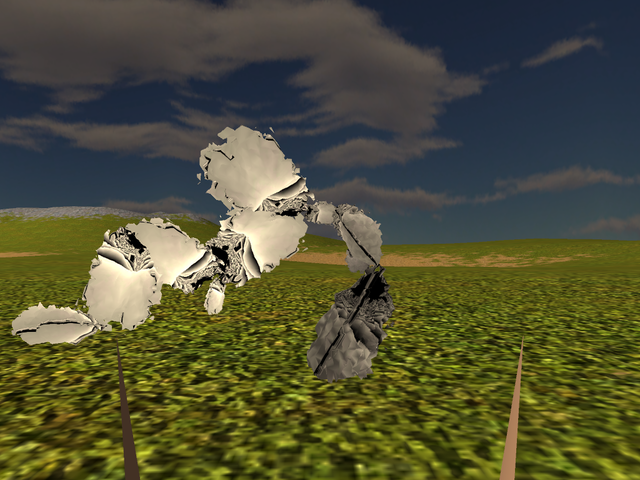
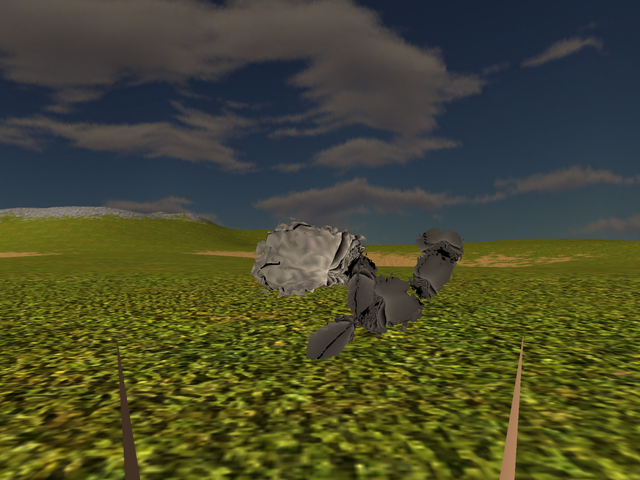
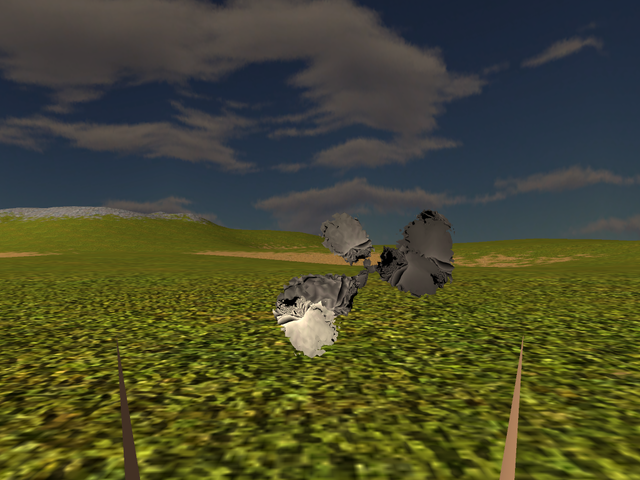
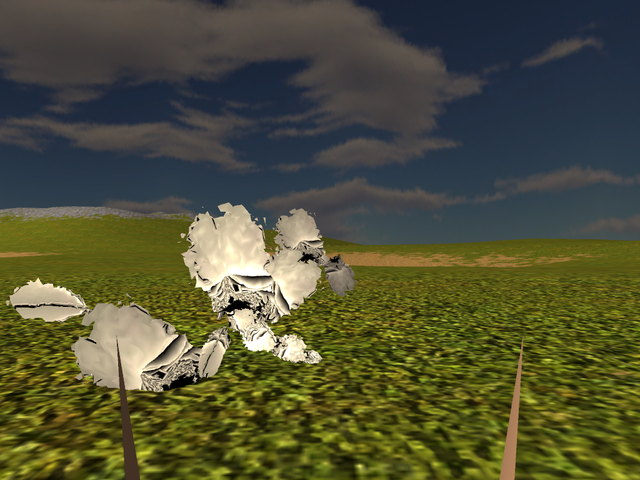
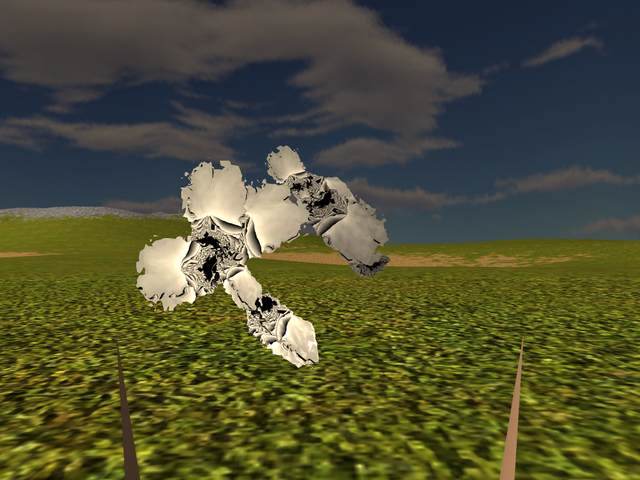
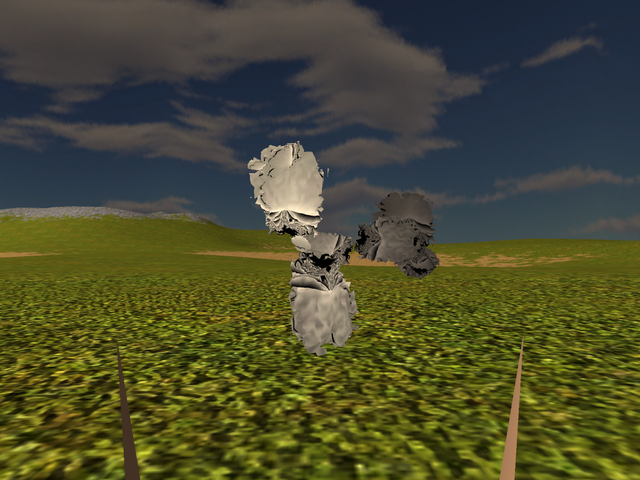
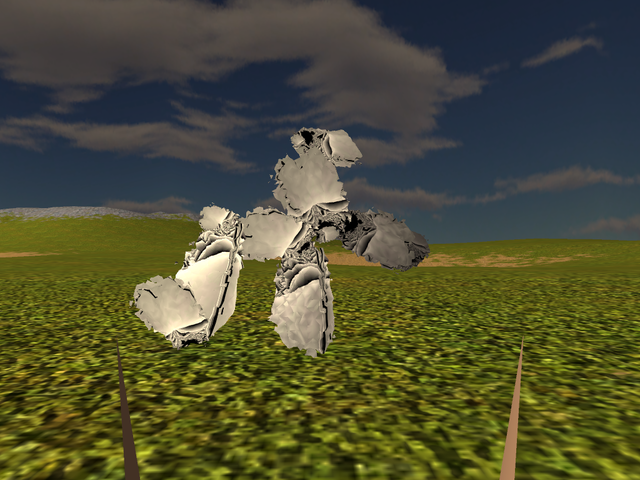
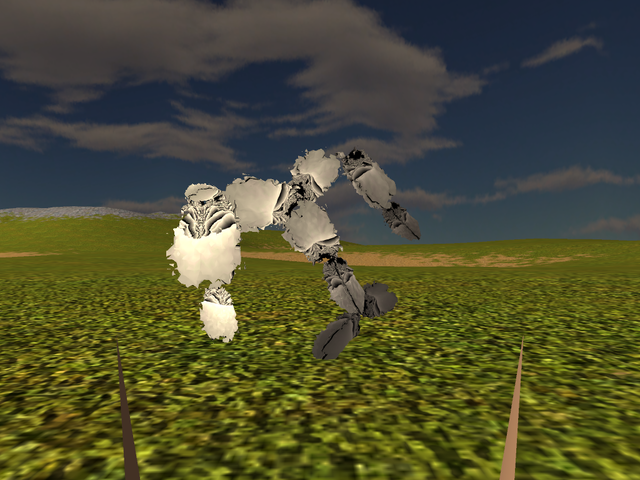
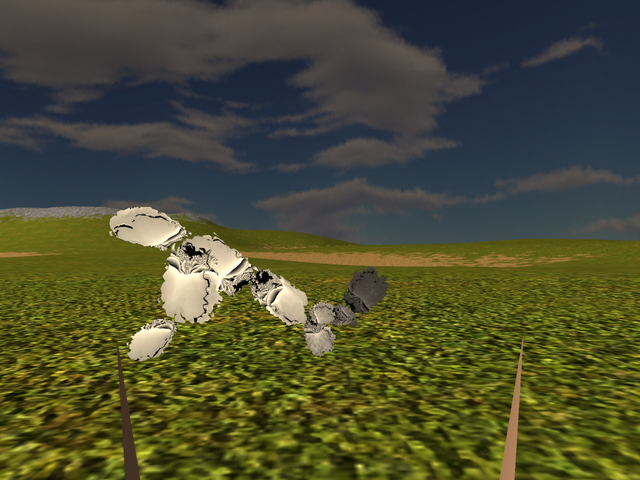
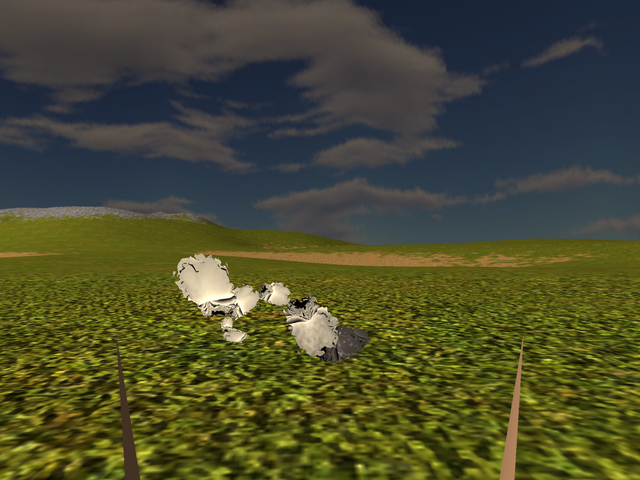
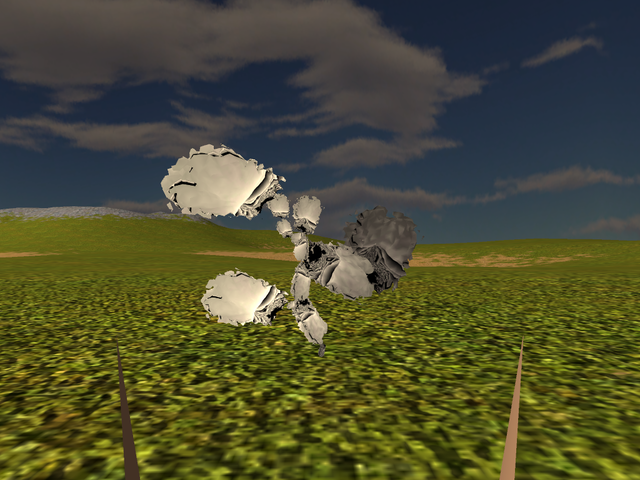
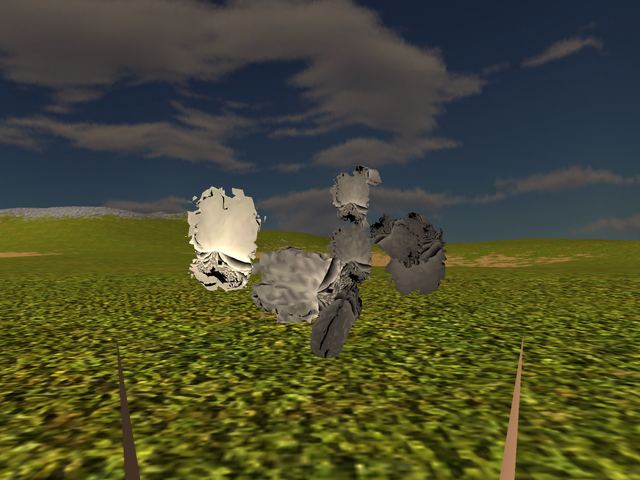
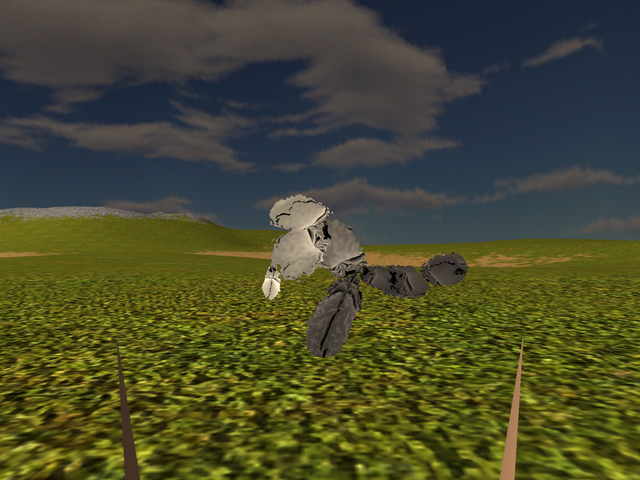
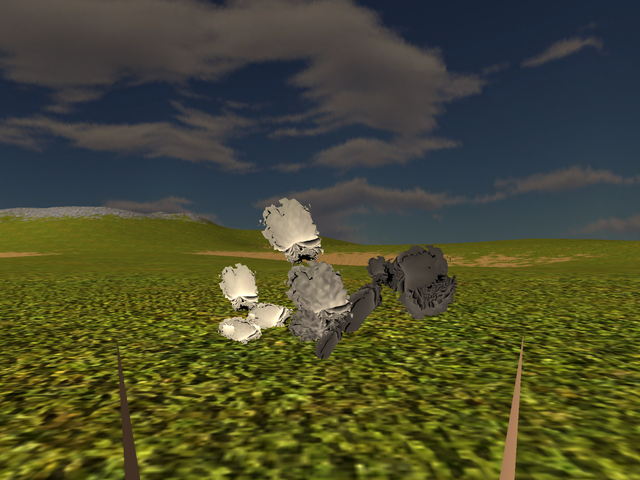
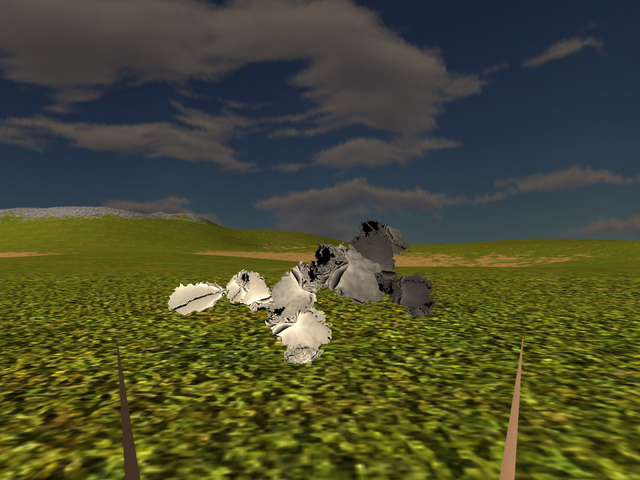
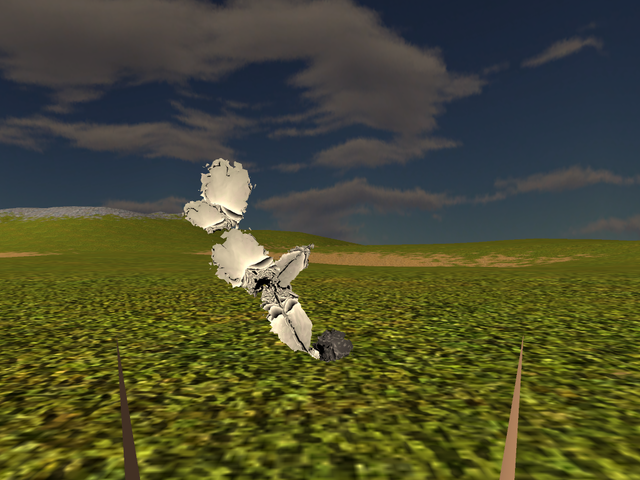
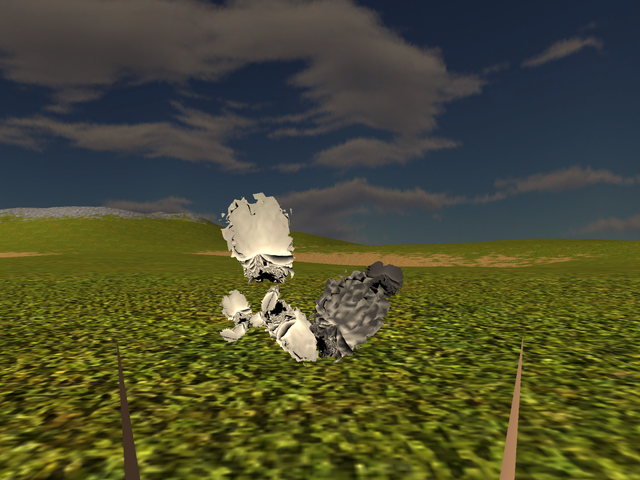
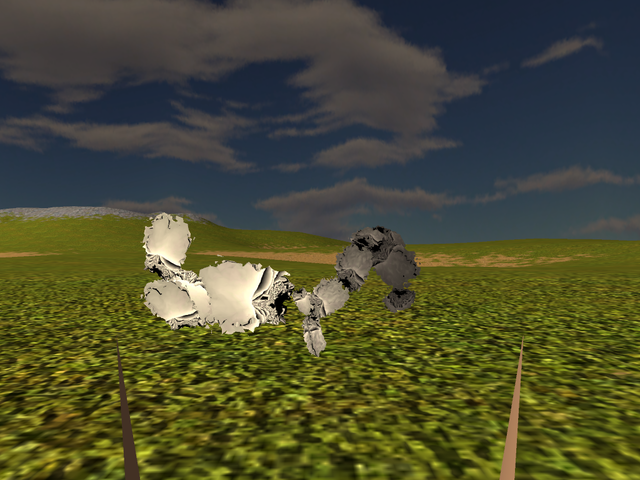
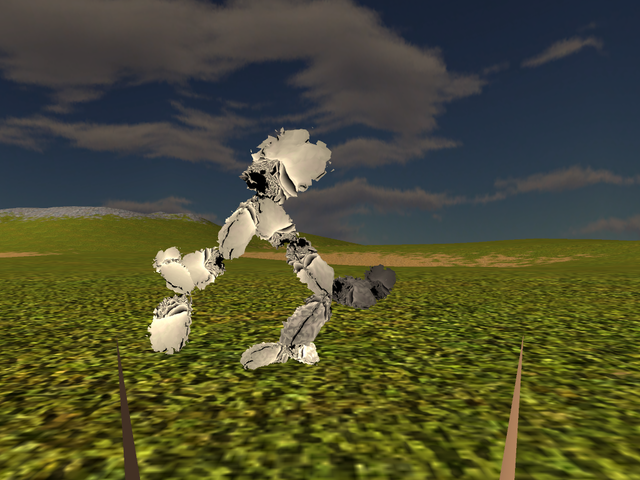
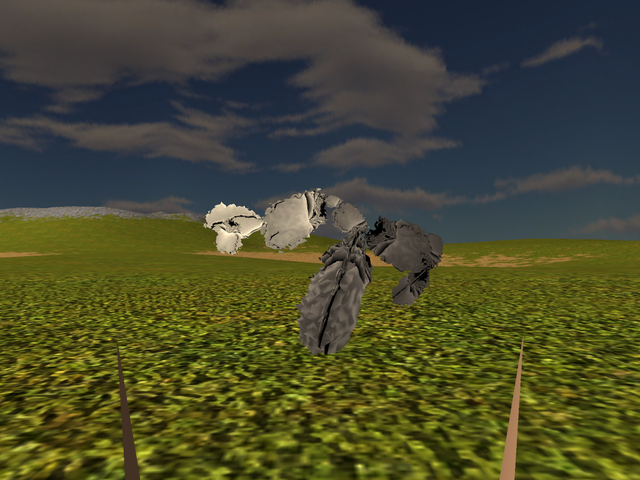
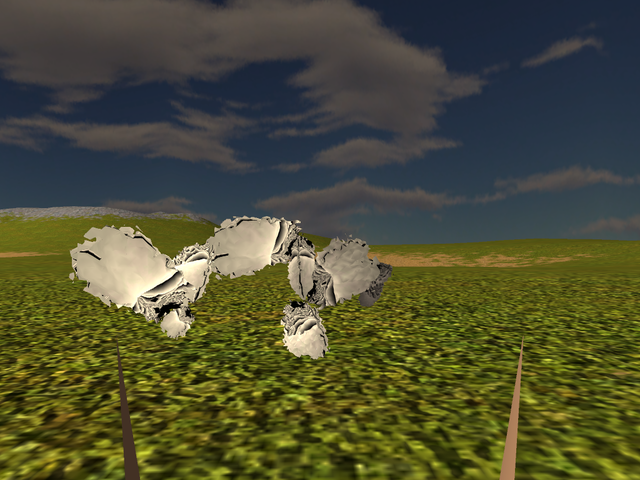
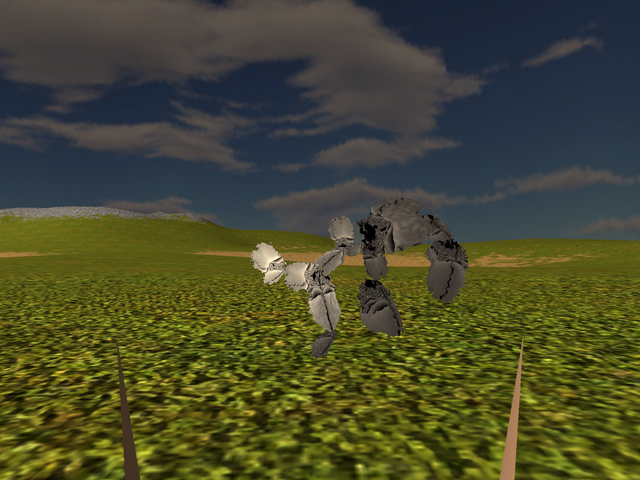
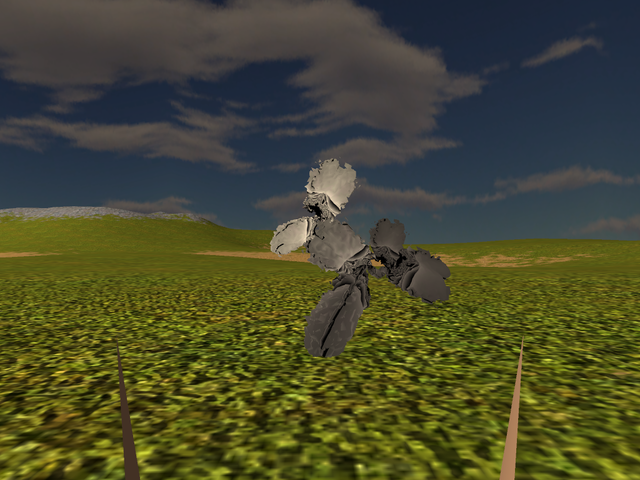
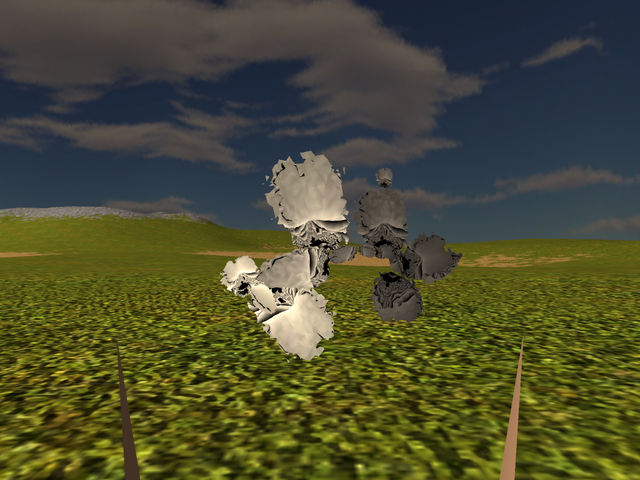
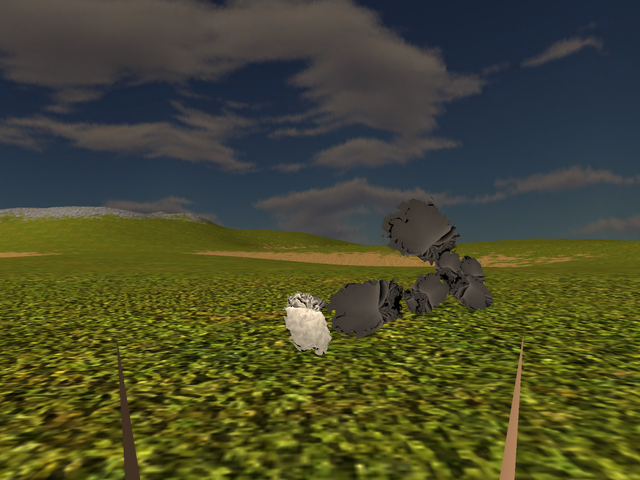
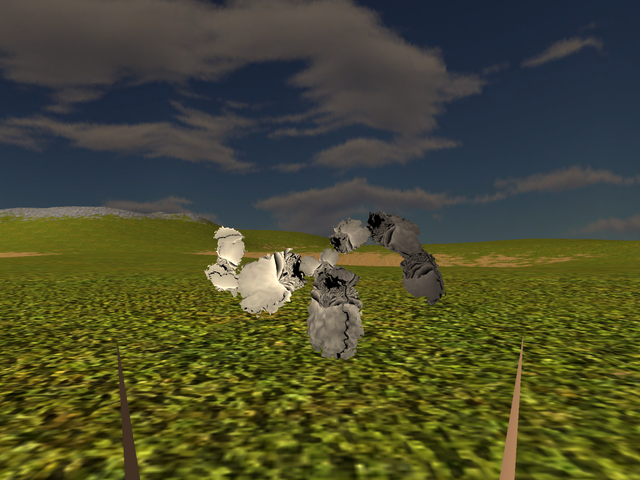
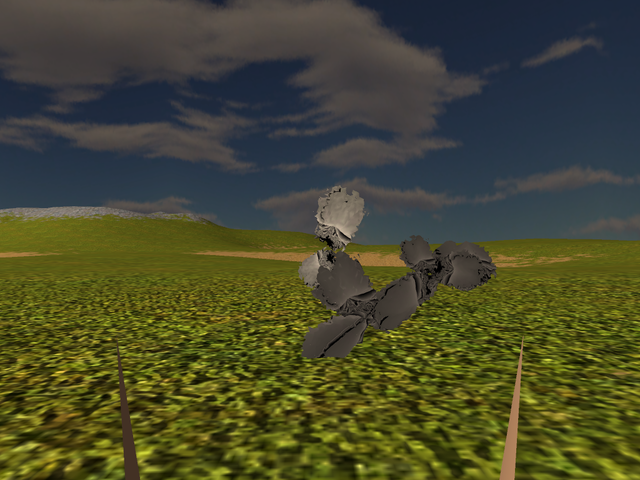
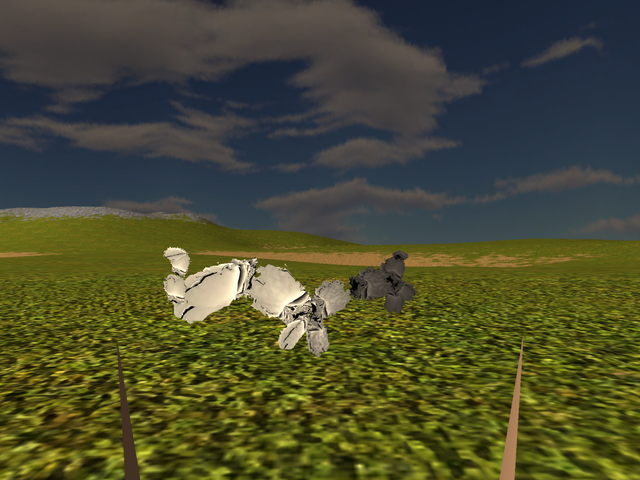
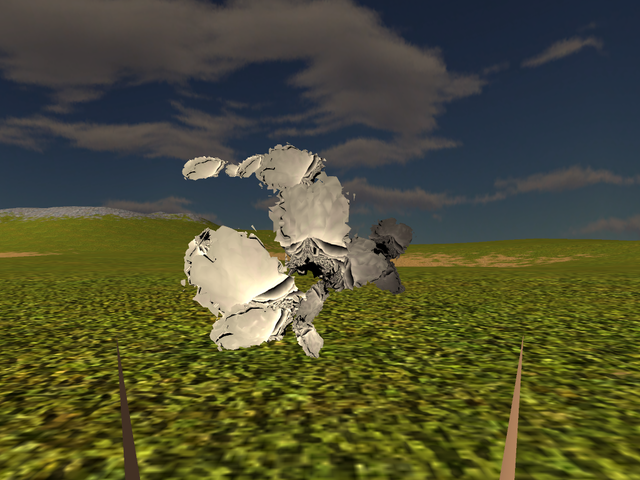
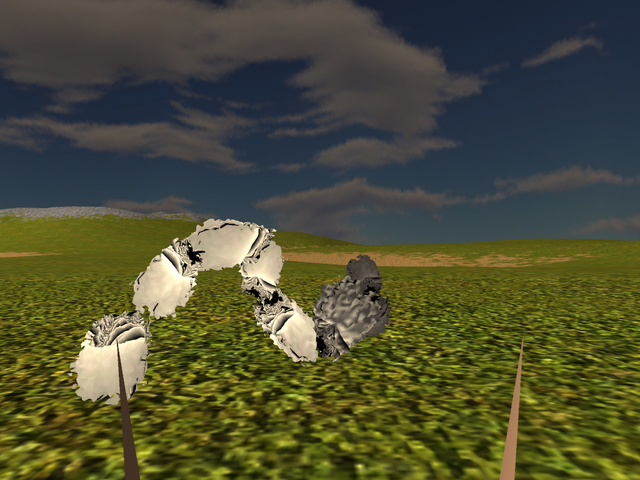
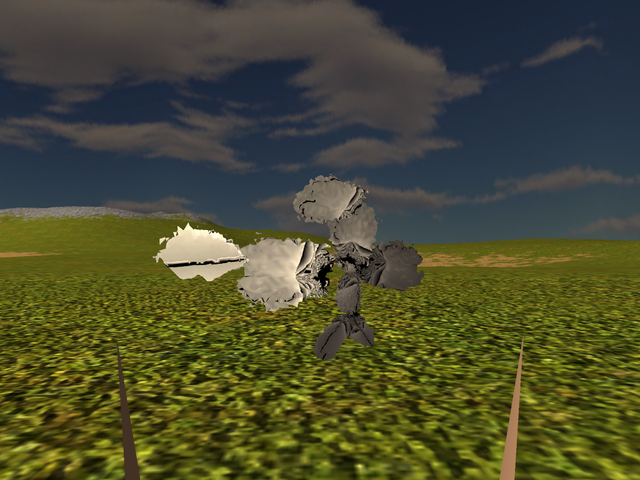
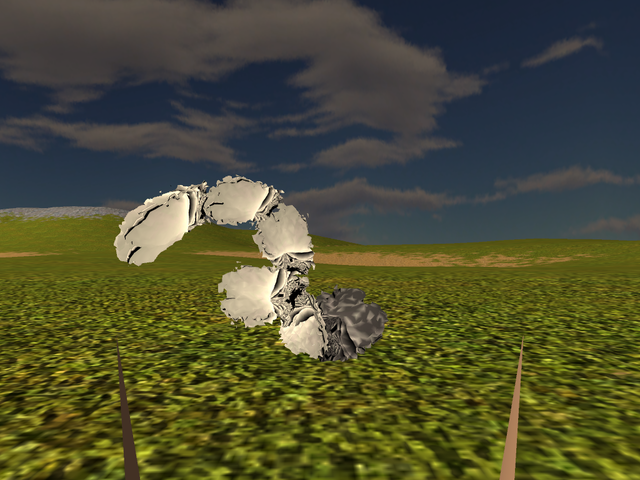
Having made it *this* easy to turn knobs around and get silly stuff, I couldn't stop there, of course. Next run had 3 to 8 points inside the sphere and 9 to 31 on the surface:
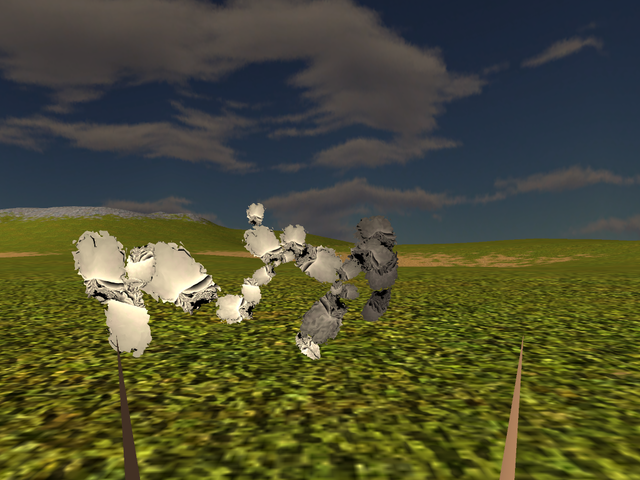
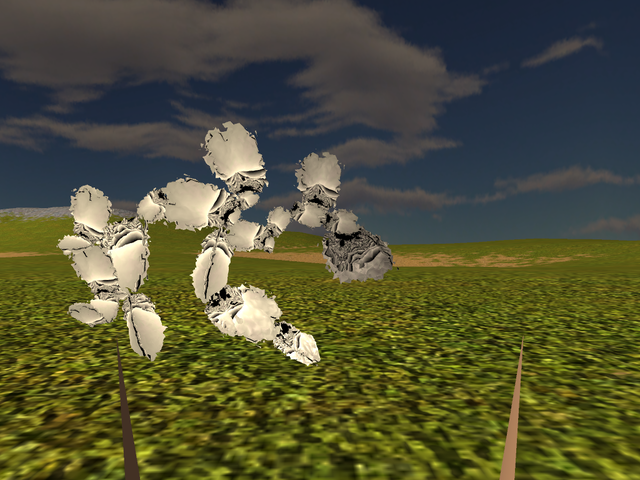
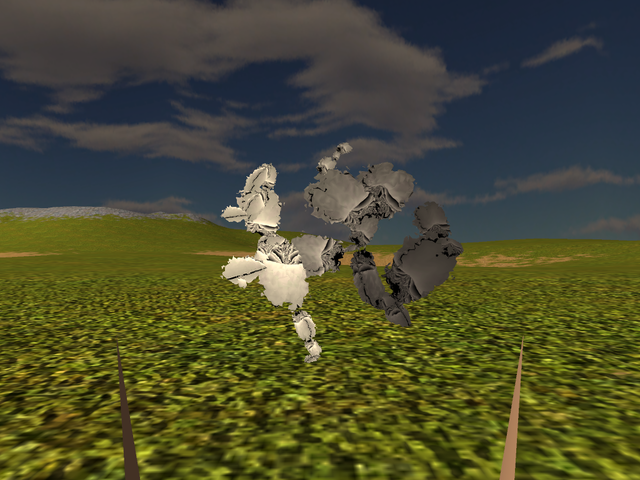
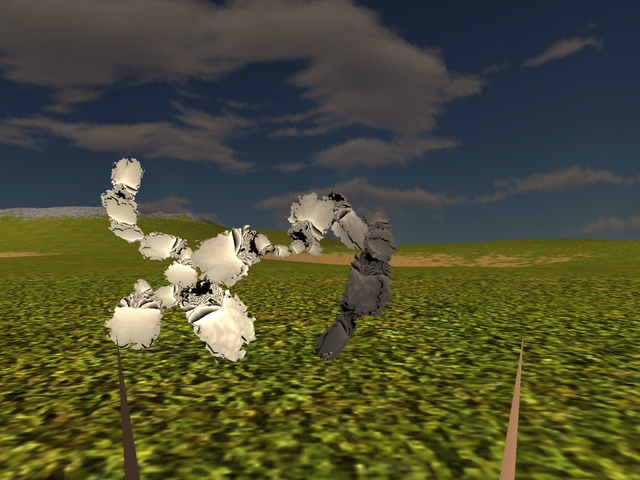
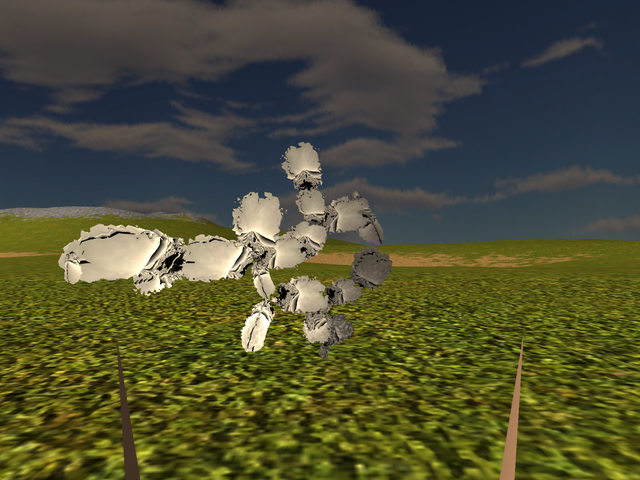
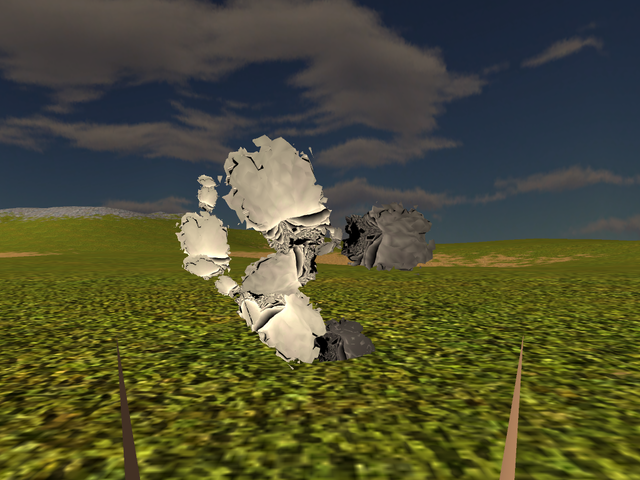
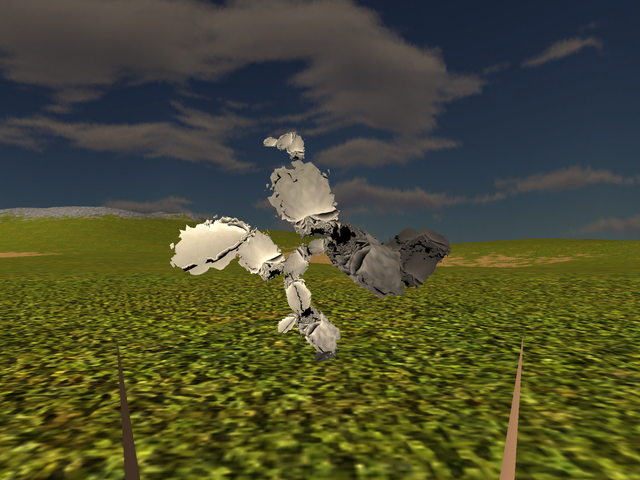
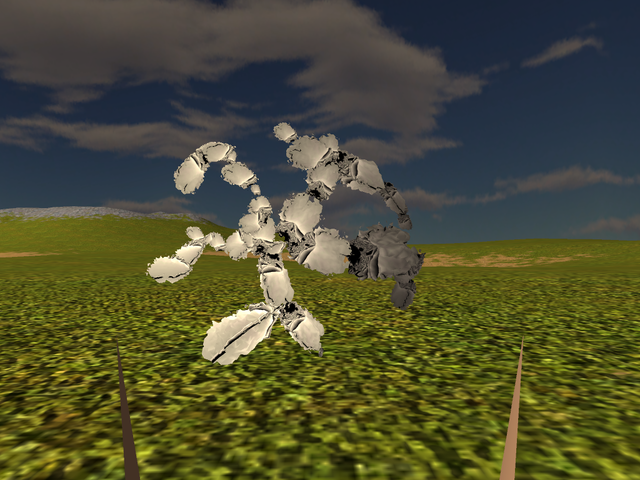
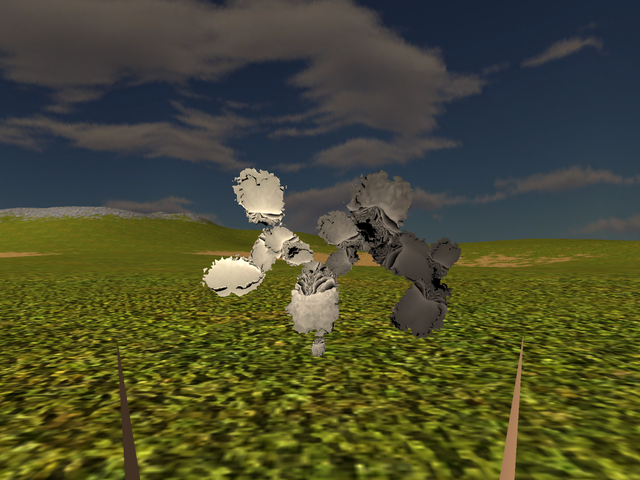
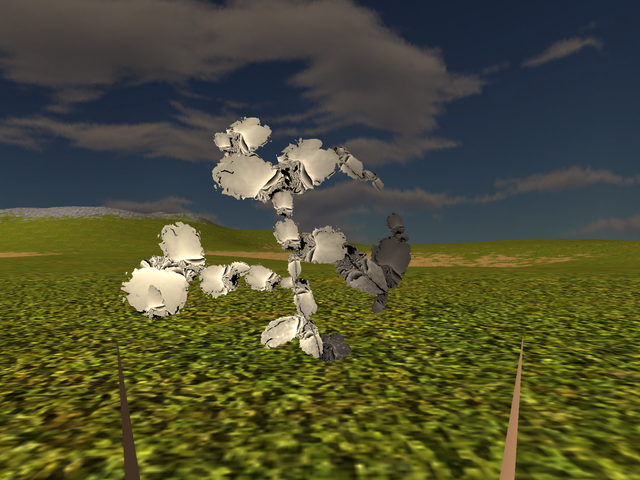
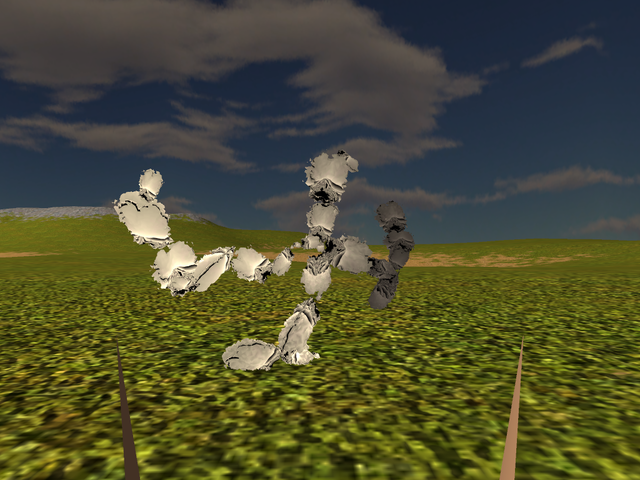
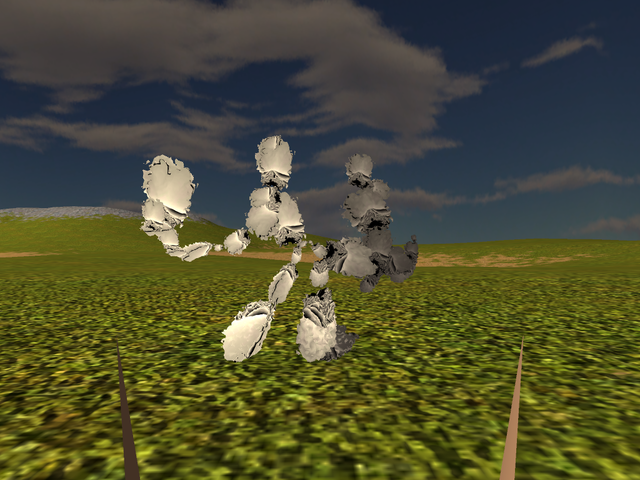
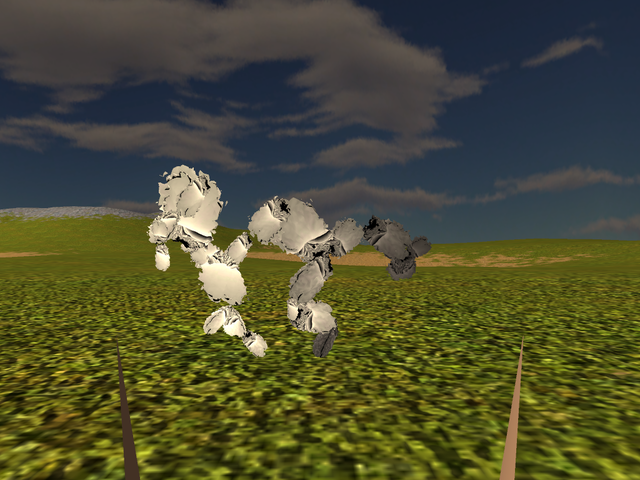
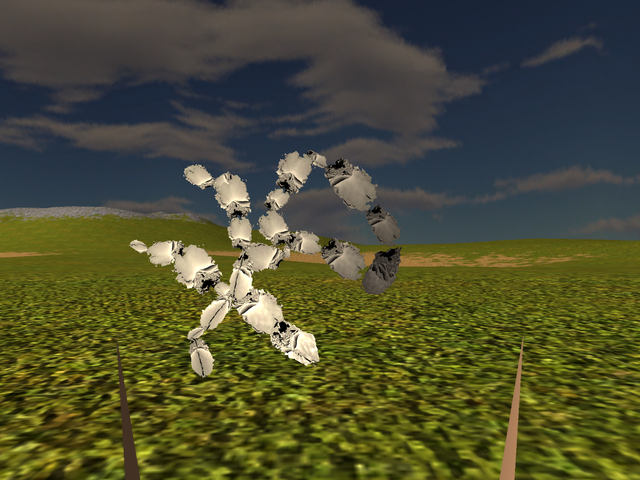
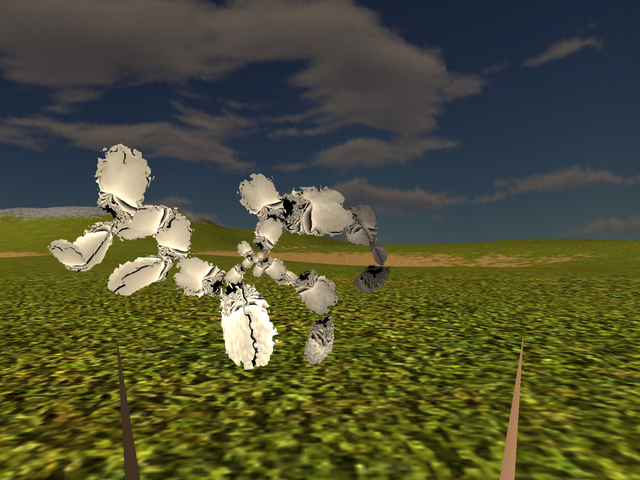
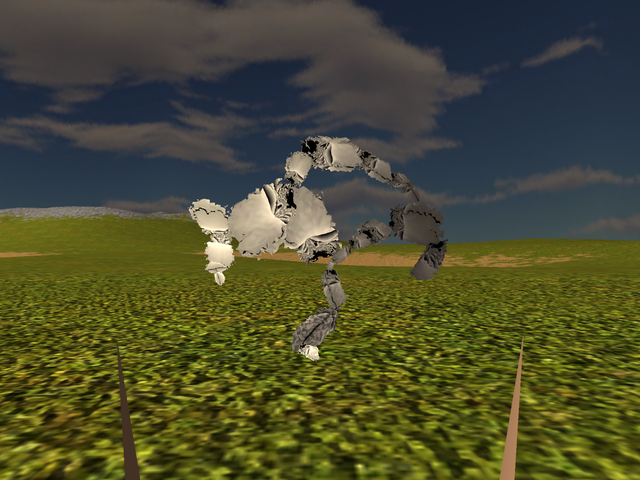
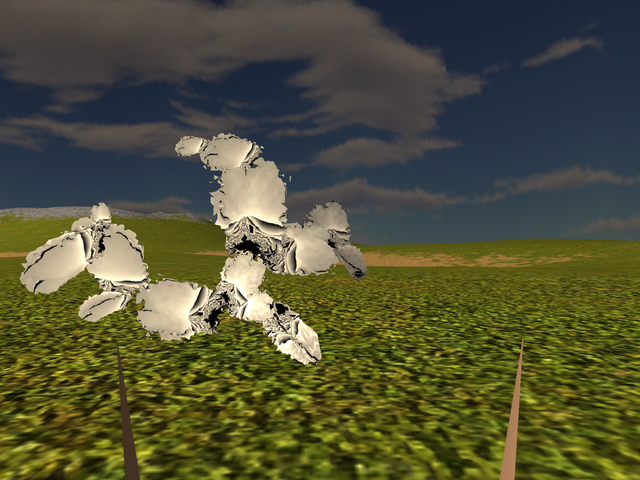
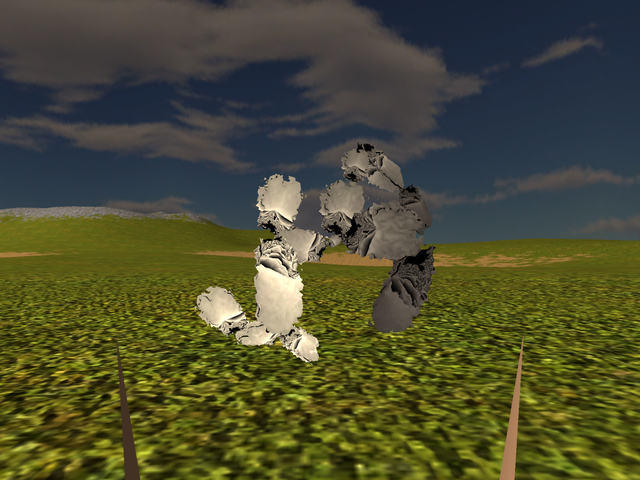
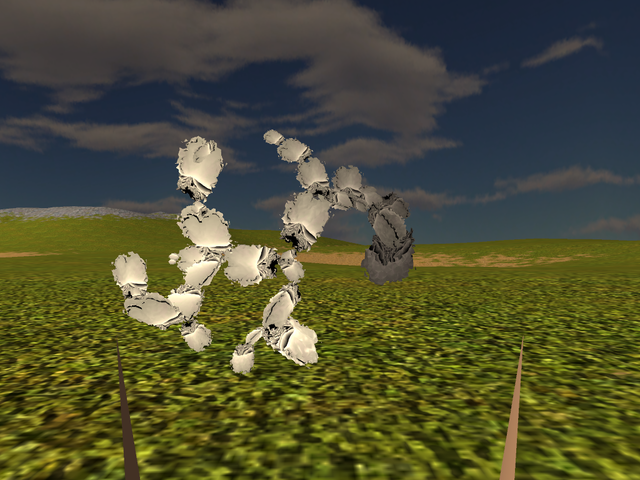
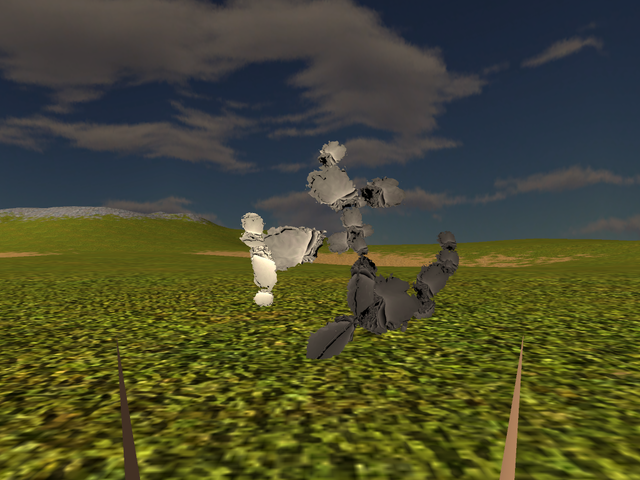
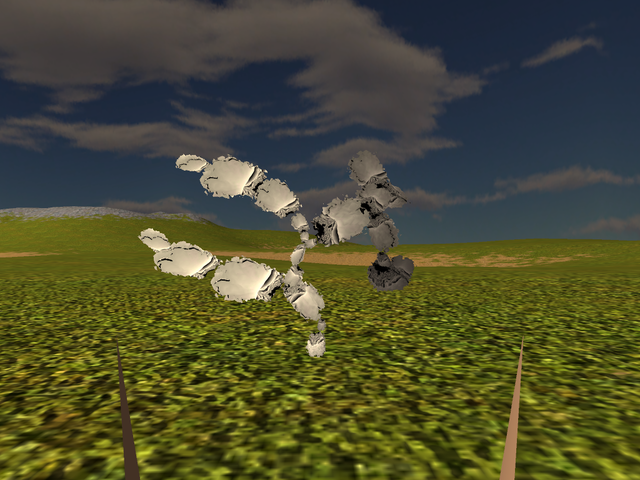
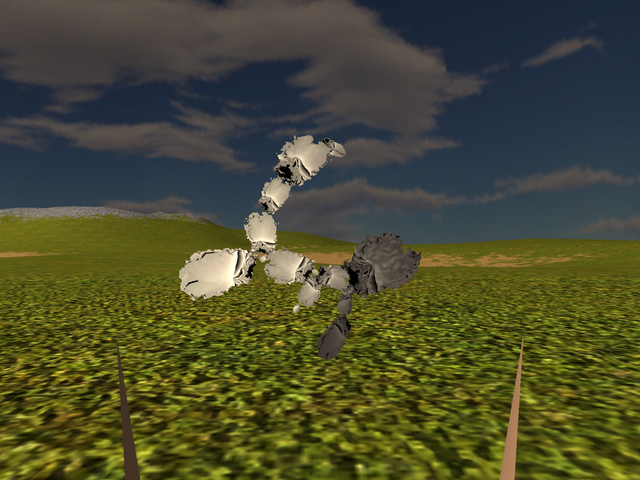
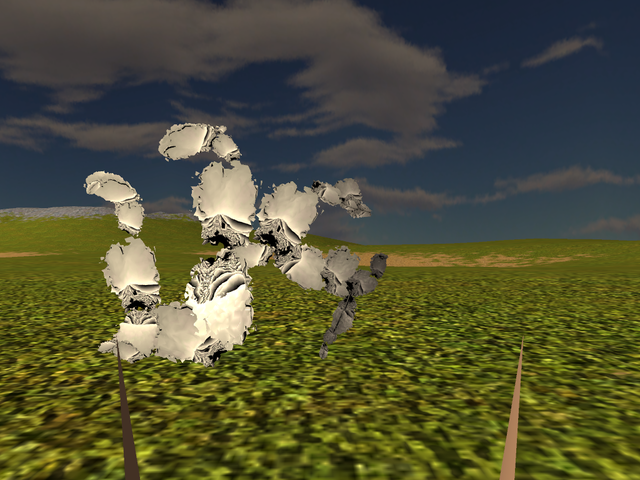
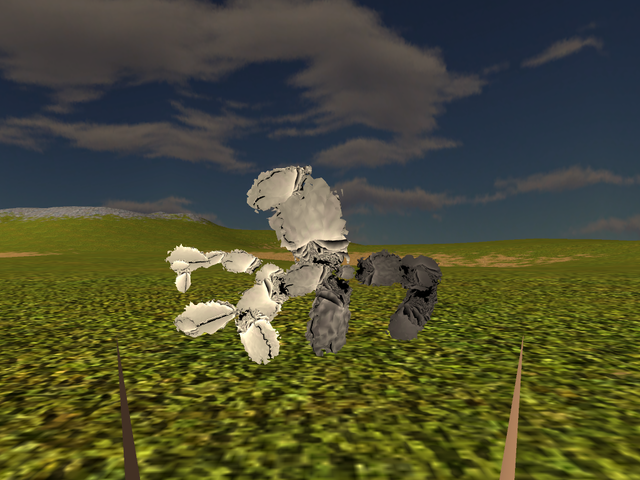
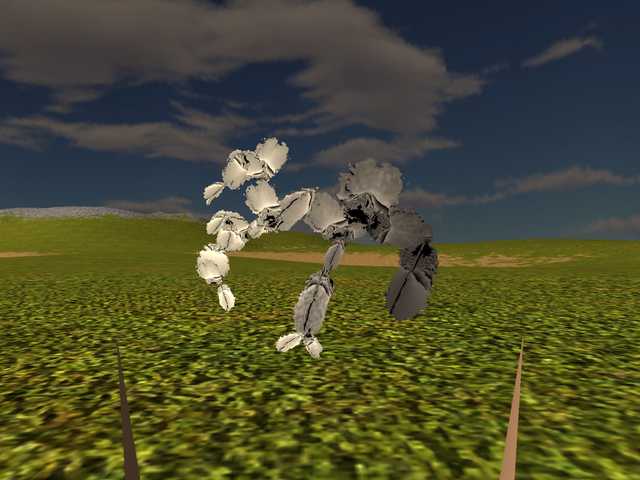
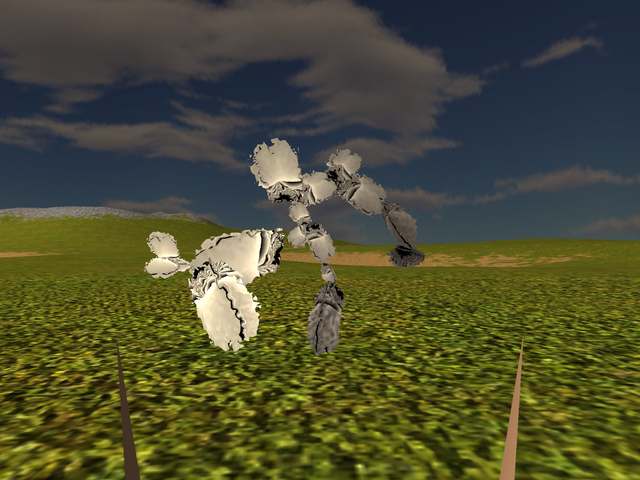
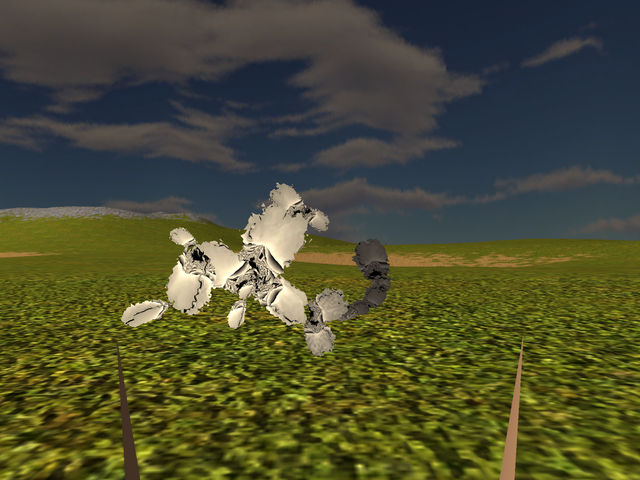
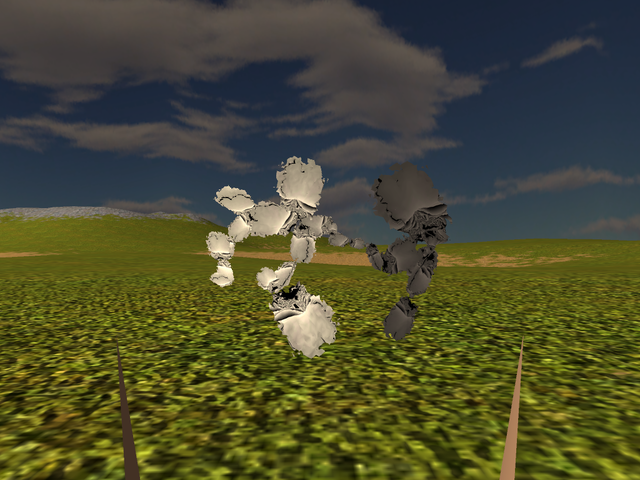
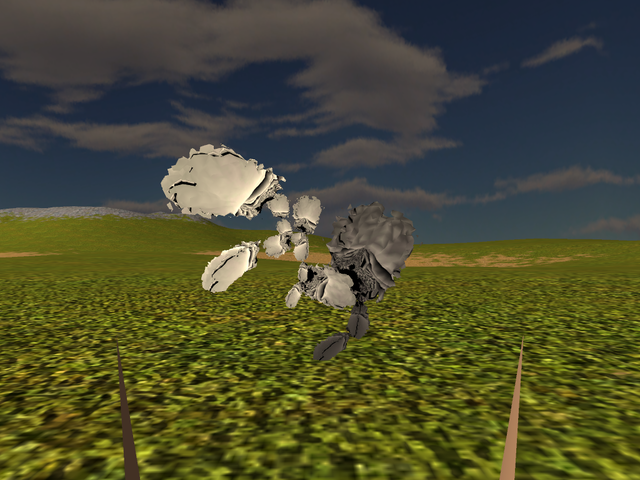
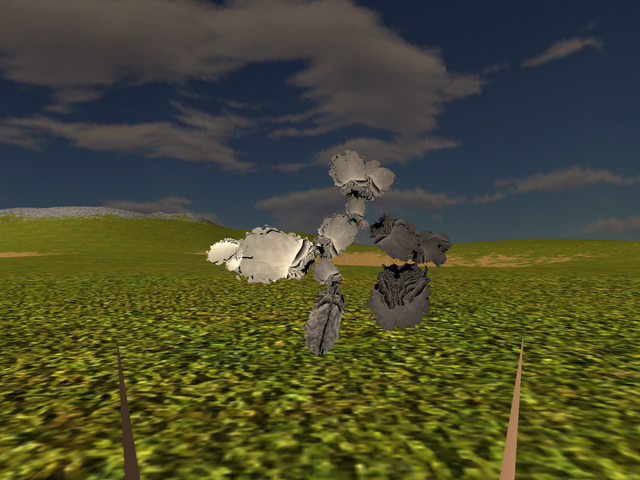
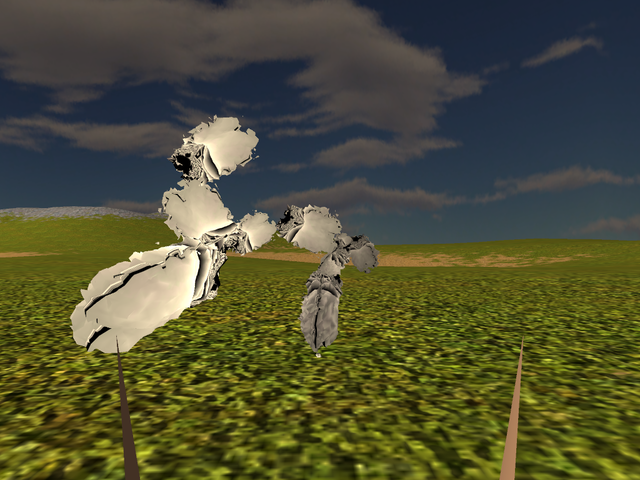
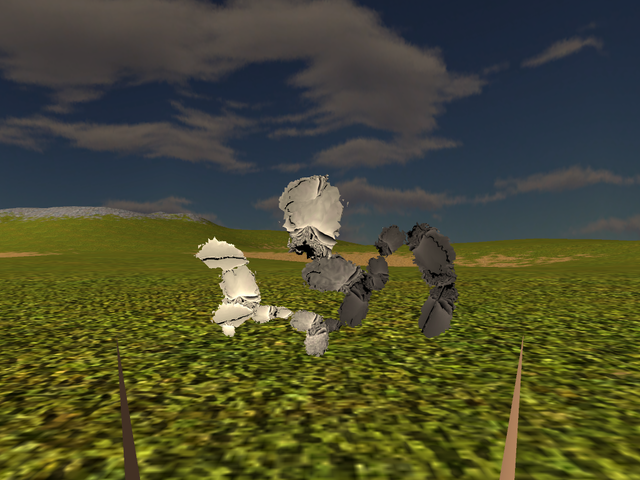
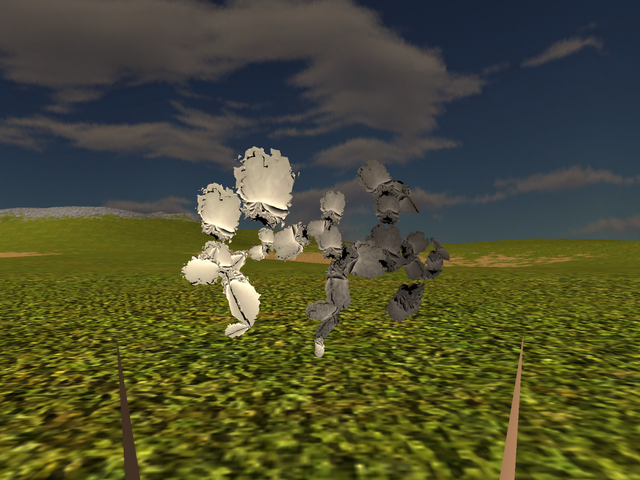
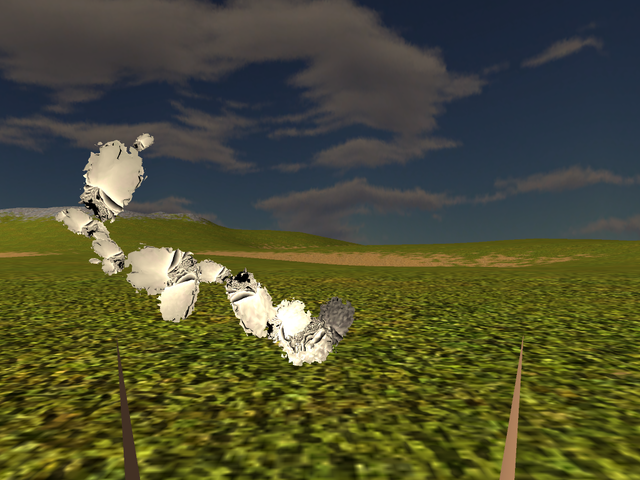
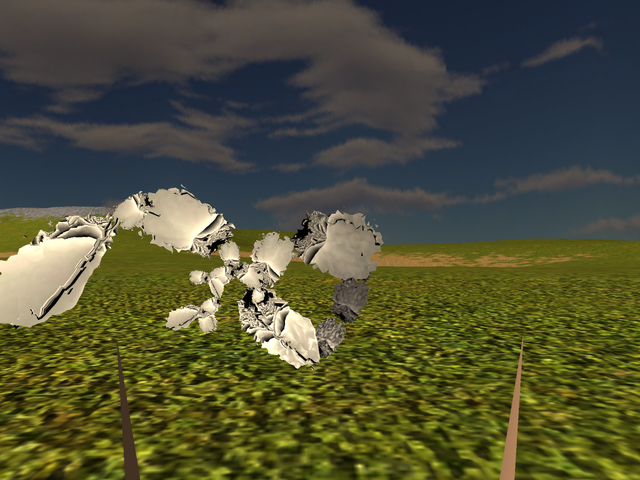
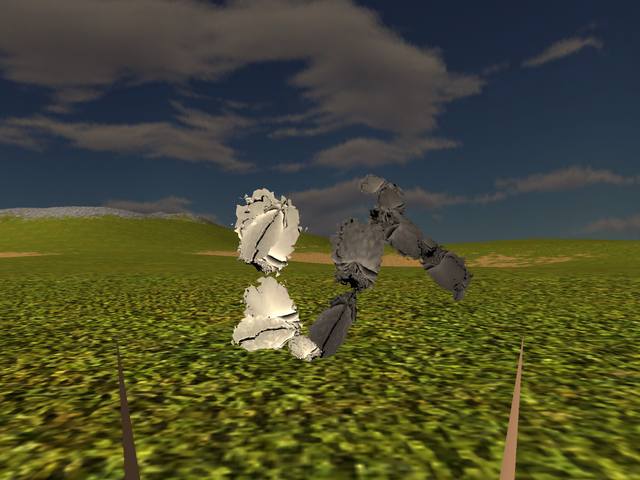
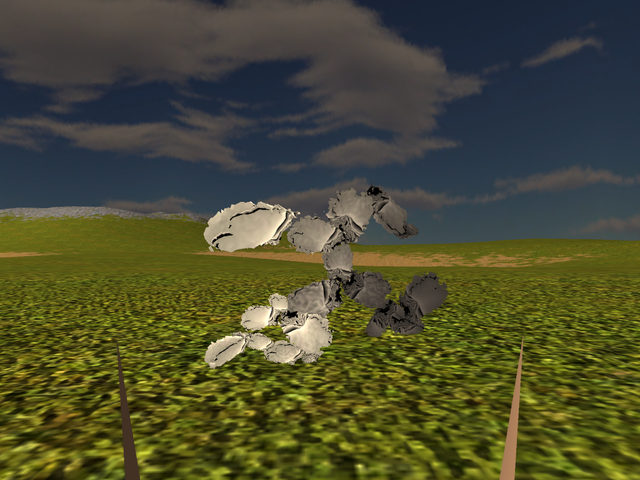
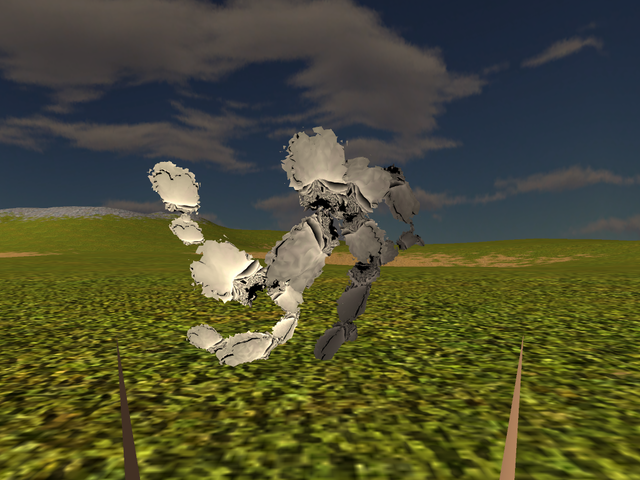
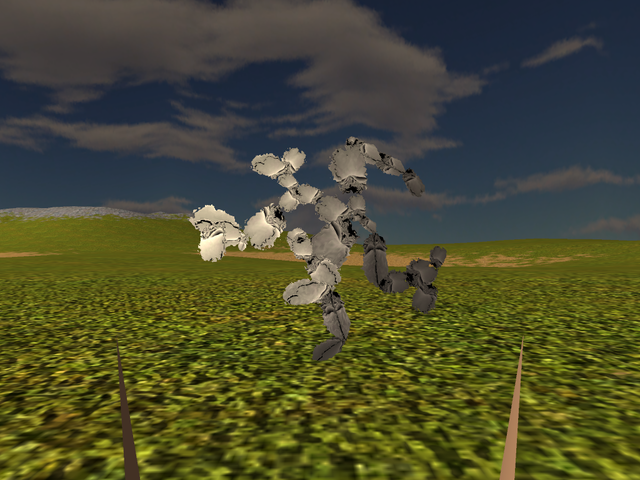
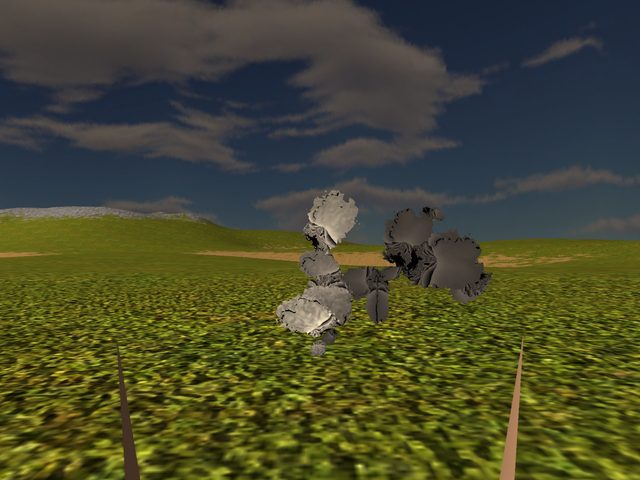
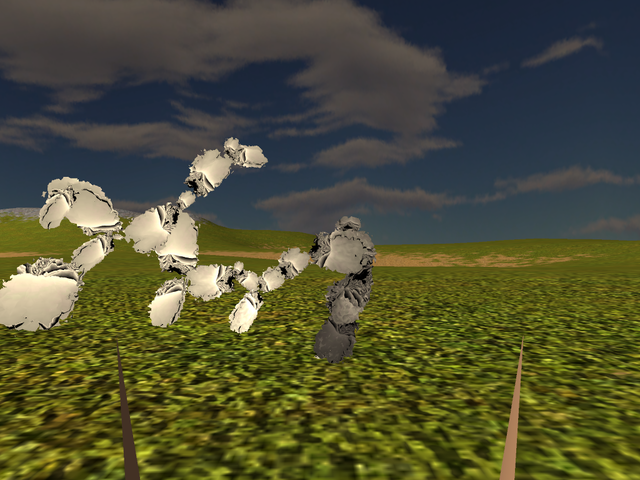
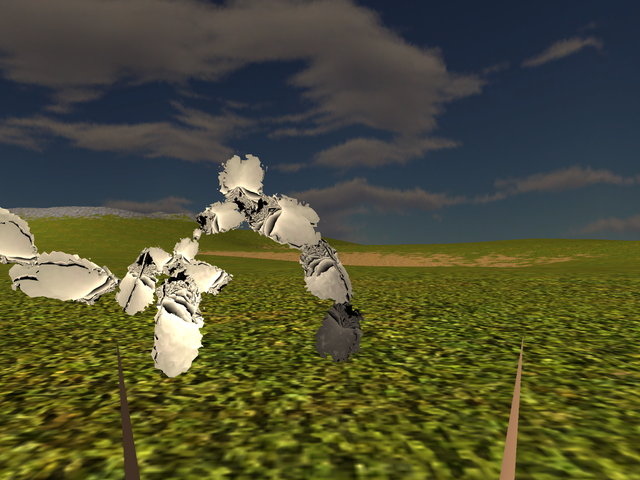
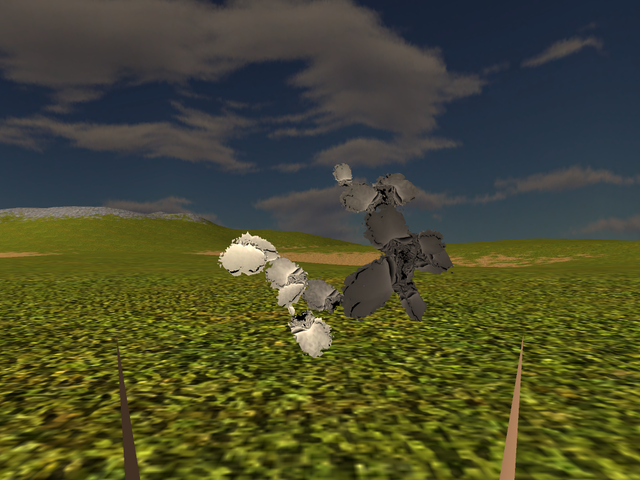
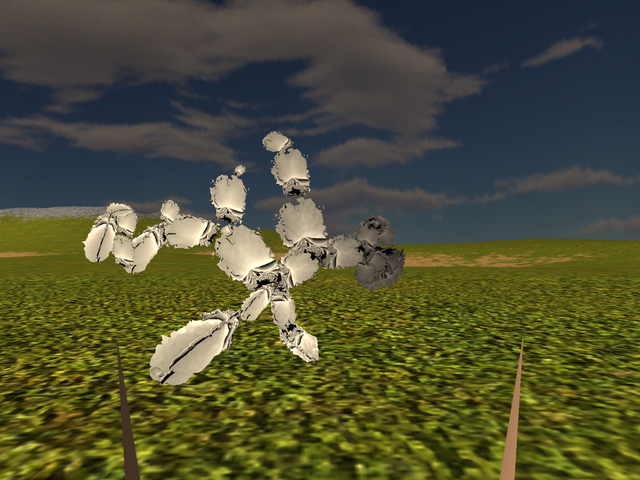
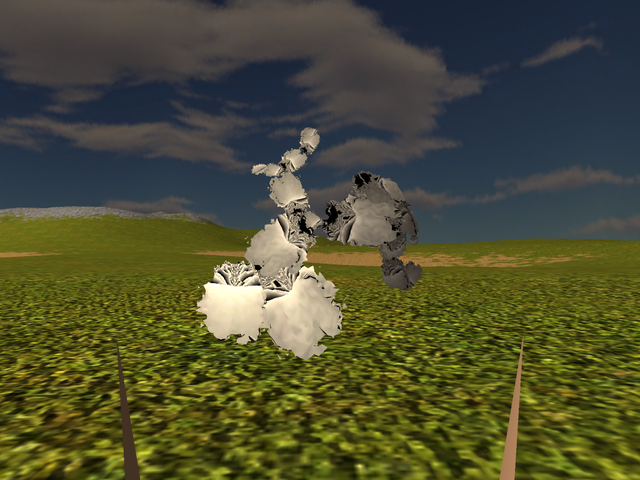
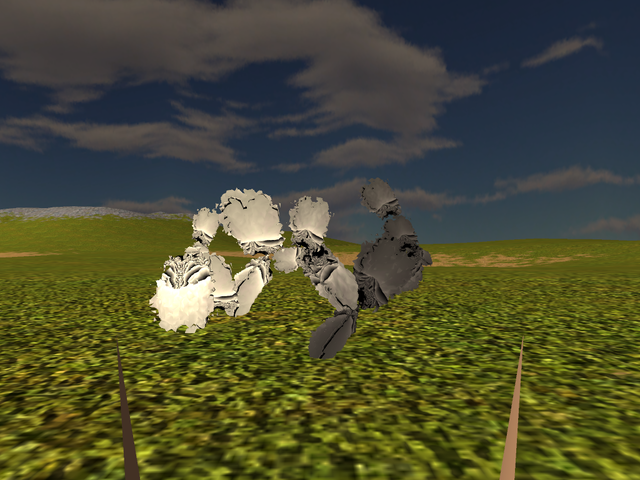
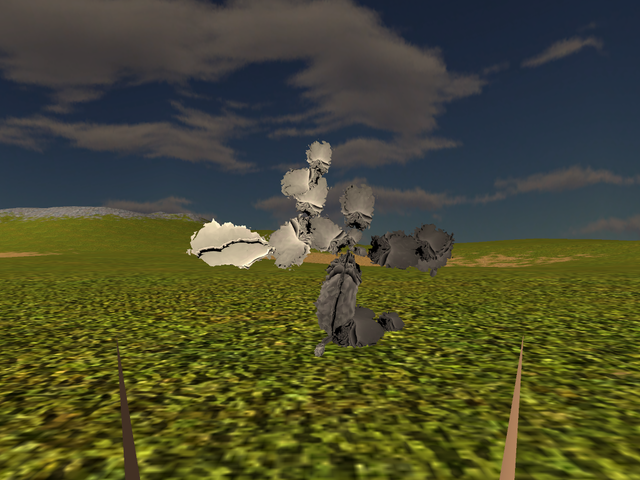
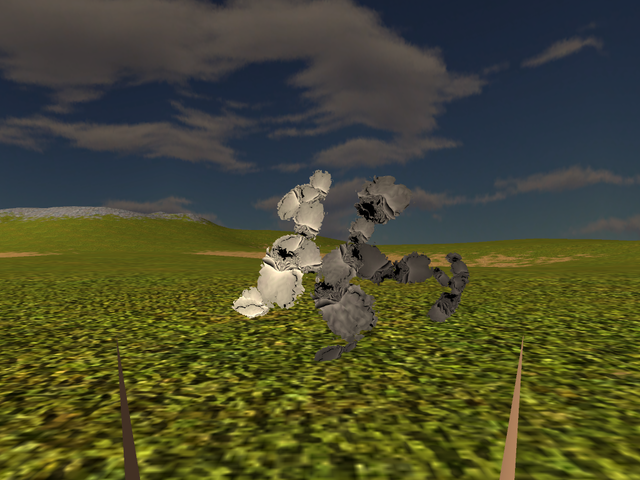
While there seems to me that there might be a slight difficulty in deciding just which parts are what sort of limb, I'd say at least that in the above case, limbs there are quite plenty at times! And seed 25 even looks to me close enough to those American football gear types - overgrown/padded upper limbs ftw! Anyways, last run of silliness for today comes with points in the sphere between 5 and 9, while points on the surface are between 11 and 21:
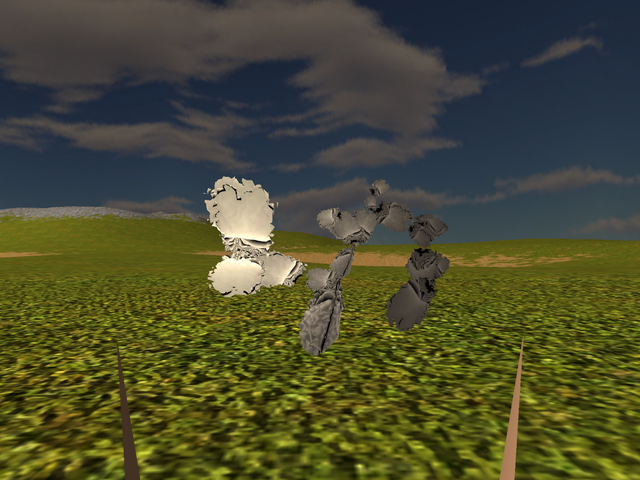
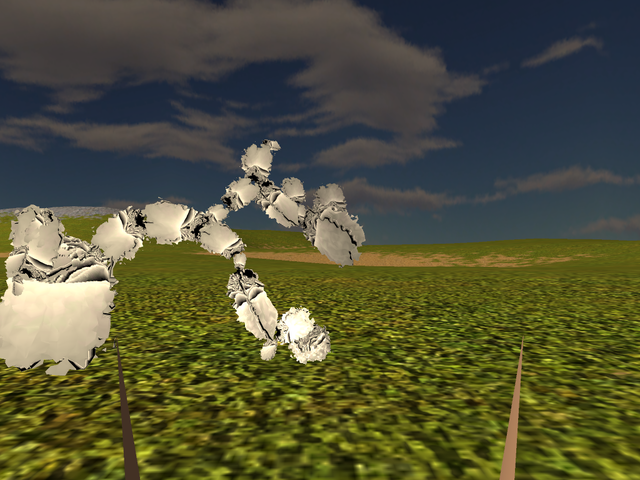
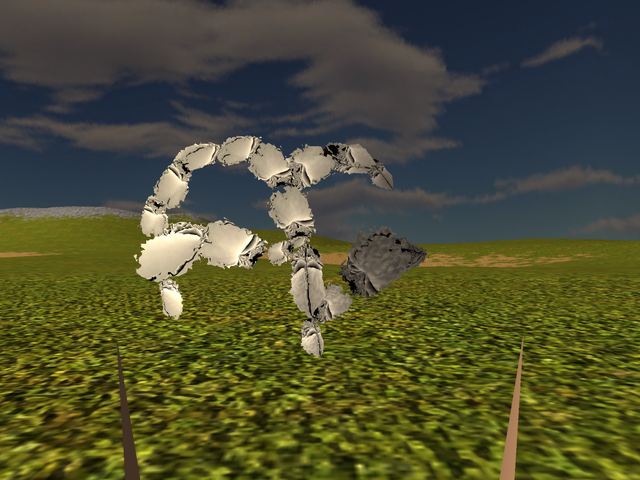
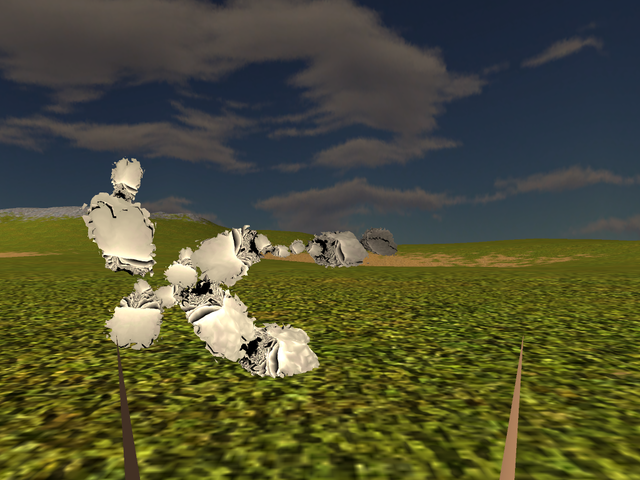
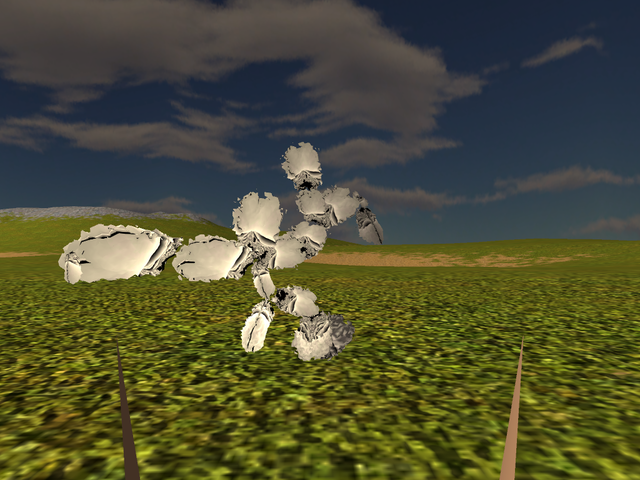
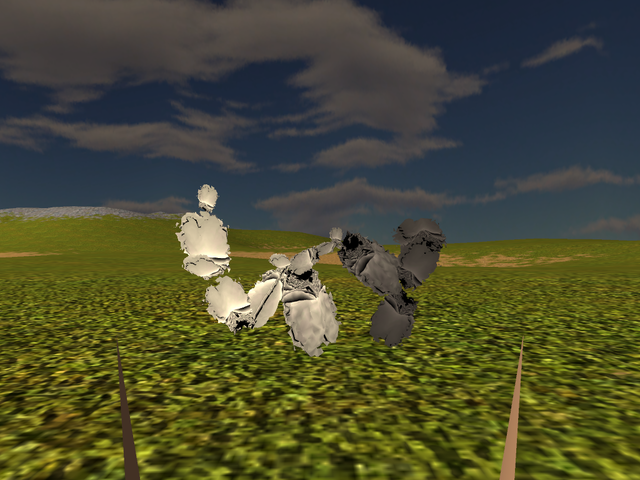
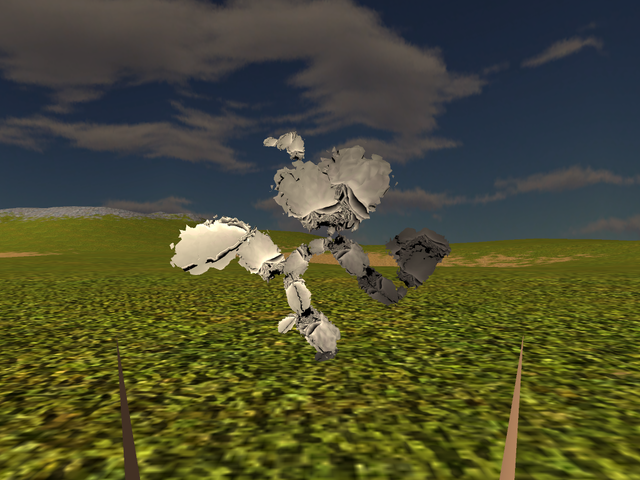
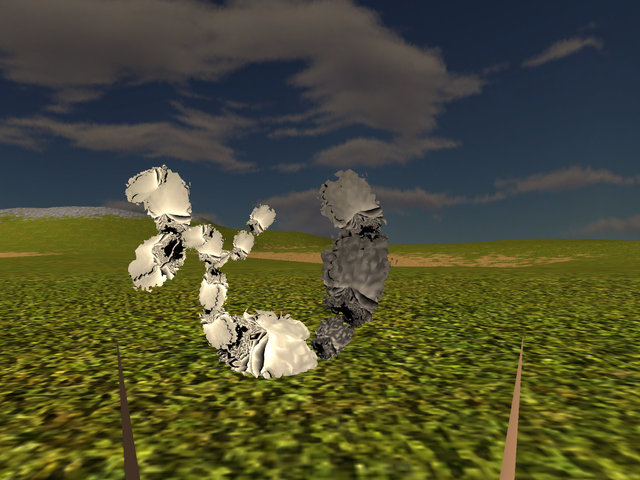
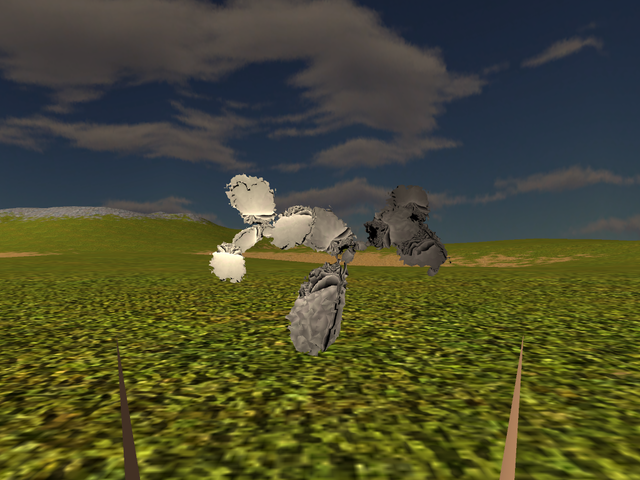
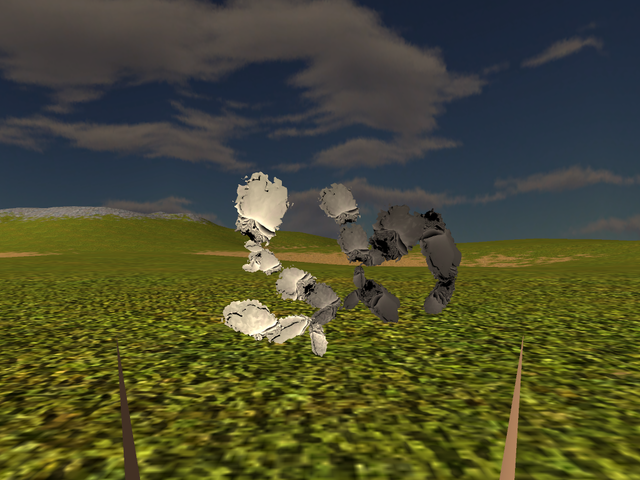
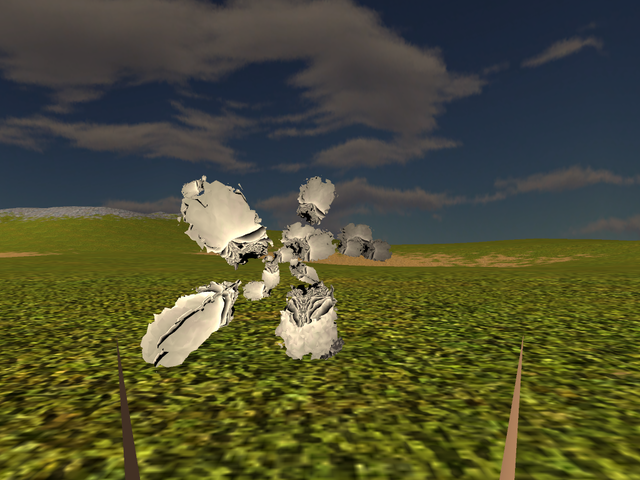
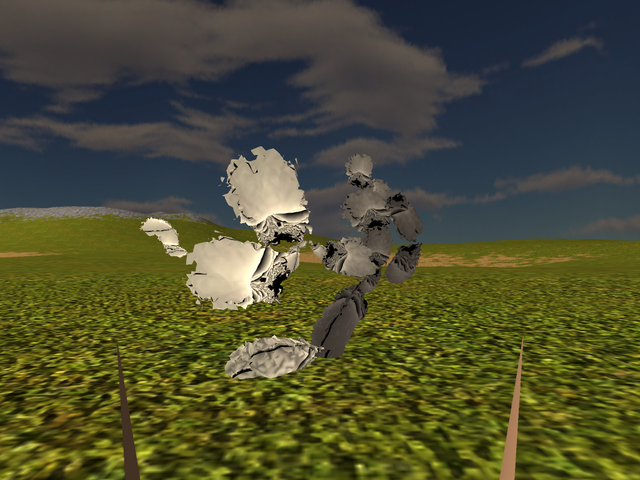

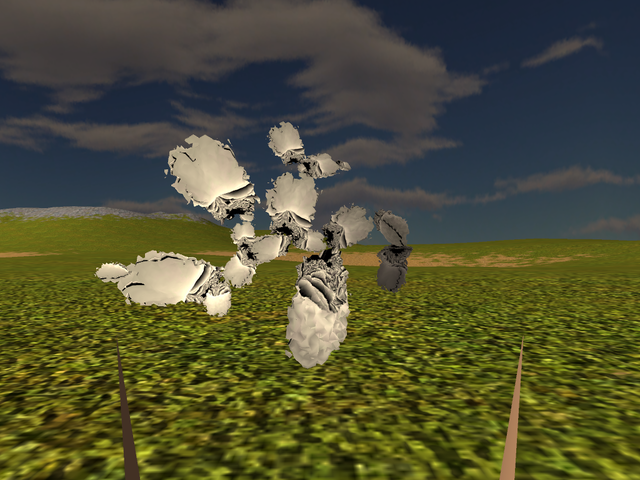
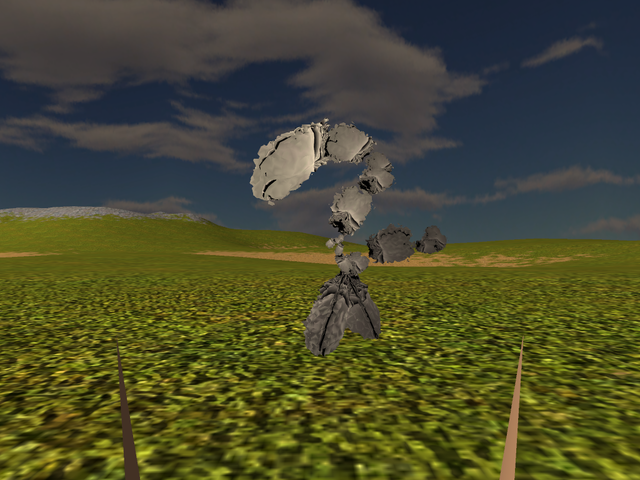
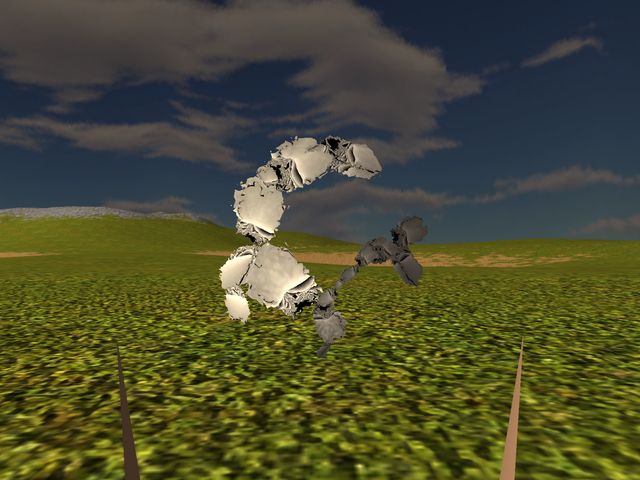
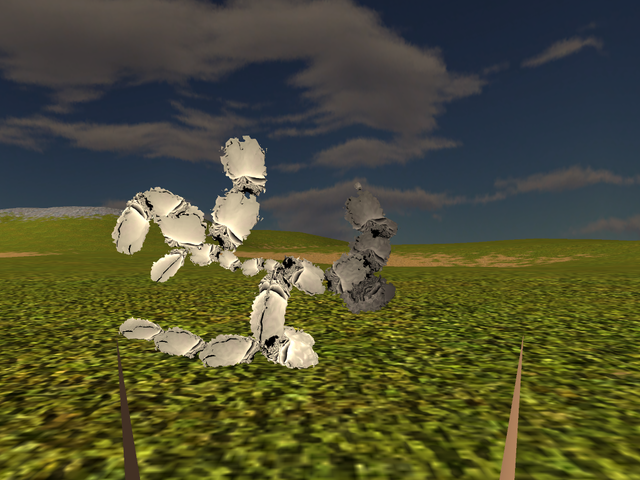
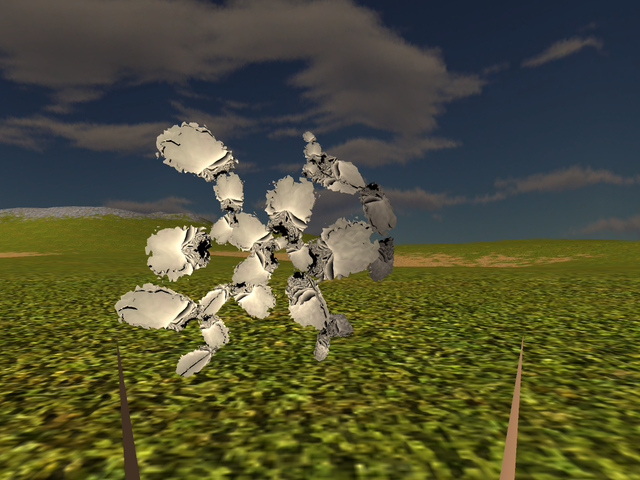
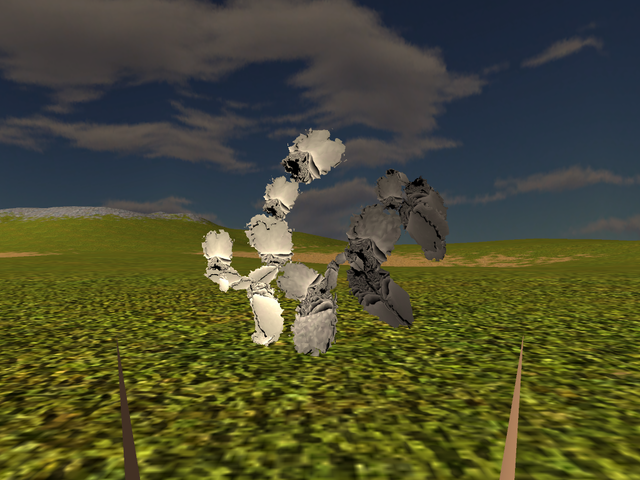
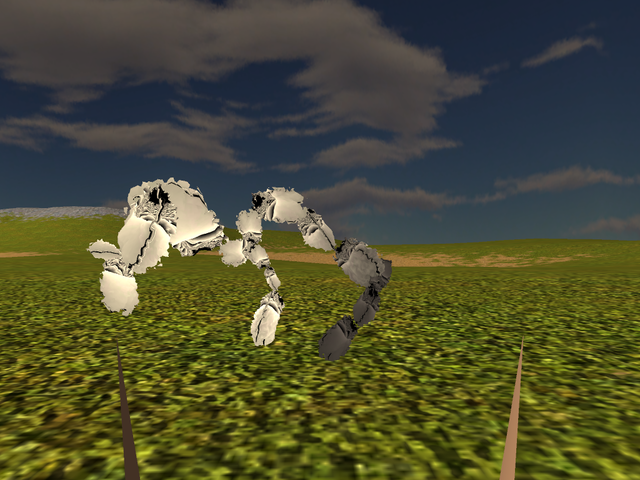
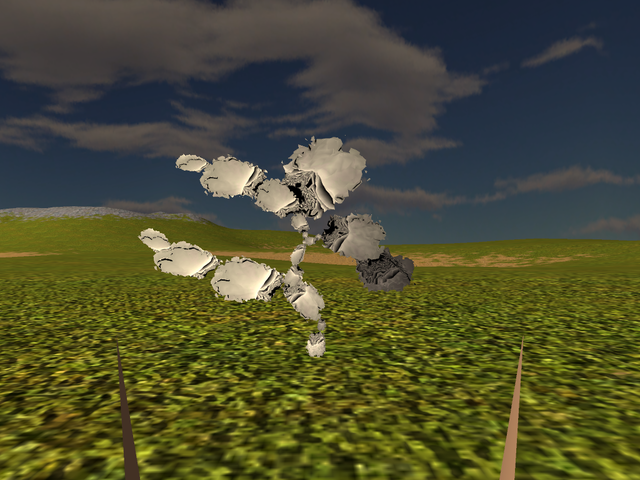
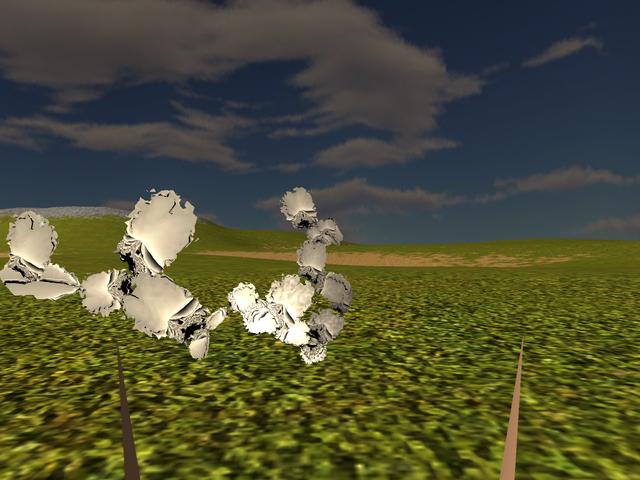
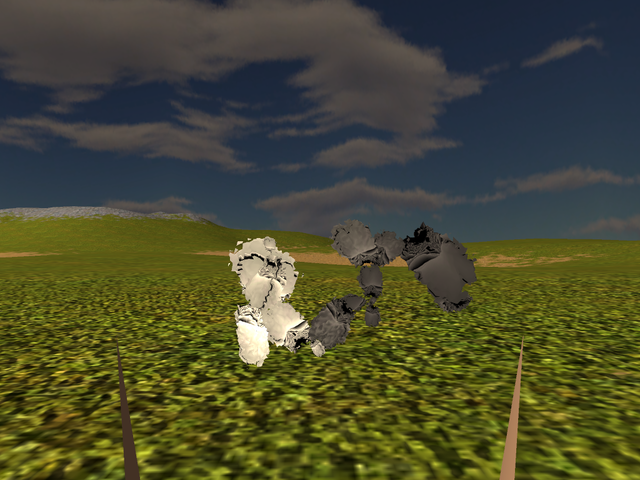
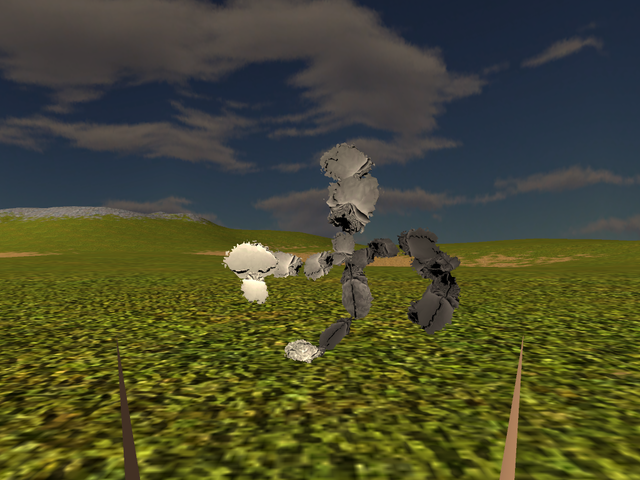
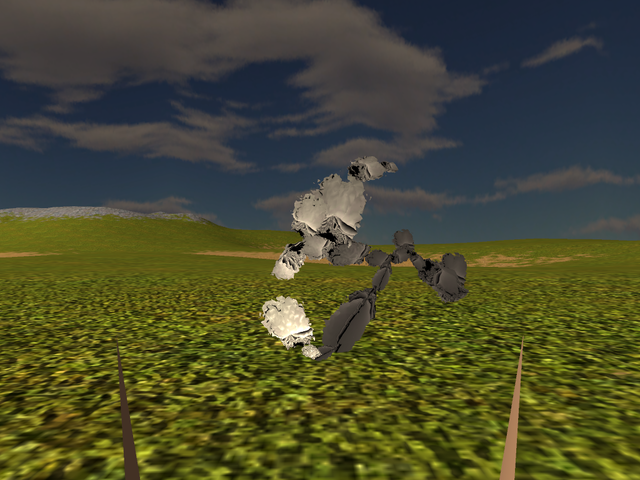
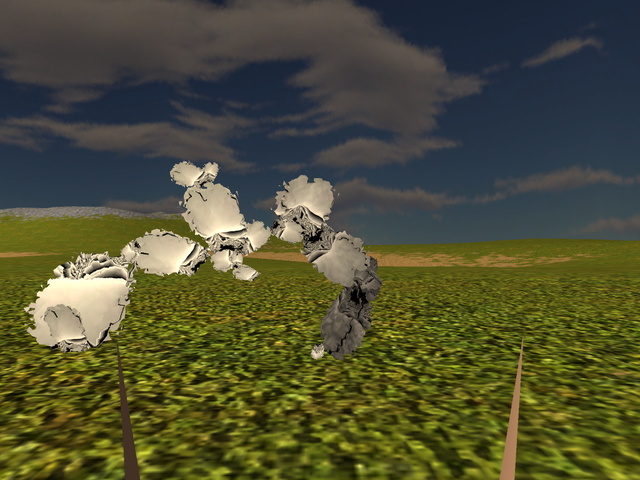
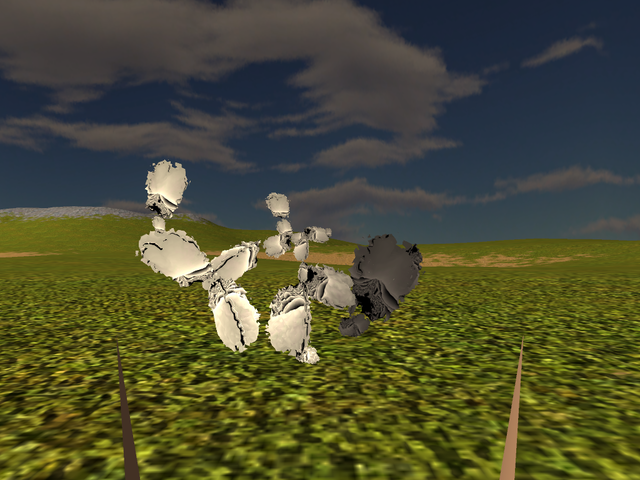
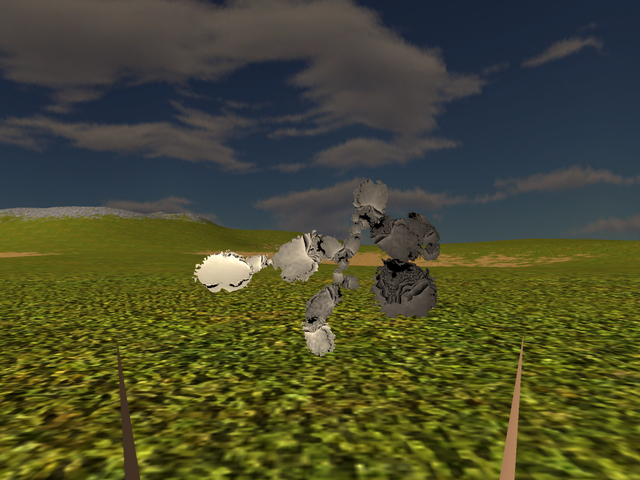
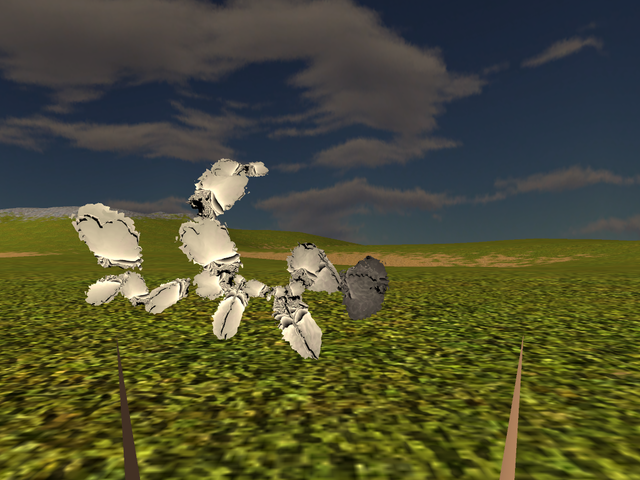
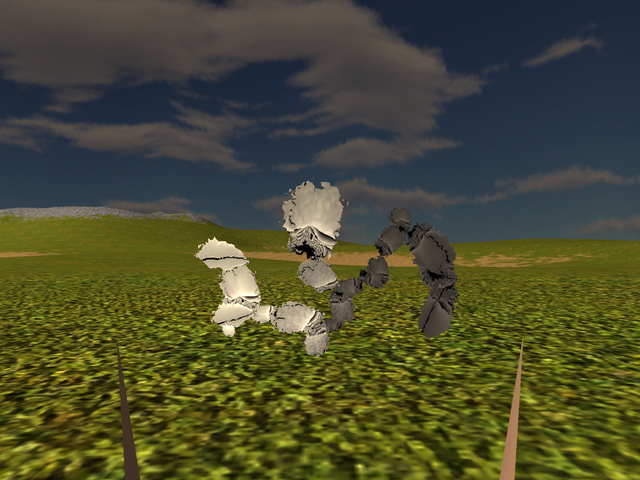
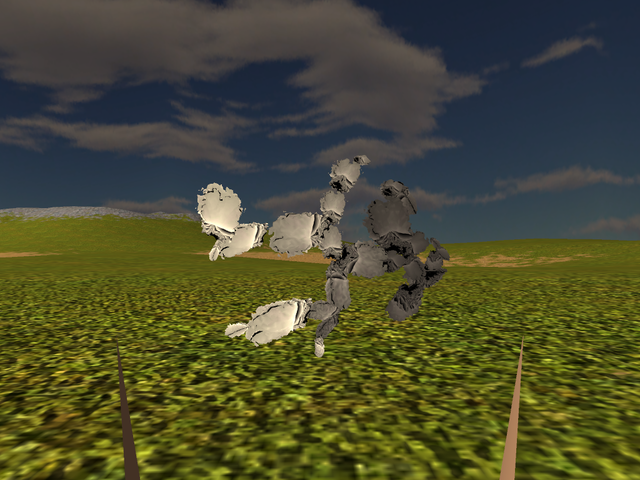

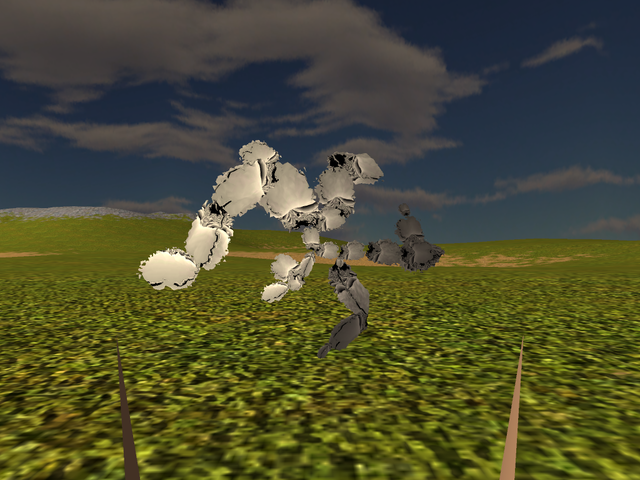
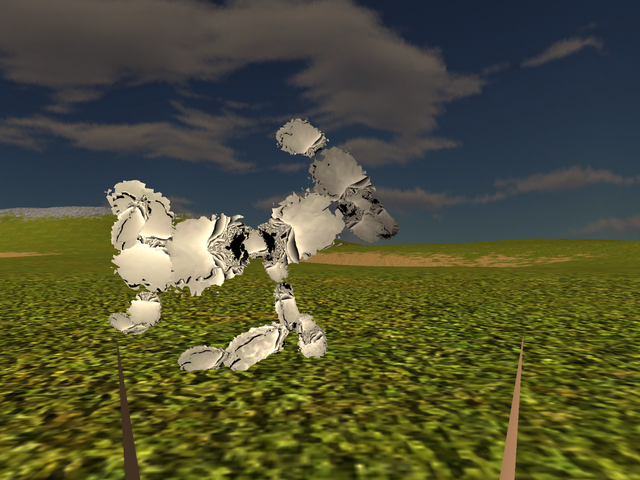
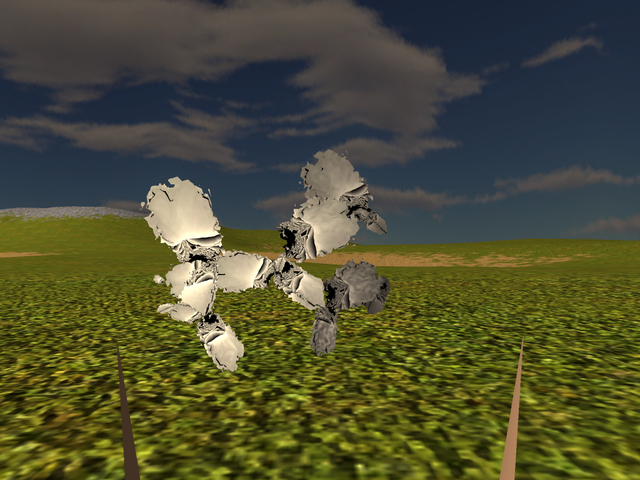
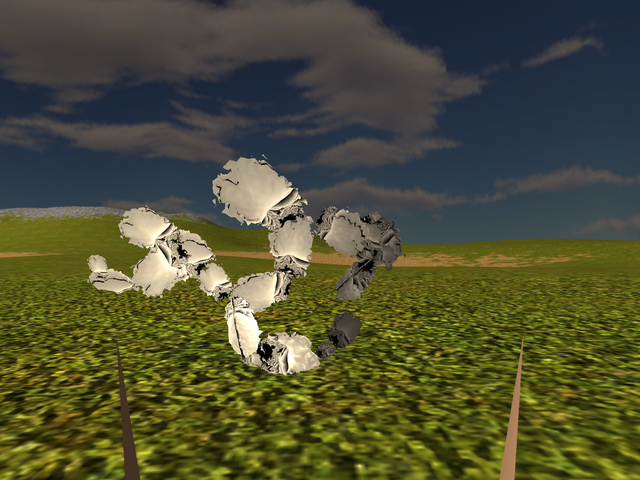
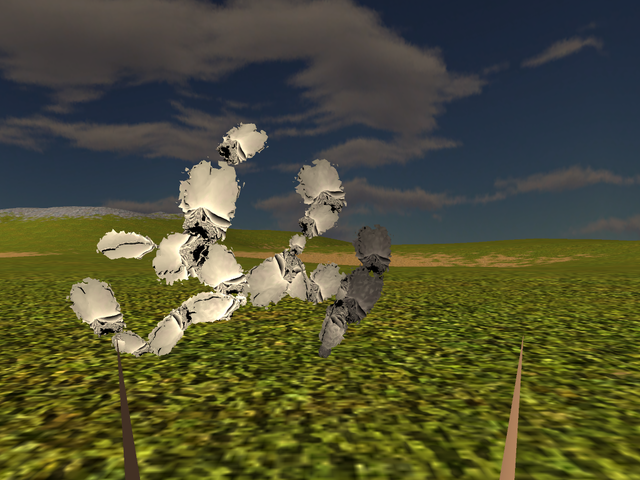
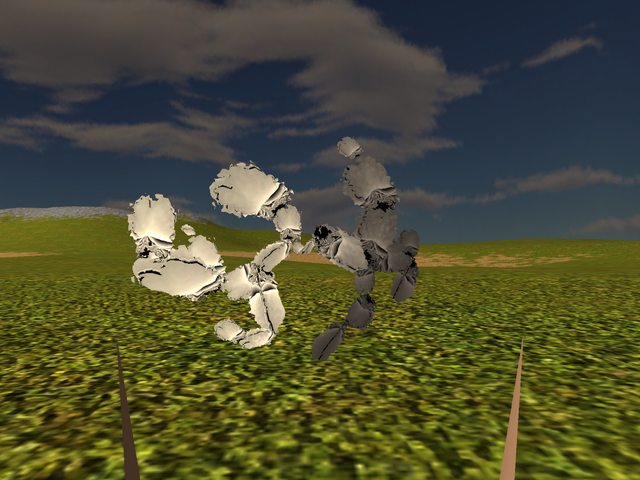
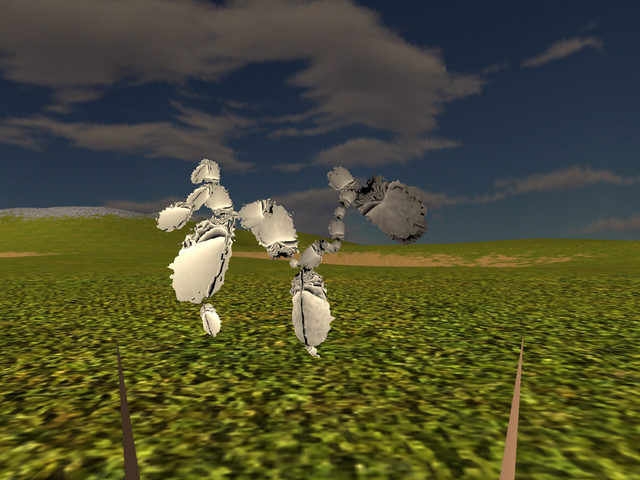
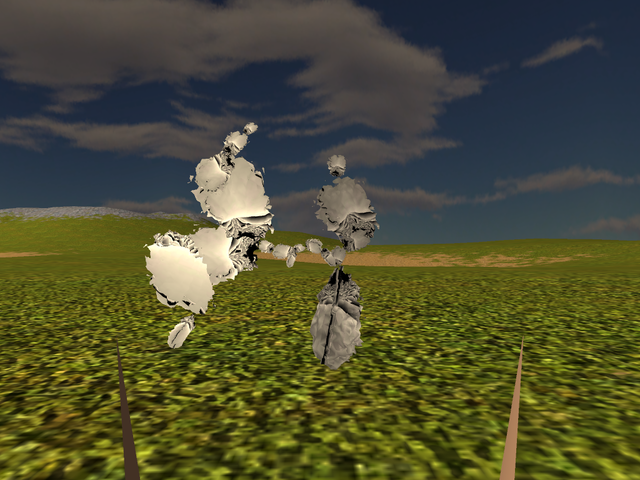
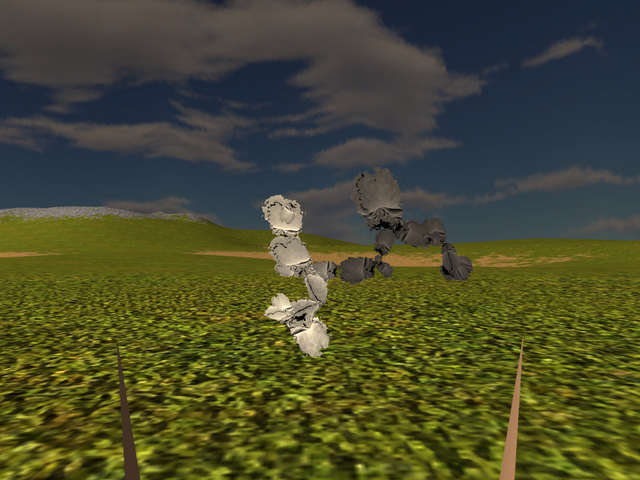
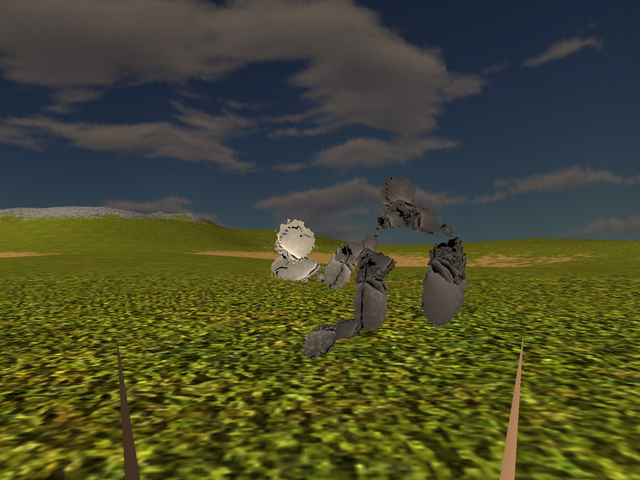
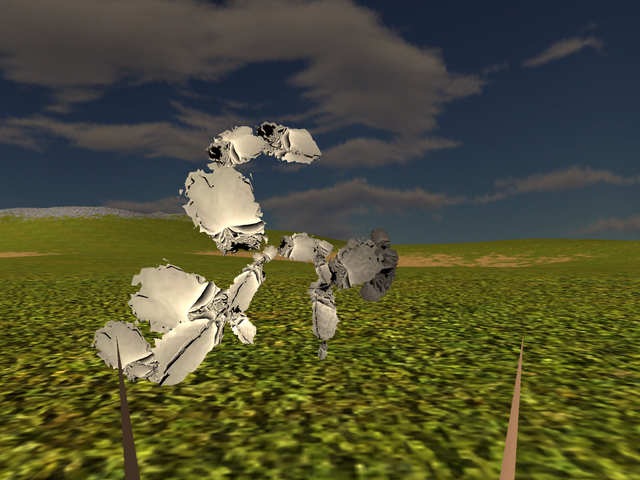
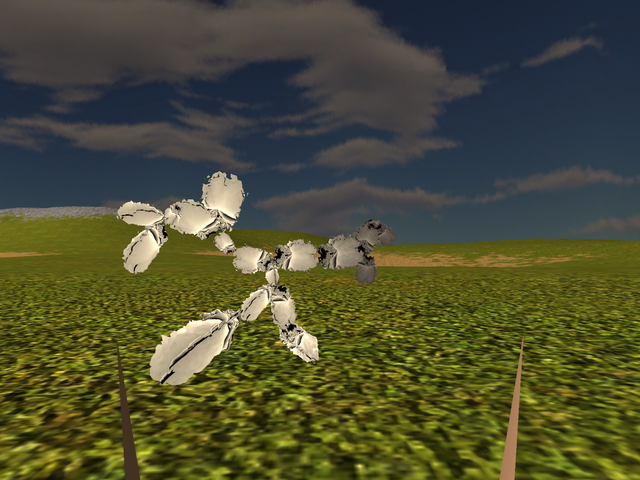
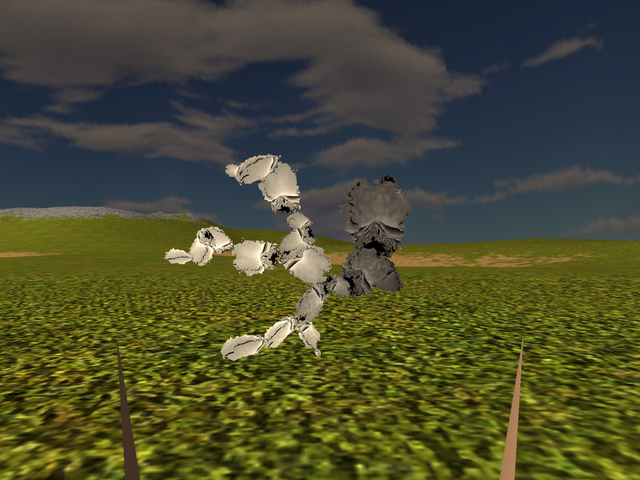
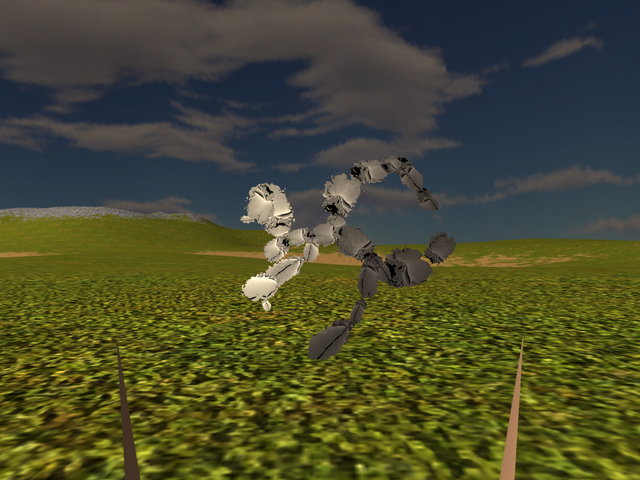
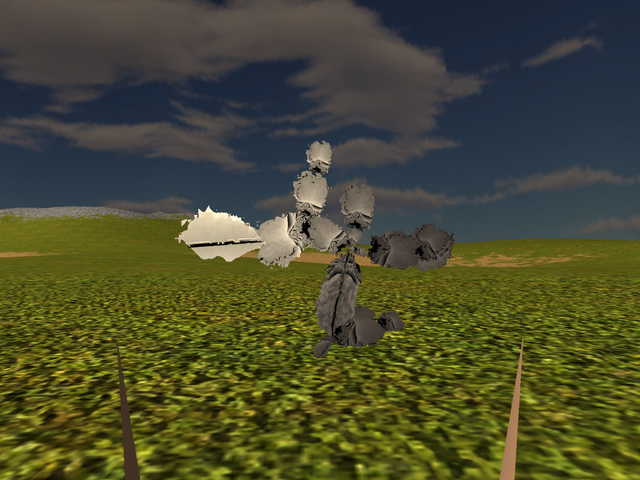
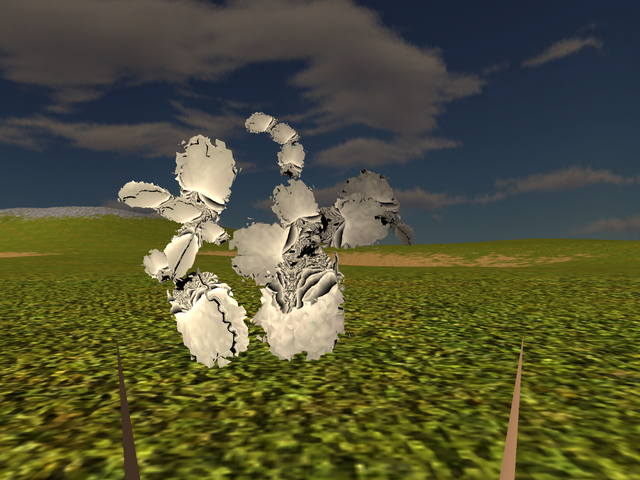
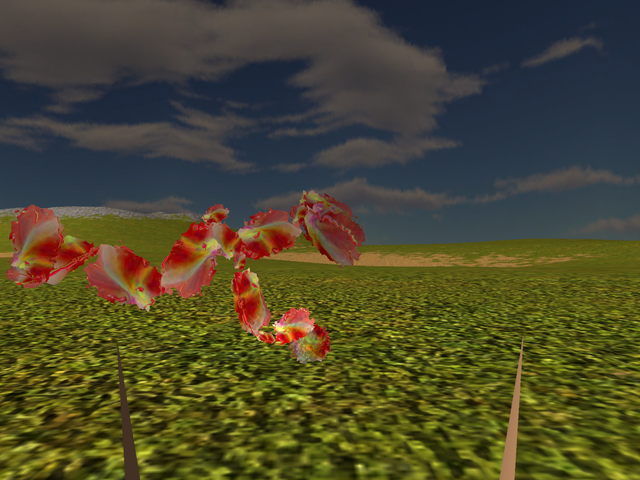
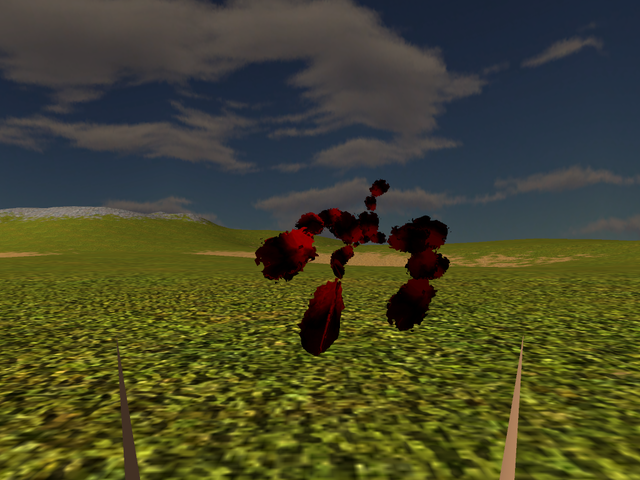
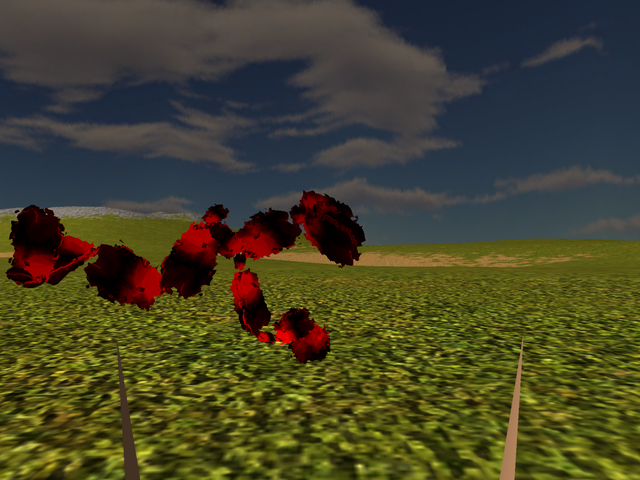
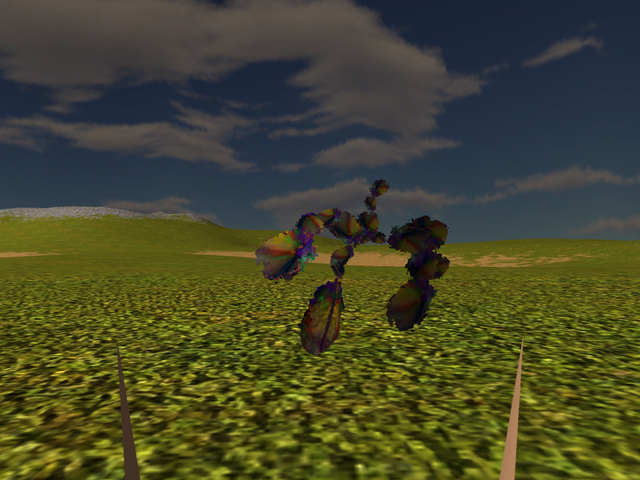
Note that all the above use just one mesh that is created with one seed and so yeah, one of any number available otherwise. But this aside and in the most utterly serious manner otherwise, I also threw various pots of paint at 2 of the creatures from the set with points 7 to 13 (same inside as on the surface) while they were posing:
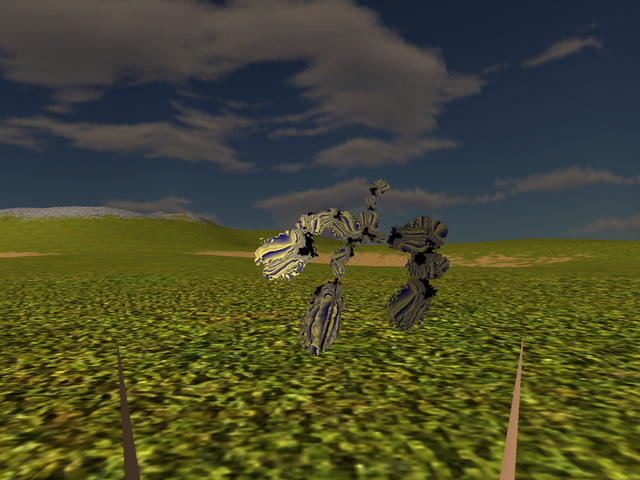
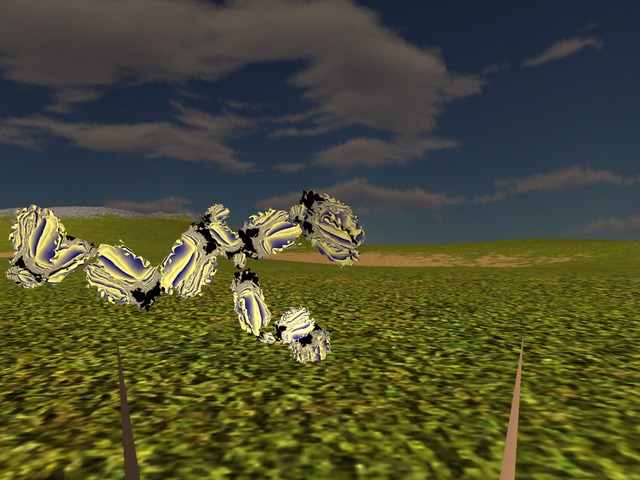
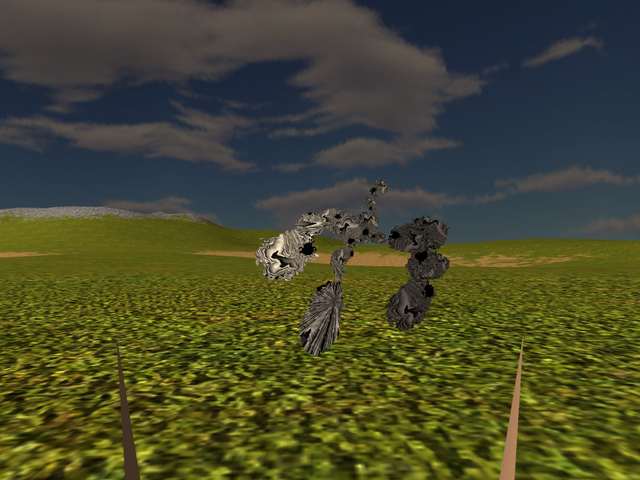
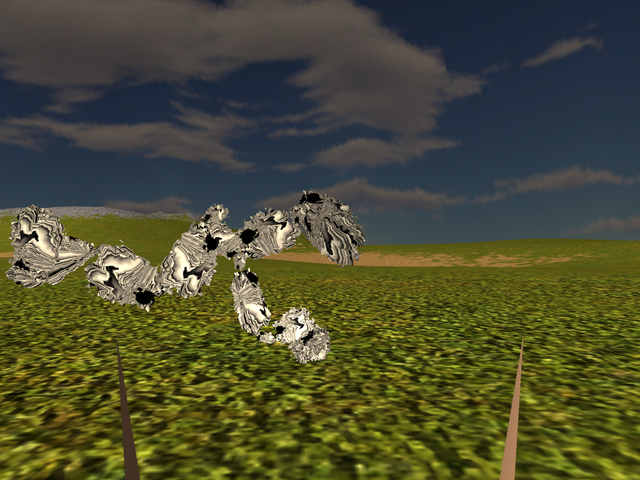
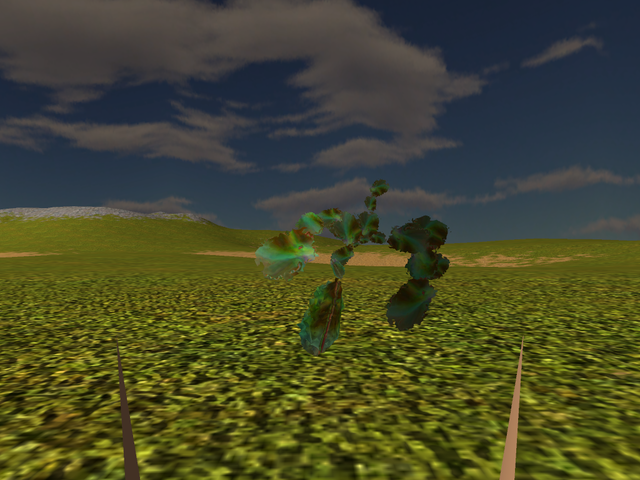
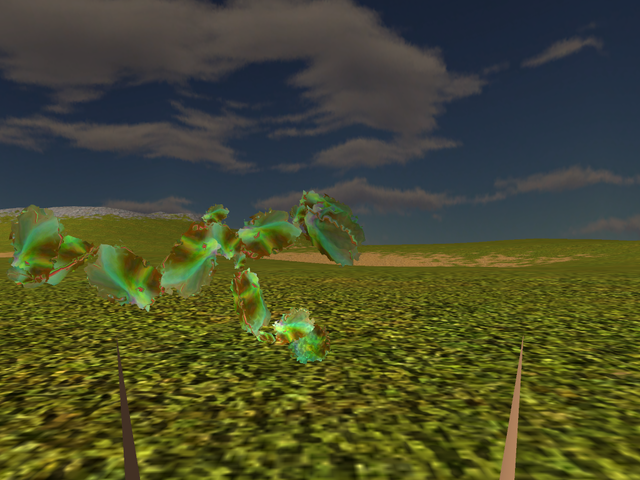
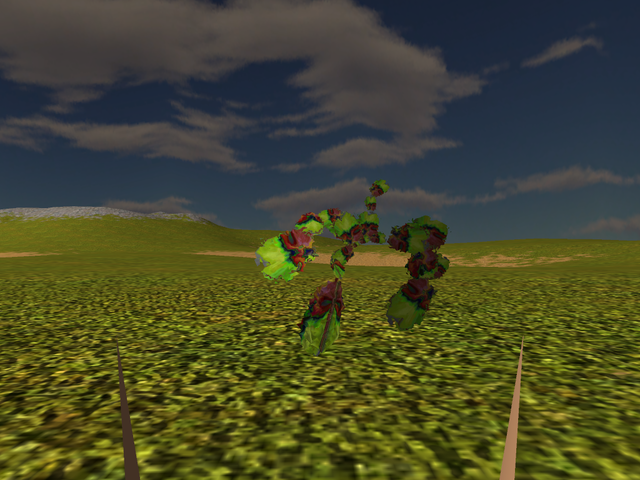
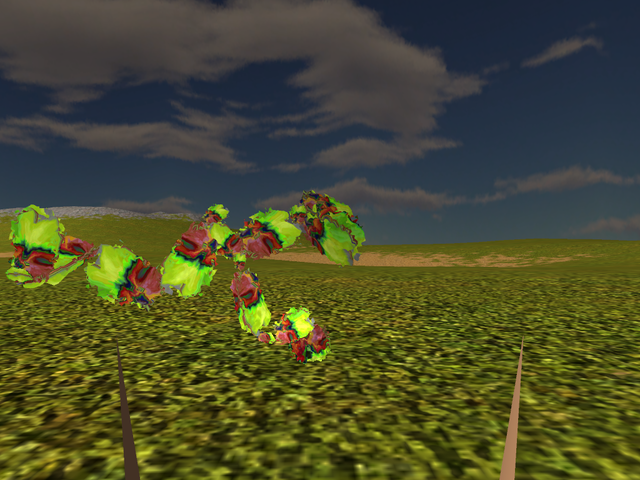
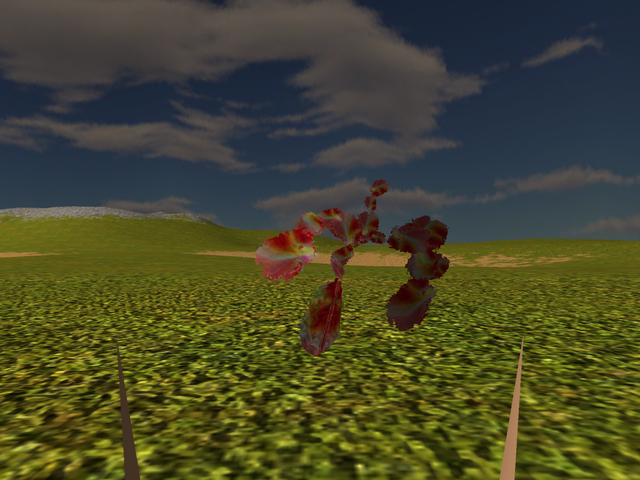
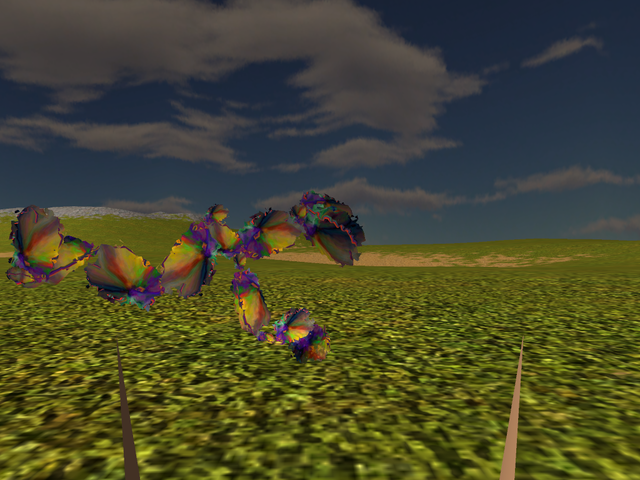
For the next steps, the main new area opened up for work now would be animation really - getting to figure out how to make all those bones move too, so that it gets really interesting. Other than that though, there would still be more experimenting to be done, perhaps implementing and trying out some new base function(s) for the fractals to see if I can have it generate meshes that look -perhaps- more like tool-yielding creatures than like drunken knotted fluffy ropes of sorts!
There's also a potential issue to consider as the more intricate the mesh is, the more vertices and triangles the polygoniser is forced to generate and that gets multiplied by whatever number of meshes a single creature is made out of. On one hand I can always make the polgoniser's steps wider and so reduce the number of triangles but on the other hand, this reduces also the detail and thus how interesting the resulting mesh is. At the moment there was a visible slowdown noticed when I ran the generator with most bones (hence most meshes per creature too) - I had to increase the delay of the bash script to 4 seconds to make sure that CS had time to render everything before the screenshot was taken.
- This can't really be properly checked until I have some animation going on too; and even then it will be a pain because "correct" is -in some interpretation at least- whatever happens![↩]
- At which point I have to reiterate that no, cal3d's bones are NOT bones at all, no matter what your optimism might insist on - they literally are articulations at most, there is no length either, not even implicit! It's not the case that a bone starts where the previous ends (or that the previous ends where the new one starts), no - it's just the case that the "length" like the "width" does not matter, it's inconsequential. Each "bone" from cal3d's point of view is just a point and that point is meant to be the new origin for all transformations related to the "bone". So the "length" there doesn't matter at all in any way and moreover, there isn't even any sort of limit as to what bone acts on what mesh or anything of the sort! Basically a "bone" can even spread everywhere as far as cal3d is concerned - all that matters is where it "starts" and nothing more. This created first some headache as I was still -silly me- entertaining the notion that maybe I was indeed wrong and it was just some implicit length, so I was still trying to fit actual bones in that structure and getting all in a twist about it. This was solved of course when I finally figured out the different convention - although this different convention also means that in some cases I have some trouble when picking out a "root" bone because that can easily be the starting point of 2 bones in my generated skeletons. Anyway, long story short - it's done now and so far cal3d eats it happily, I'll see at animation time how it behaves and if there's still any trouble left to smooth out in this area.[↩]
- The darned thing initially failed to just set the camera where I wanted it pointing - because it turned out that there was another init that just forced a viewpoint it knew best! And once I sorted that out, I had further to hunt down where it insisted also on setting as initial camera mode this one where you can see the char with the camera but not what the char is looking at. After which it finally showed what I wanted - except there are still some slivers of Cally on the sides but who cares about those, just ignore them for now, I said. Except this was not all because the brilliant code has its own "screenshot" capability and that would be supposedly even better to use than taking an external screenshot as it can make sure the frame drawing finished before capturing the image. But then, it is "supposed to work" through a user command in the client's own "command line" and otherwise the corresponding method is not exposed to be used by other code and moreover it wants a full-blown GEM-this-and-that and all sorts so that the whole thing turns out a simple screenshot into a huge thing for no good reason at all. At which point I just set the bash script to wait a bit for the client to load all, call imagemagick on it (import -window "Eulora (2.0)" $filename) and then just kill the client by pid directly. What can I tell you - if you keep saying you can't do this and can't do that and won't do the other thing either, the result is not that whatever it was to be done doesn't get done - it's simply that it will not be done *with* you but rather *to* you and not in ways of your own choosing either.[↩]
- I couldn't be bothered to take the trouble to make it close down gracefully. Let it be killed several times per minute instead, can't say I even feel sorry about it.[↩]
- Could also just happen that my computer loves me, sure.[↩]
- And recalculating the darned stuff several times again because I kept thinking I had just made some mistake when working out the formulae - but it wasn't that this time, no.[↩]
- Texturing and Modeling. A Procedural Approach. Ebert, Musgrave, Peachey, Perlin and Worley[↩]
- Aka recipes, making for a rather frustrating read, especially as otherwise the authors clearly do have a deeper understanding of it all - they just cater to not stressing the poor reader because too many such readers, I guess.[↩]
Comments feed: RSS 2.0
I think that progress is very evident, not merely from the (quite impressive!) textual description of code evolution, but also very much from the visual appearance of the latter day hopefuls. I'd say you've managed to drag them into almost credible early marine life evolutionary level, which is a good few million years later than the previous batch ; moreover the fact that they're starting to involve the elaborate mechanism of humour (by a fat margin the best heuristic we have available) is in itself the strongest signal that could be had, and definitely the only valid indication of marketability or economic value in the endeavour. (Nor do I expect it will be all that difficult to massacre "AAA studios" bringing forever into the marketplace the same tired old self-referential nonsense, "does this goblin look like a goblin should look according to a buncha people who know well what goblins look like for not have ever seen any[thing but].)
I think this pot has boiled enough to introduce symmetry. So for the future, add another step in the early bone creation : after the points are generated inside the sphere but before they are united, mirror them along a) one plane, and b) along two perpendicular planes, alligned parallel to the line uniting the points furthest apart. Then collapse all the points which are closer than the average distance betwen points into a single point, such that you lose no more than a) one third and b) two thirds of the total point count.
Also, I think a great deal is lost through 1) single pov and 2) single mesh audition conditions for hopefuls. I would like to see each model in 3 shots, one being arbitrary x, y, z, another being 90 degree rotation on x, y, z and the third being 135 degree rotation in x, y, z. I would further like to see each hopeful in a different fractal mesh, for instance both sides of tex_1_640.png and at least one of tex_2 must be displayed upon actual hopefuls. I'm also quite curious as to a few instances of stereo textured hopefuls, it's not so much a matter of "did not work" as it is a matter of "let's see it broken and figure out what to change where". I would also like the camera to be about 1/3 of the current distance closer to the hopefuls on display.
This part promises to be a very major problem, does this translate to, "every time such an animal goes into a character's view bubble, there'll be a 4 second delay" ?
I don't think we're quite there yet.
Word.
Thank you & good to hear it.
You know, I was thinking precisely "mhm, maybe they could use some symmetry really" when going through all those shots but I thought you didn't want it introduced at all. So good to see we are still on the same page here, though just to clarify:
1. My understanding is that you mean a) and b) as 2 separate things to try, meaning I do one run with mirroring along a plane parallel to the line uniting the points furthest apart and then a different run with mirroring along 2 perpendicular planes, of which one is parallel to the line uniting the points furthest apart (and the other one I assume is perpendicular and in the middle). Is this correct?
2. Do you mean literally the 3d euclidian distance above when selecting the points furthest apart? Or do you mean it e.g. furthest apart on the y axis (or on the x axis)? Taken 3D, chances are it will be in most cases some diagonal of sorts and I'm not sure why would that be desirable all that much anyway.
3. What do you have in mind re collapsing points? Just removing them? Replacing them with an average (of how many?)? Also - does the "average distance between points" that is used as threshold get updated after each collapse or just calculated at start and then used?
The single pov does lose a lot, indeed (I have circled them with Cally and I was pondering what to do about it because a shot is 2D anyway and doesn't tell the whole story). I can do
3 shots for each, sure. Do you mean those rotations to be 90 (135) degrees around all three axes at the same time (aka: shot 2 with hopeful rotated 90 degrees around x axis AND y axis AND z axis; shot 3 with hopeful rotated 135 degrees around x axis AND y axis AND z axis)?
The "single mesh" is confusing - do you mean "single texture"? To clarify: the mesh is the description of a surface and when I say "using the same mesh for ALL", I mean that each and every bone of each and every hopeful above has fitted on it just one surface (sure, scaled, rotated and translated into place), one same "piece" if you want. It's in this sense that they are all made out of just one mesh. Nevertheless, as you can see in the last screenshots, that same mesh can be painted with any texture. So to avoid confusion - if you mean the paint on it, then it's the texture; if you mean you'd like to see different shapes for different parts (beyond what the size and position does and otherwise what the applied texture tricks the eye into seeing differently), then it would be different mesh.
This is where I got the clue you meant texture rather than mesh, lol. To further compound the confusion, they are all stereo textured aka the mapping from texture to hopeful is stereographic, heh. At the same time, all textures are also fractal, including the "stereo" ones! Welcome to a sea of parameters. Anyways, to get out of all the confusion: I gather you want to see the hopefuls trying on at least one of each set/type of textures, too. It can be easily done for sure - the only thing is that the total number of pics to cram into an article will shoot through the roof, esp if showing off each texture from 3 povs too and so on. Anyways, machines and scripts to the rescue, may the bandwidth be wide enough and otherwise no problem at all.
Funnily enough it's this "simplest" part that has largest potential to cause trouble - the reason the camera is currently where it is rather than closer is the fact that any closer means that *some* hopefuls will fit only partially into view, as things currently stand. I guess I could perhaps look into further calculating and translating them so that their "center" is indeed in the center of the view but it seemed hardly worth it just yet tbh (and I can't even tell upfront how much closer - whether your desired 1/3 or less or more - that would buy anyway, because it's a matter also of size of the bone, hence of corresponding mesh on it; some will be smaller than others no matter what so adjusting closer to see the smaller ones better means you'll not see in full the bigger ones).
It's not as clear cut as that either way, just yet. First of all, I don't even know how much of it is loading the "factory" and how much the actual instancing - whether all their obsession with "saving" through factory & instance does actually anything worth the mention. Second, there is certainly waste that can be trimmed in the current setup in that tiny parts are simply scaled but all that detail is clearly lost - probably it really makes more sense to have at least a few sizes generated so that the vertex count (hence, actual level of detail too) matches the size better, as well. If those 2 first points are not enough, there could even be further adjusting/trimming to look into but I think it's really premature at this stage as we are still just exploring the shapes so I consider it for now more of a "something to have in mind" rather than a problem because there are many factors coming into play there and currently just ignored. Also, do note that the 4 seconds mentioned above include *everything* from starting the client up to taking the screenshot - out of that the loading of the hopeful is just a part and I doubt it's the longest part either (for one thing it's loading the Cally model too, for instance!)
Well, I honestly don't think we are not there yet, either! What I mean is that figuring out how to make animation work is still needed and now I have in place the supporting rest so that this can get started. Sure, it won't be about "this is the animation we will use" but the sooner I get out of the way the initial stages of "how the fuck does one even make a bone actually move on screen" and "what exactly do all those influences DO on a real hopeful", the better really. It's certainly true that there's otherwise still a mountain of work to do on all the rest as well but all of it is still on the plate and to be done anyway.
> 1. My understanding is that you mean a) and b) as 2 separate things to try,
Yup.
> Do you mean literally the 3d euclidian distance
Yeah. It's supposed to be "diagonal" in the sense of alligned with the implicit figure normal.
> 3. What do you have in mind re collapsing points? Just removing them? Replacing them with an average
Yes, pairwise, replace with geometrical center of the two point system.
> does the "average distance between points" that is used as threshold get updated
Nah.
> round all three axes at the same time
Yup.
> do you mean "single texture"?
A yeah, that's what I meant.
> Welcome to a sea of parameters.
Yeh lol. What I mean is use some of the stereo-fractals to be stereo-applied, as opposed to just using normal fractals stereo-applied.
> may the bandwidth be wide enough and otherwise no problem at all.
I guess alternatively we can hook my client into your test env, which might be needed eventually even. Maybe not right yet.
> Funnily enough it's this "simplest" part that has largest potential to cause trouble
Well what can I say, I'd like if the shots were closer to the unit sphere containing the hopeful. Ideally right on the surface of it, or close outside.
> Also, do note that the 4 seconds mentioned above include *everything*
Aite, I guess we reasonably worry about optimizing this much later.
> What I mean is that figuring out how to make animation work is still needed
Fair enuff, I don't mean to forbid research into animations, by any means get started.
I for one welcome our new arthropodic mandelbrotian overlords, a few of which incidentally are faithful stand-ins for the classic migraine aura --which'd arguably make them something "as found in nature", if that bears any useful meaning.
@Mircea Popescu Seems clear enough now, I'll see how it goes. Those arbitrary planes and whatnots promise a few headaches to make sure they end up fully correctly, lol.
@hanbot Cheers! I hear though that they still have quite a lot to go on that evolutionary path so who knows what they'll end up looking like by the time they are anywhere near the end of it!
The one great advantage of the pile of work you've poured in so far is that you've got this to a point where credible mistakes (ie, the sort that escape first pass notice) are potentially just as productive as corectness ; so there's nothing really to worry about.
There is that - with the flip (or not) side that it's also difficult to even say if something is wrong! Lolz. But no, it's not worry - more a bit of tiredness over the pile that still seems to only ever grow.
Anyways, meanwhile I have working the mirroring along one plane and currently working on the 2nd one and then the rest.
Mircea Popescu - in unexpected significant headaches, it turns out that the wonderful client has a reason to do for characters *only* rotations along the y axis - even trying to work with all the pile of other transformations coming into play there (there's a whole chain of them...), the result still ends up either partially under the ground or partially in the air, it's basically a mess. So at this point the rotation around the y axis works for whatever degrees one might want; the ones around x and z axes work but capturing the animal in view promises to be a headache and so I need to sit down and even consider if there isn't some other way to do it more reasonably. Is this worth it aka are rotations for characters around other-than-y axes absolutely needed?
Well kinda, I mean the idea is to get a sorta good look at it...
Why the hell would it be so complicated, for that matter, why the hell would it be ~different~ for any arbitrary axis ?!
Why the hell, exactly, totally my thought on this too (and why I was totally NOT expecting a headache *here* of all places, gah). From what I can tell, the core trouble stems from all those n "coordinate systems" that end up in such a mess that you can't easily do "rotate this around ITS OWN FUCKING X AXIS" - you need instead to calculate what that might be and out of moonbeams too because there is no direct & precise access otherwise to all the needed info for that either. So one can work at best with "bounding box" to kind of estimate and then it goes all over the place because small errors will magnify through the whole bloody chain of going from this to that and to the other and around Mars as well. And so rotating around the y axis preserves the thing reliably on ground and in place, while around x axis gets some partially into the ground and some in the air and so on.
It was such an exercise in frustration to discover this that I am seriously considering just doing the rotations outside of the client rather than having to dig more into it (for all the stupidity of that because the logical place for it is in the client, take this sprite and rotate it but...).
At a stretch I could perhaps even readjust instead the *camera* afterwards but I resent this sort of idiotic workaround because a rotation is a rotation and should keep the thing in place, wtf.
Having tried out by now just about *everything* to work with the client's idiotic constraints (can't hard transform a cal3d sprite!! because reasons! and can't give accurate own coordinates either!! and can't and won't and 'mnezeii lor de cretini de cacat cu planeshitu' lor cu tot), I am satisfied that ~every time the client is paid *any* attention at all, it will just waste time, make a mess and otherwise happily spew out nonsense. Eerily reminding me of some people, too, at that.
Sanity thus forcibly returned, I have a working solution and therefore a pile of brand new hopefuls to show off. So I expect I'll be able to publish the write-up by tomorrow the latest.
Excellent!
As the parade No. 3 got published even ahead of schedule, on Thursday, meanwhile I got to play around a bit with a few things I wanted anyway so ...there's even a 2nd article out with new pics! (Let me know if you want the other set to try out some of the new textures/mapping too).
[...] or obviously 'same' places only on different paths, from different starting points. Going from the classic Mandelbrot fractal to Julia sets, from the signature rotate and shrink of chaotic systems to the clever [...]