On the very first day of 2020's February 1, the I got ambushed and almost crowded out of the armchair of last year's January:
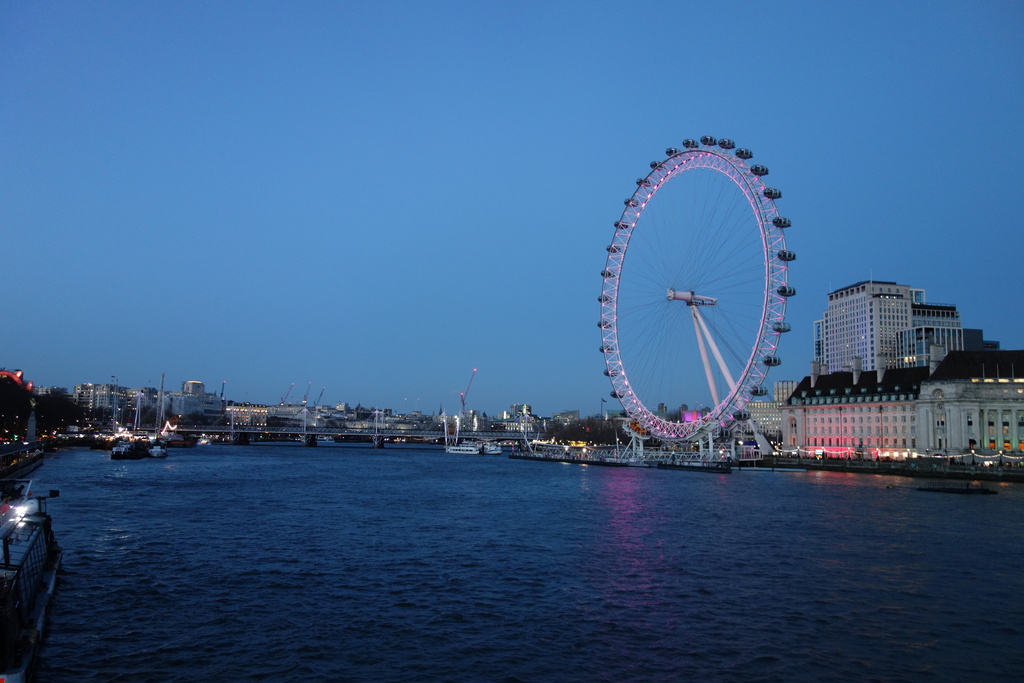
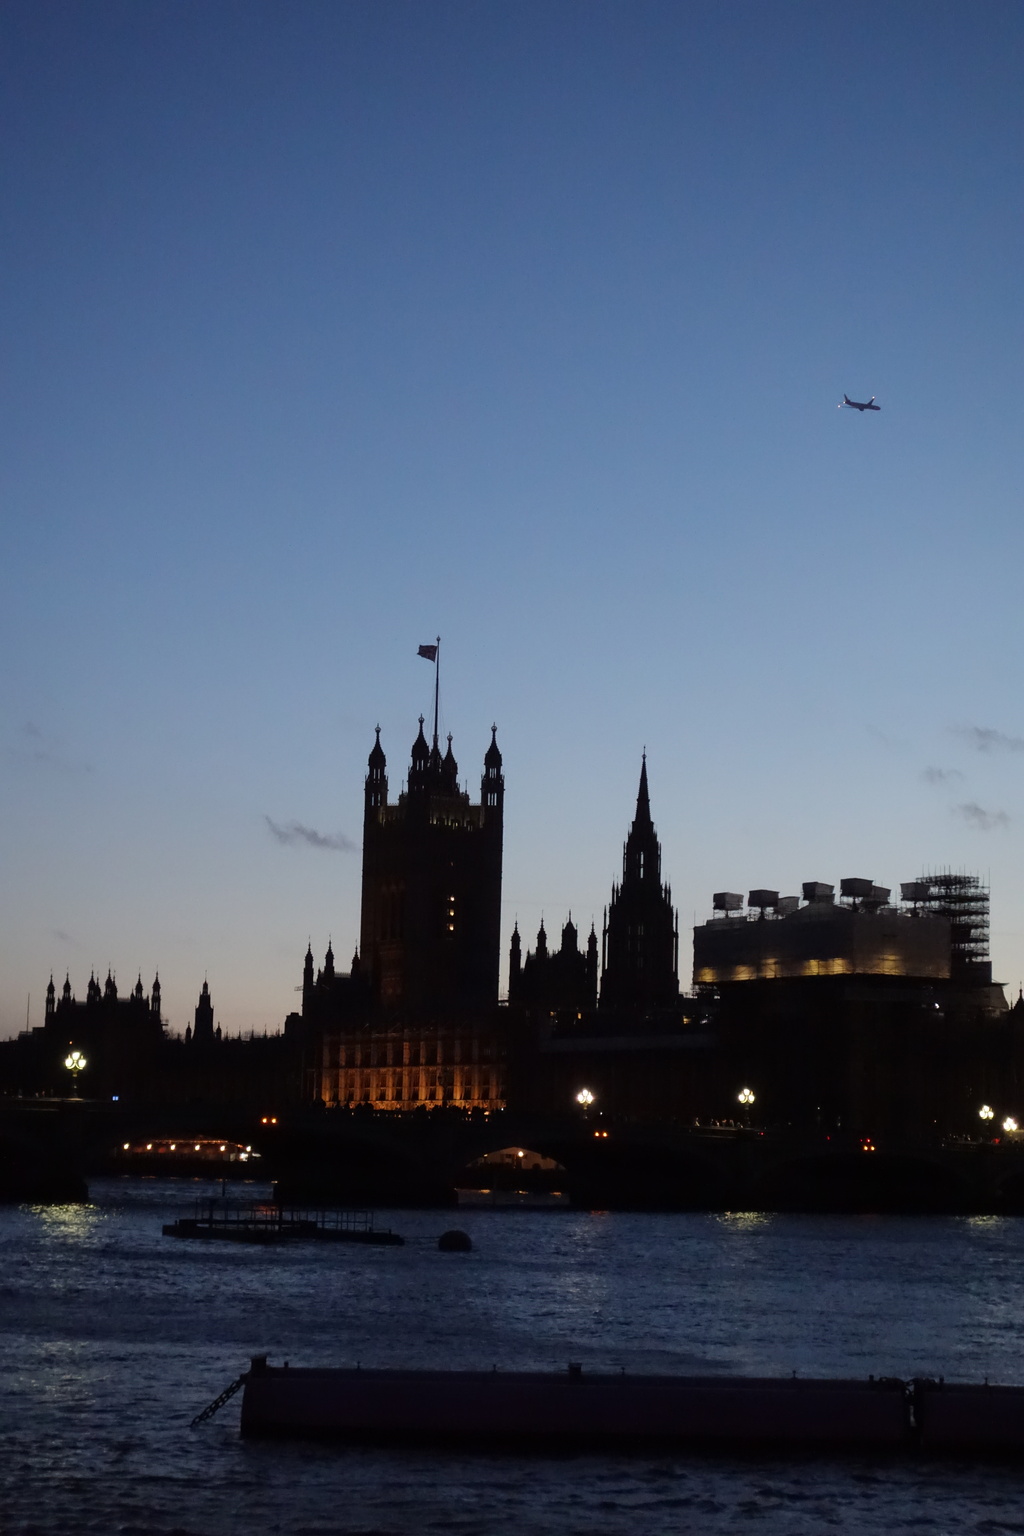
Towards the end of the very same day and quite a few kilometres away, as some in the United Kingdom were celebrating and others were deploring the very same achievement of having finally found EU's exit door, the Eye was slightly glowing pink on a blue background above the darker and wavier blue of the Thames:
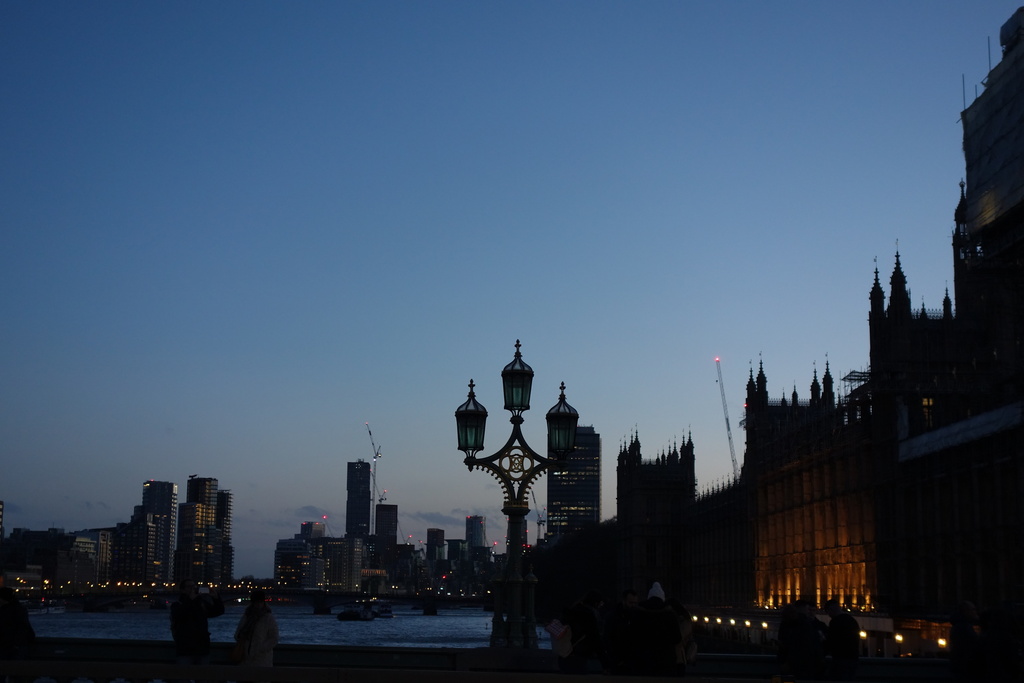
As I was testing my camera's night vision, my company observed that the circus was really opposite to where I was facing, so I had to turn, of course, for a better view that included indeed the very place where the ayes have - finally, it would seem - had it:
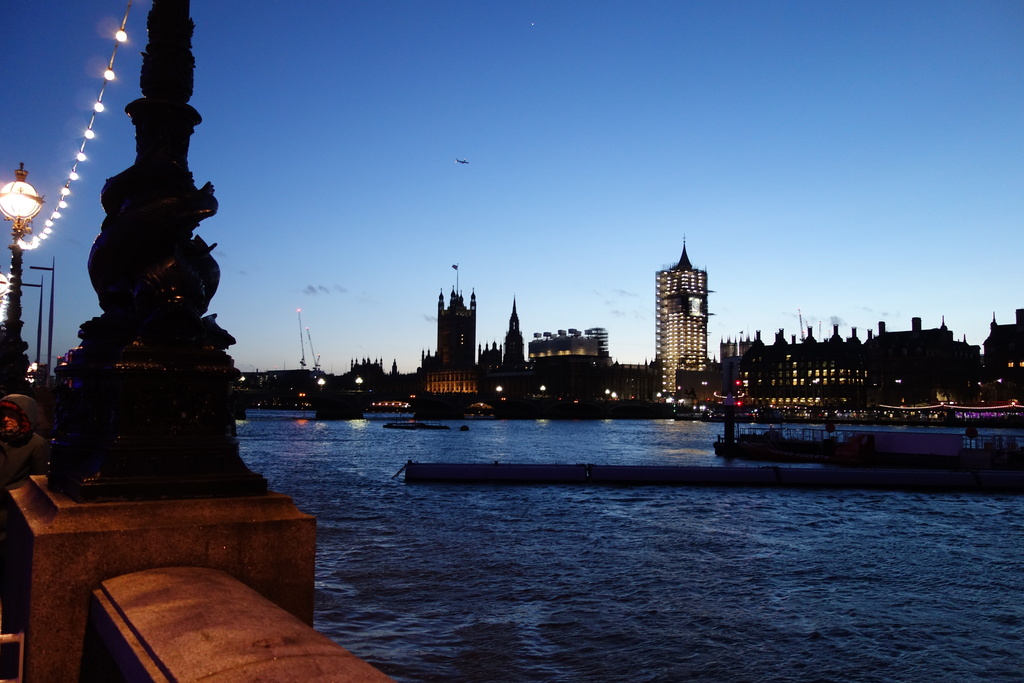
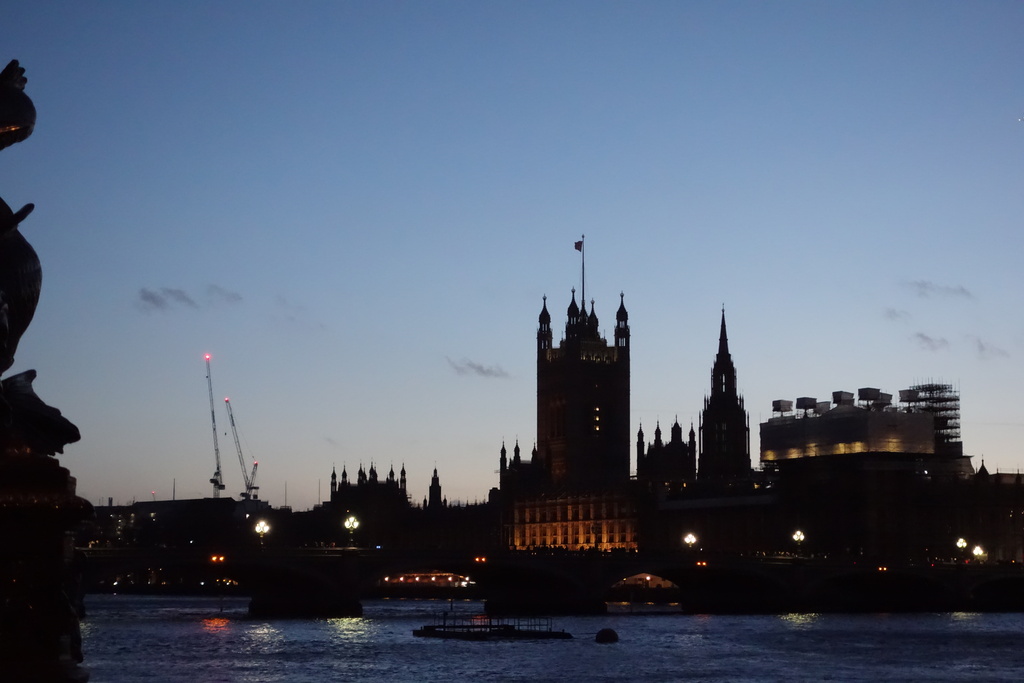
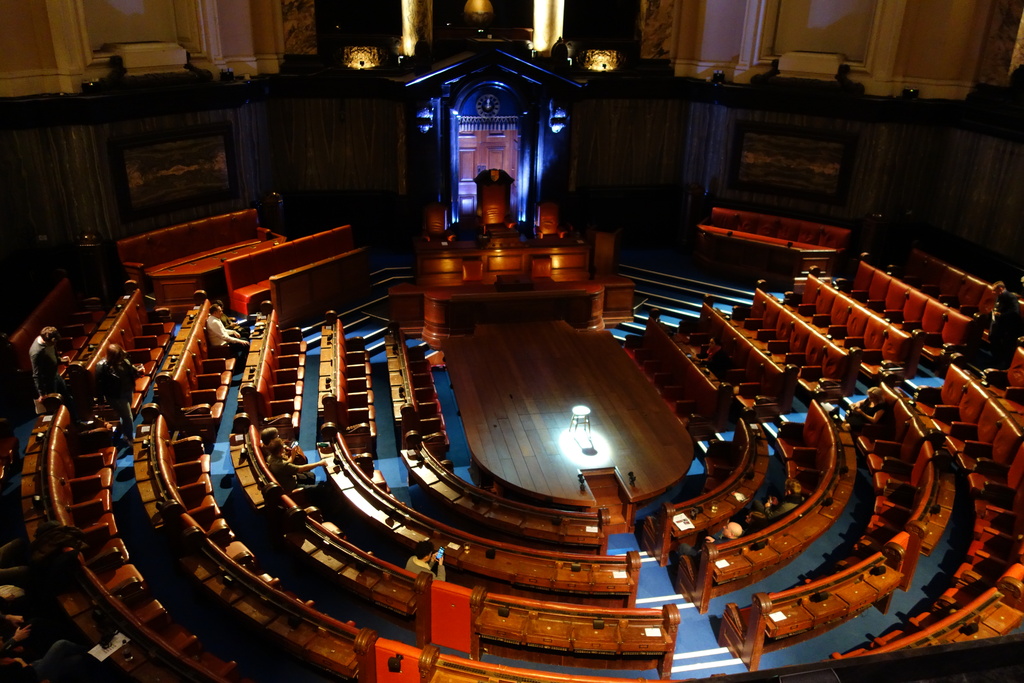
The rest was a bit of a mystery but there's strong evidence of ayes, noes and amused reflection at one time or another:
- Yes, this write-up got delayed by 2 weeks. There are worse delays possible.[↩]